So obviously I was wrong about more updates. It turns out that just the opposite happened. Too much stuff going on, not much time to do an update. Sorry about that.
The 3d Printer is up and working. It was a bad board that was causing me issues when I first set it up. I have learned that there are SO many variables that come into play when trying to get a good print.
The print bed needs to be absolutely level. The temperature of the “hot end”. The hot end is where the plastic filament is melted and comes out of the nozzle. As apposed to the cool end which is what feeds the filament into the hot end. The Temperature of the hot end has to be high enough to melt the plastic, bit not too hot. If it is too hot then the plastic comes out stringy. Different types of plastics melt at different temperatures. Different colors of the same type of plastic may also require different temperatures. Same plastic, same color, different manufacture, may require a different temperature. Also the print bed needs to be heated to different temperatures depending on the type of plastic as well. These temperature changes may be as little as 5 degrees. It also matters how fast the plastic is extruded from the nozzle. How fast the extruder itself moves across the print bed is important as well. So it can take some time and a little experimenting to really dial it in. I’m still in the process. The prints that I am getting are OK, but they could be better. I had taken some pictures of this process but for the life of me I can not find them on my phone. All I could find were these
Printing of a cube made up of movable gears

Skull
I will try to get more pictures for the next update.
R2 Progress
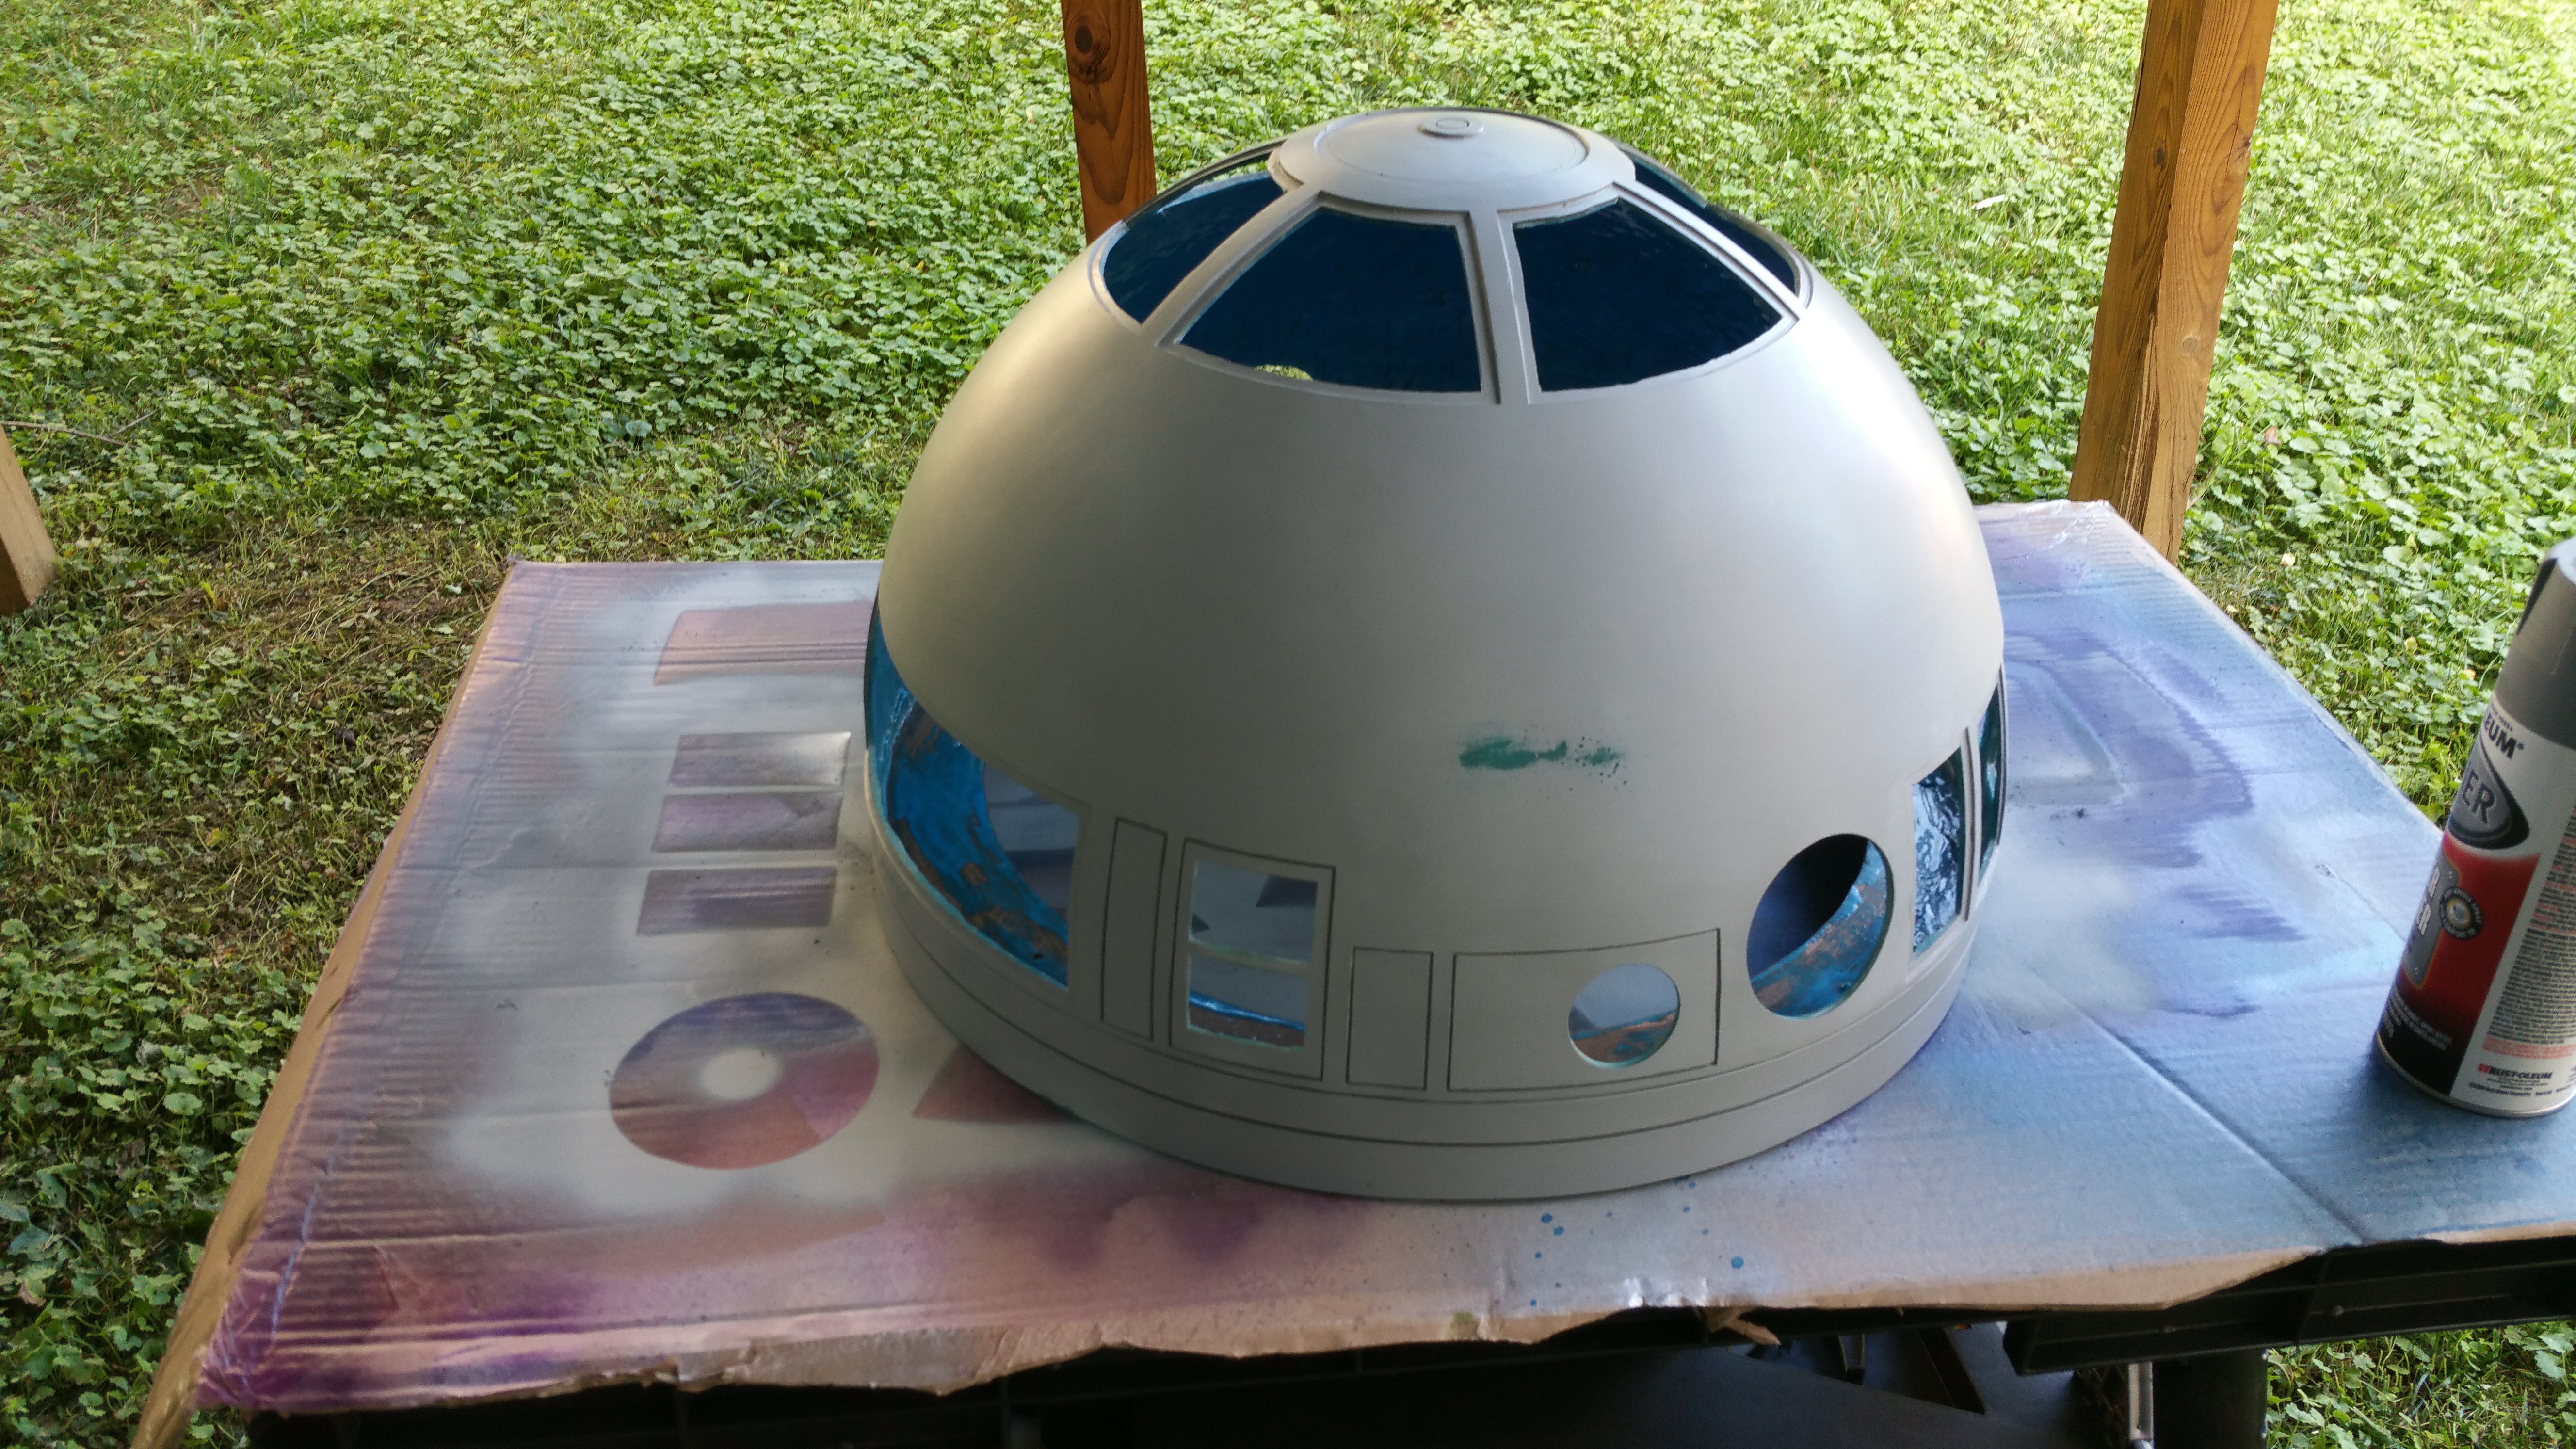
Things are coming along on the dome I had actually hope to have a majority of it done by now but playing with the printer kind of set me back on this front.
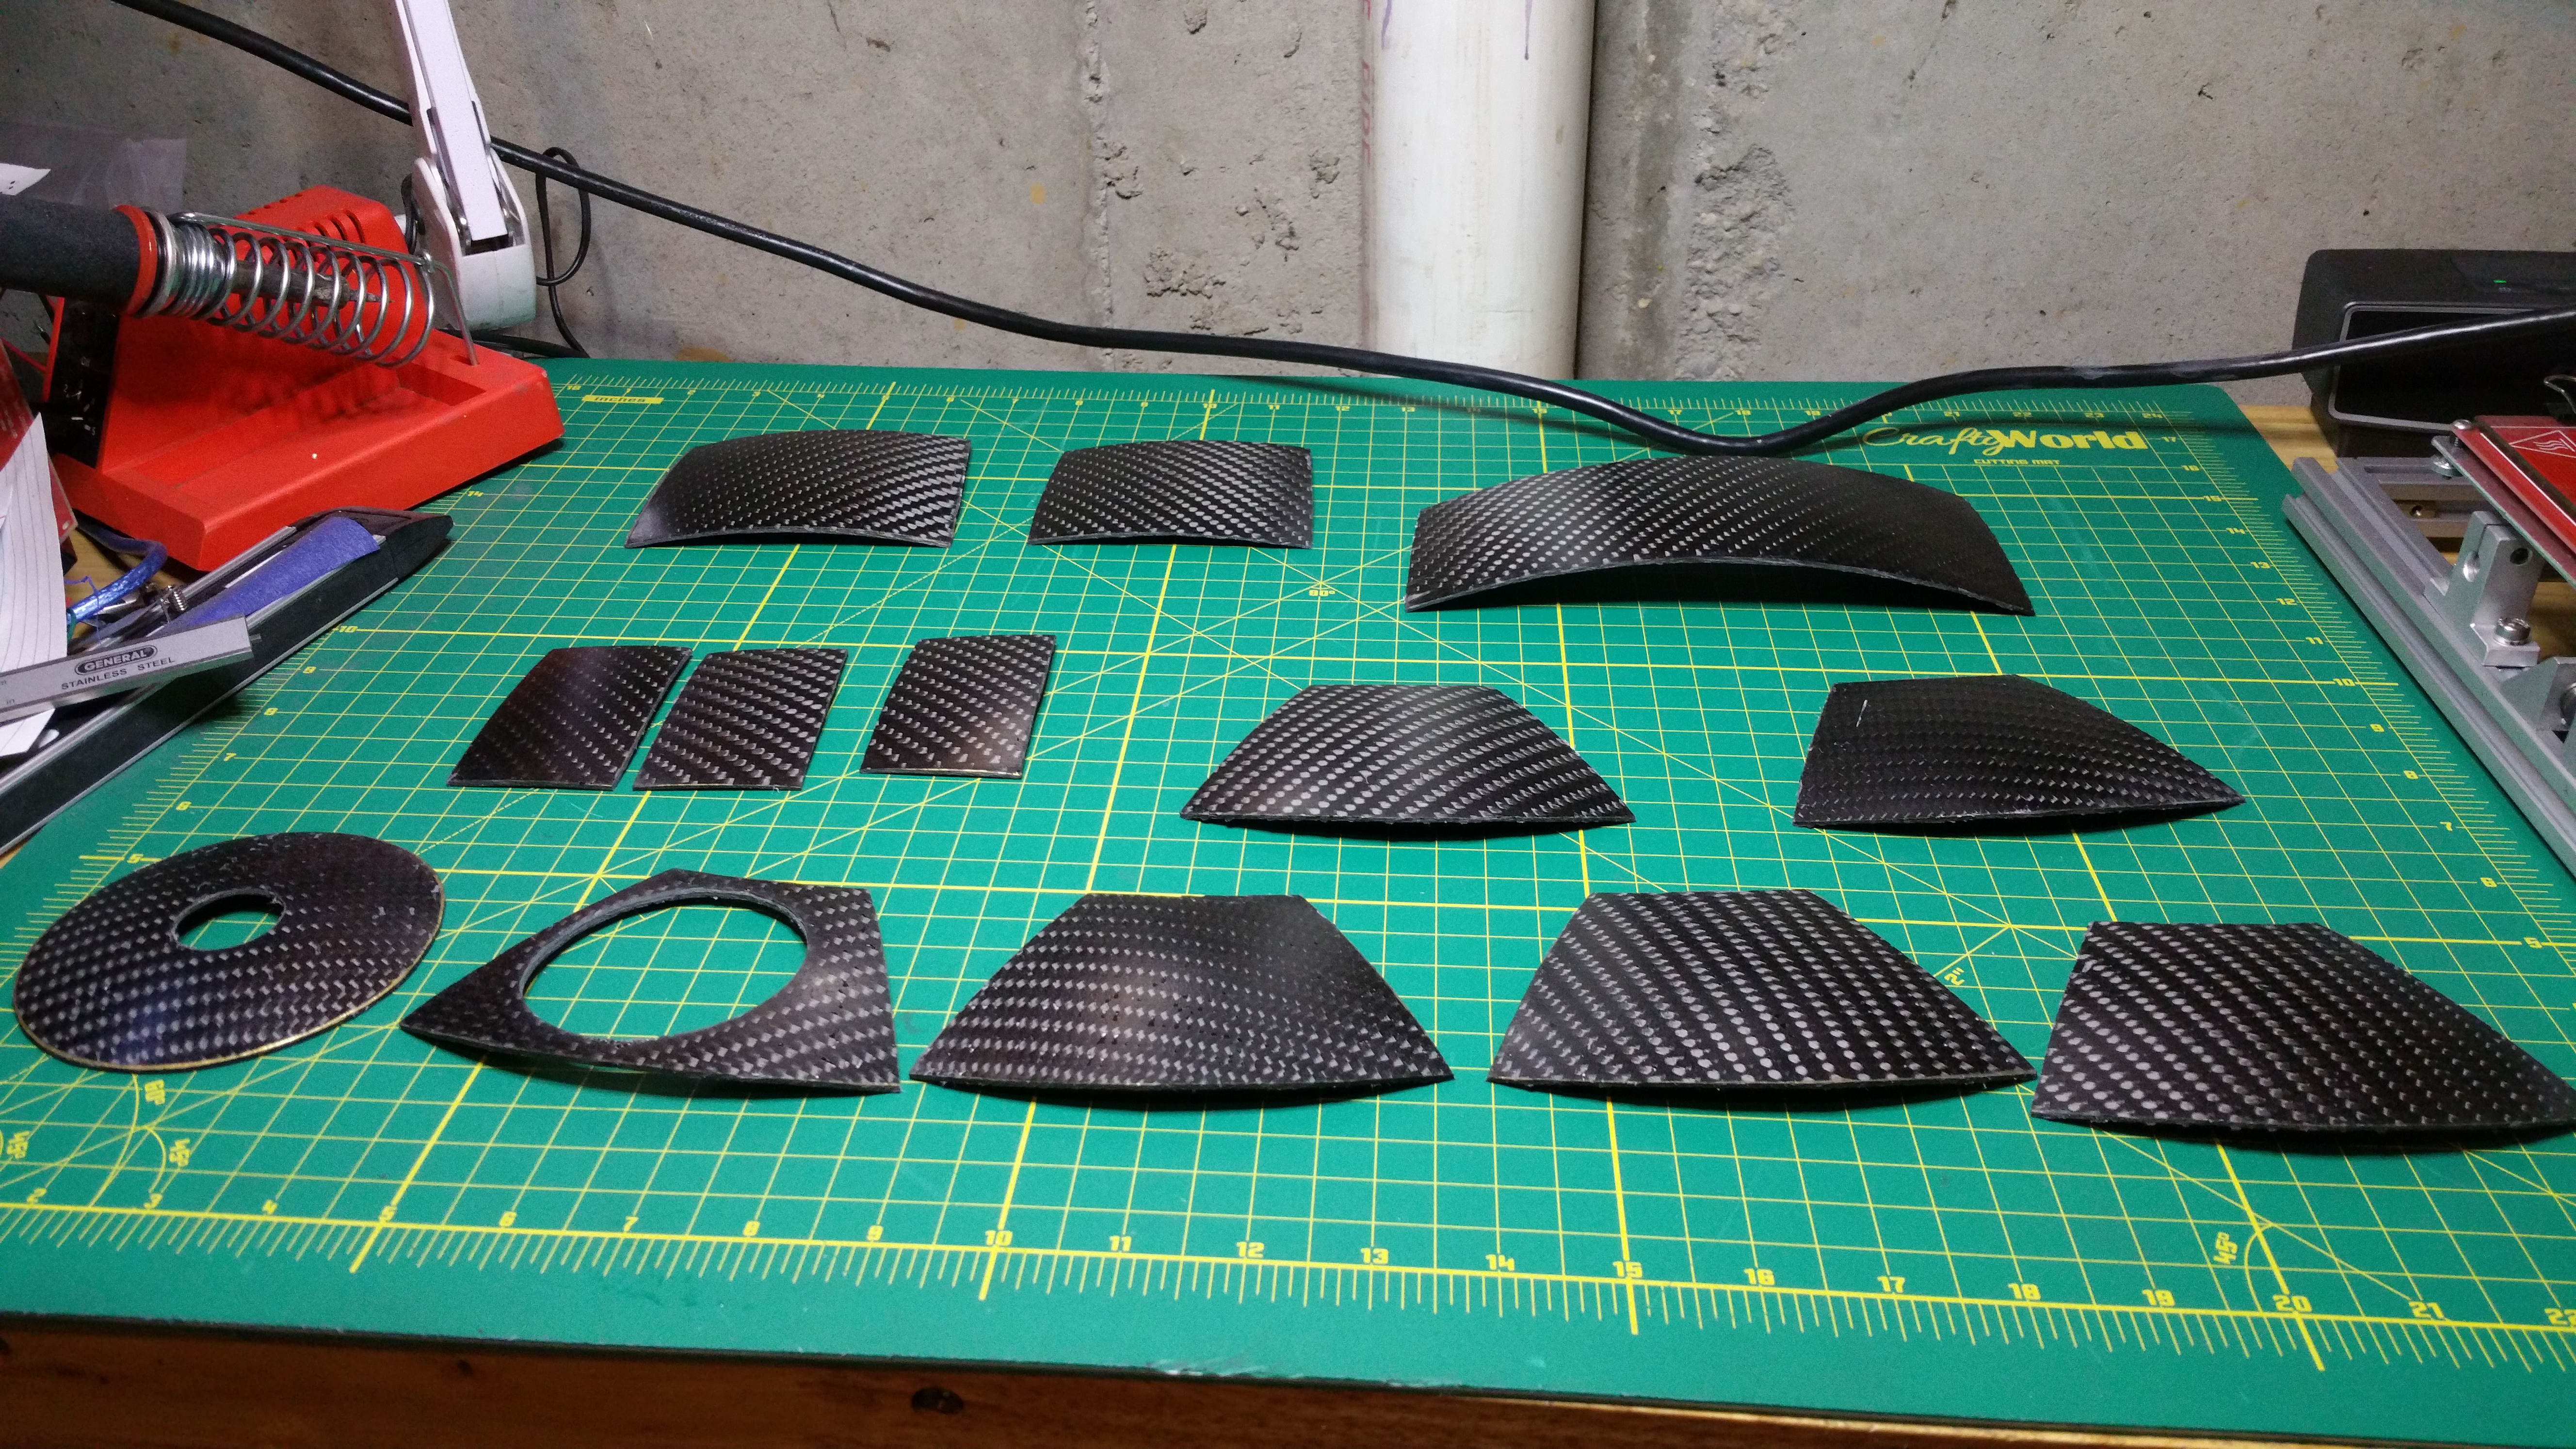
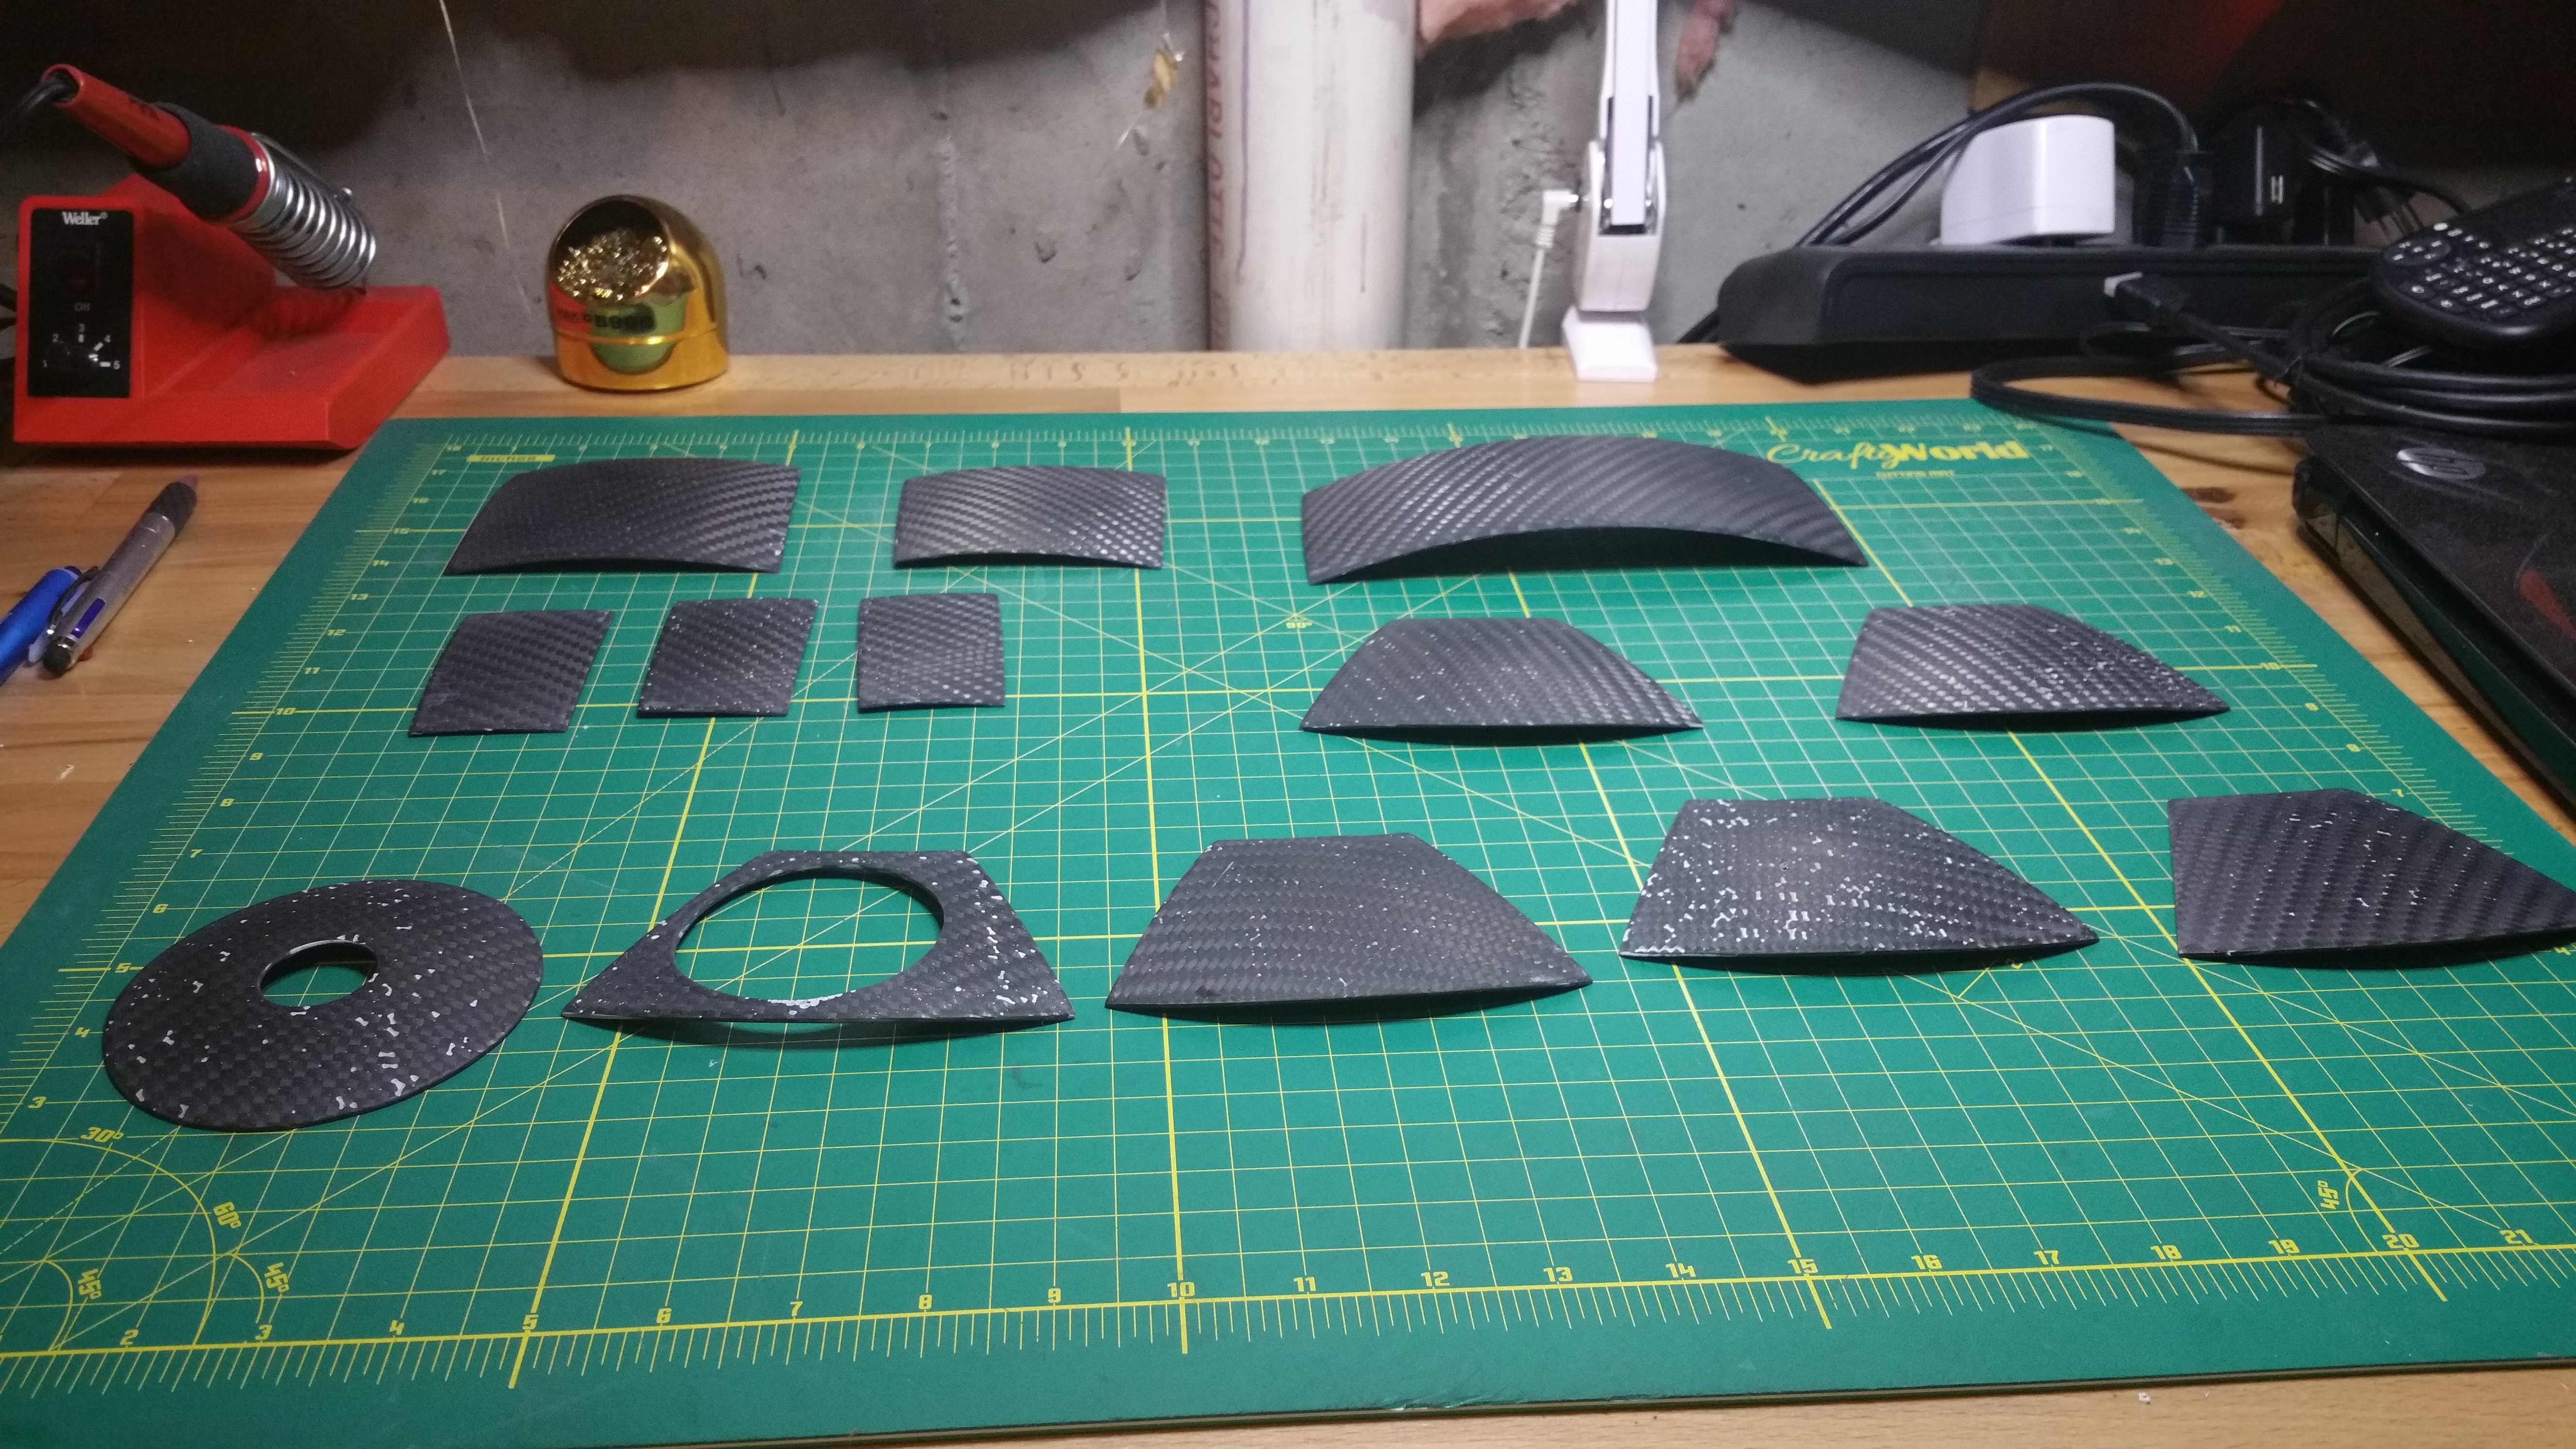
Rest of the panels cut out

Very dirty job


Dome openings cut out. The dome itself turned out to be very easy to cut out. The carbon fiber panels I cut out will cover most of these openings.

Like this.
Now comes the first part of the build that I absolutely no experience ( the first of many I am sure). Auto body work. The same material/techniques anyway.
Apparently when the carbon fiber panels are made, and to a lesser extant the dome itself, bubbles form. The guys who make the panels do everything they can to reduce them, but there really is nothing to be done, there will be little pits that end up in the final product. So to combat this you use body filler. You want these parts to be as smooth as possible because when you paint them, the pits will be VERY visible.

Like this

Spread it out on a clean surface, just a little at a time because this stuff will harden pretty quickly.

Once you add the hardener. The more hardener you add the quicker the dry time.

You can start to see some of the pits after the filler is spread on
Sanded smooth, you can really see them now.
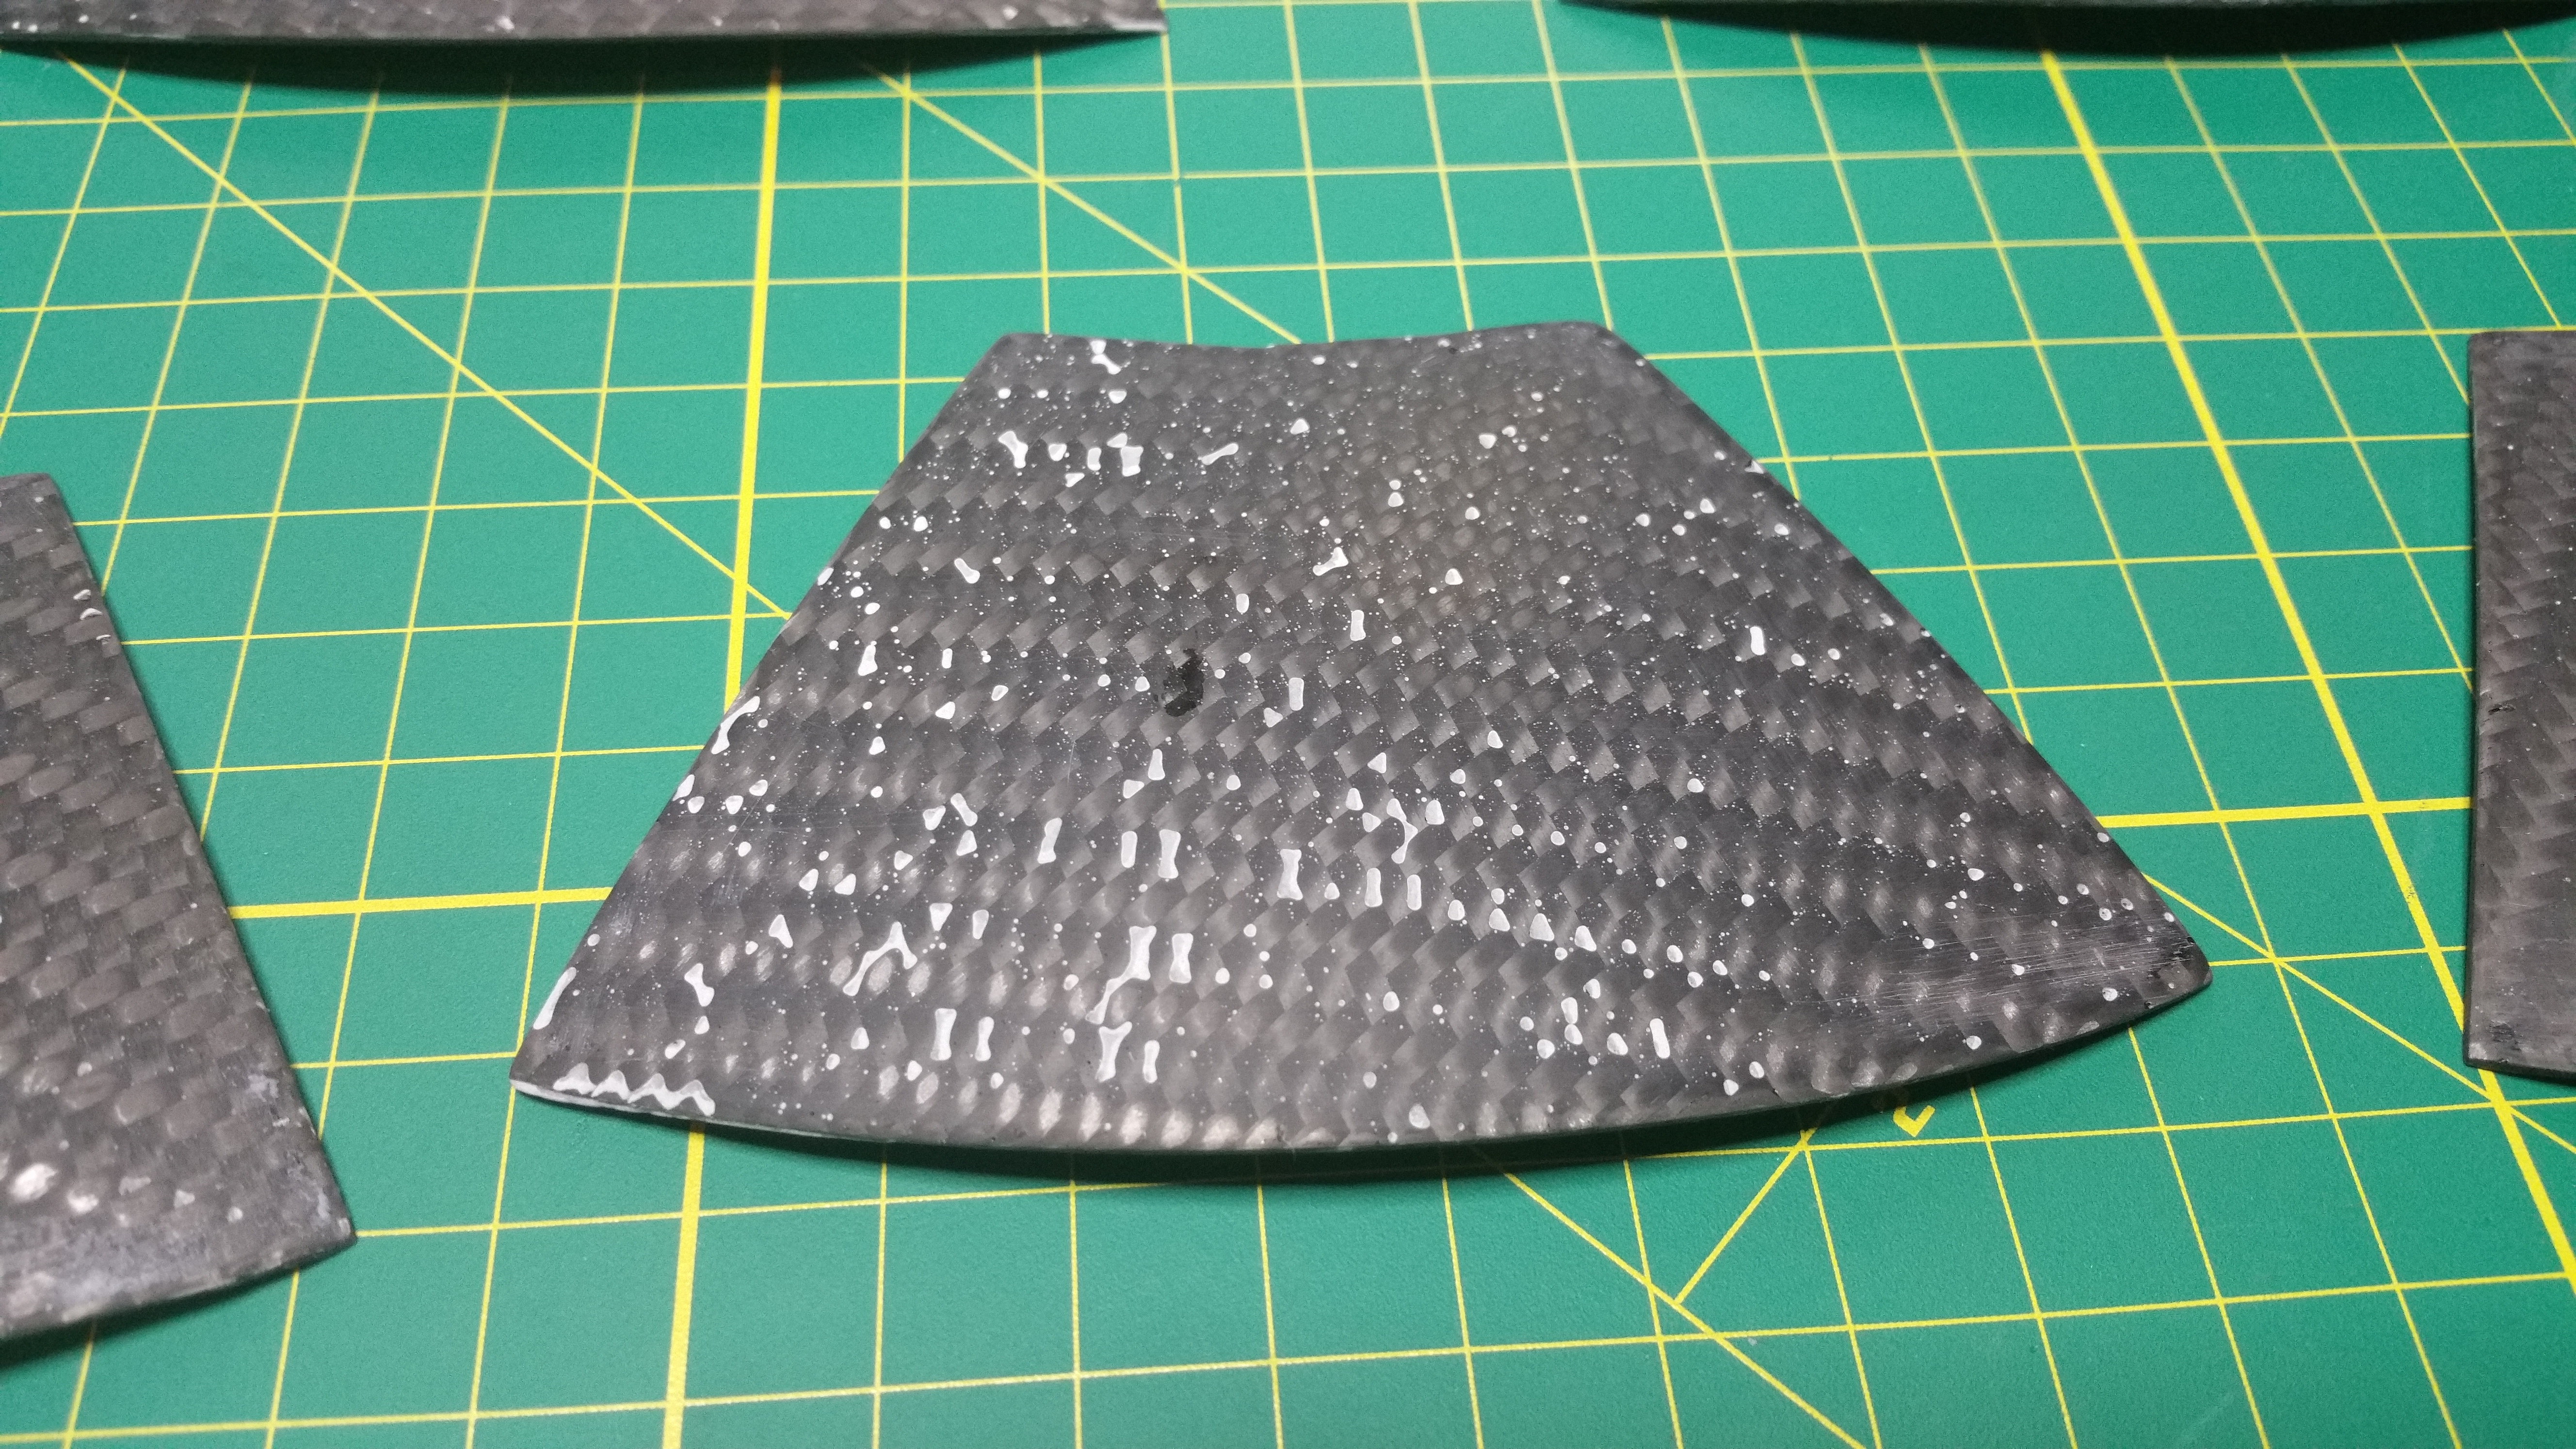
closer view.

Laying out to begin painting

After Primer and first coat. The painting technique that was suggested on the message boards to get a really close to screen accurate color is as follows. Lay down a base coat of metal colored paint. over the top of that add a coat of purple anodized color and on top of that a coat of blue anodized color. The purple and blue anodized paint will let the base paint show though. So in theory it will really look like metal. The primer that was also suggested is a adhesion promoter. This will give the paint something to “grab” on to besides just plastic. It is also clear. That is why I did not see this until after the base coat was on.

MORE PITS UUGGHH. You can really see how much they show. I obviously did not do something right.
There were three panels that were OK so I decide to keep going and sprayed on the first coat of purple.

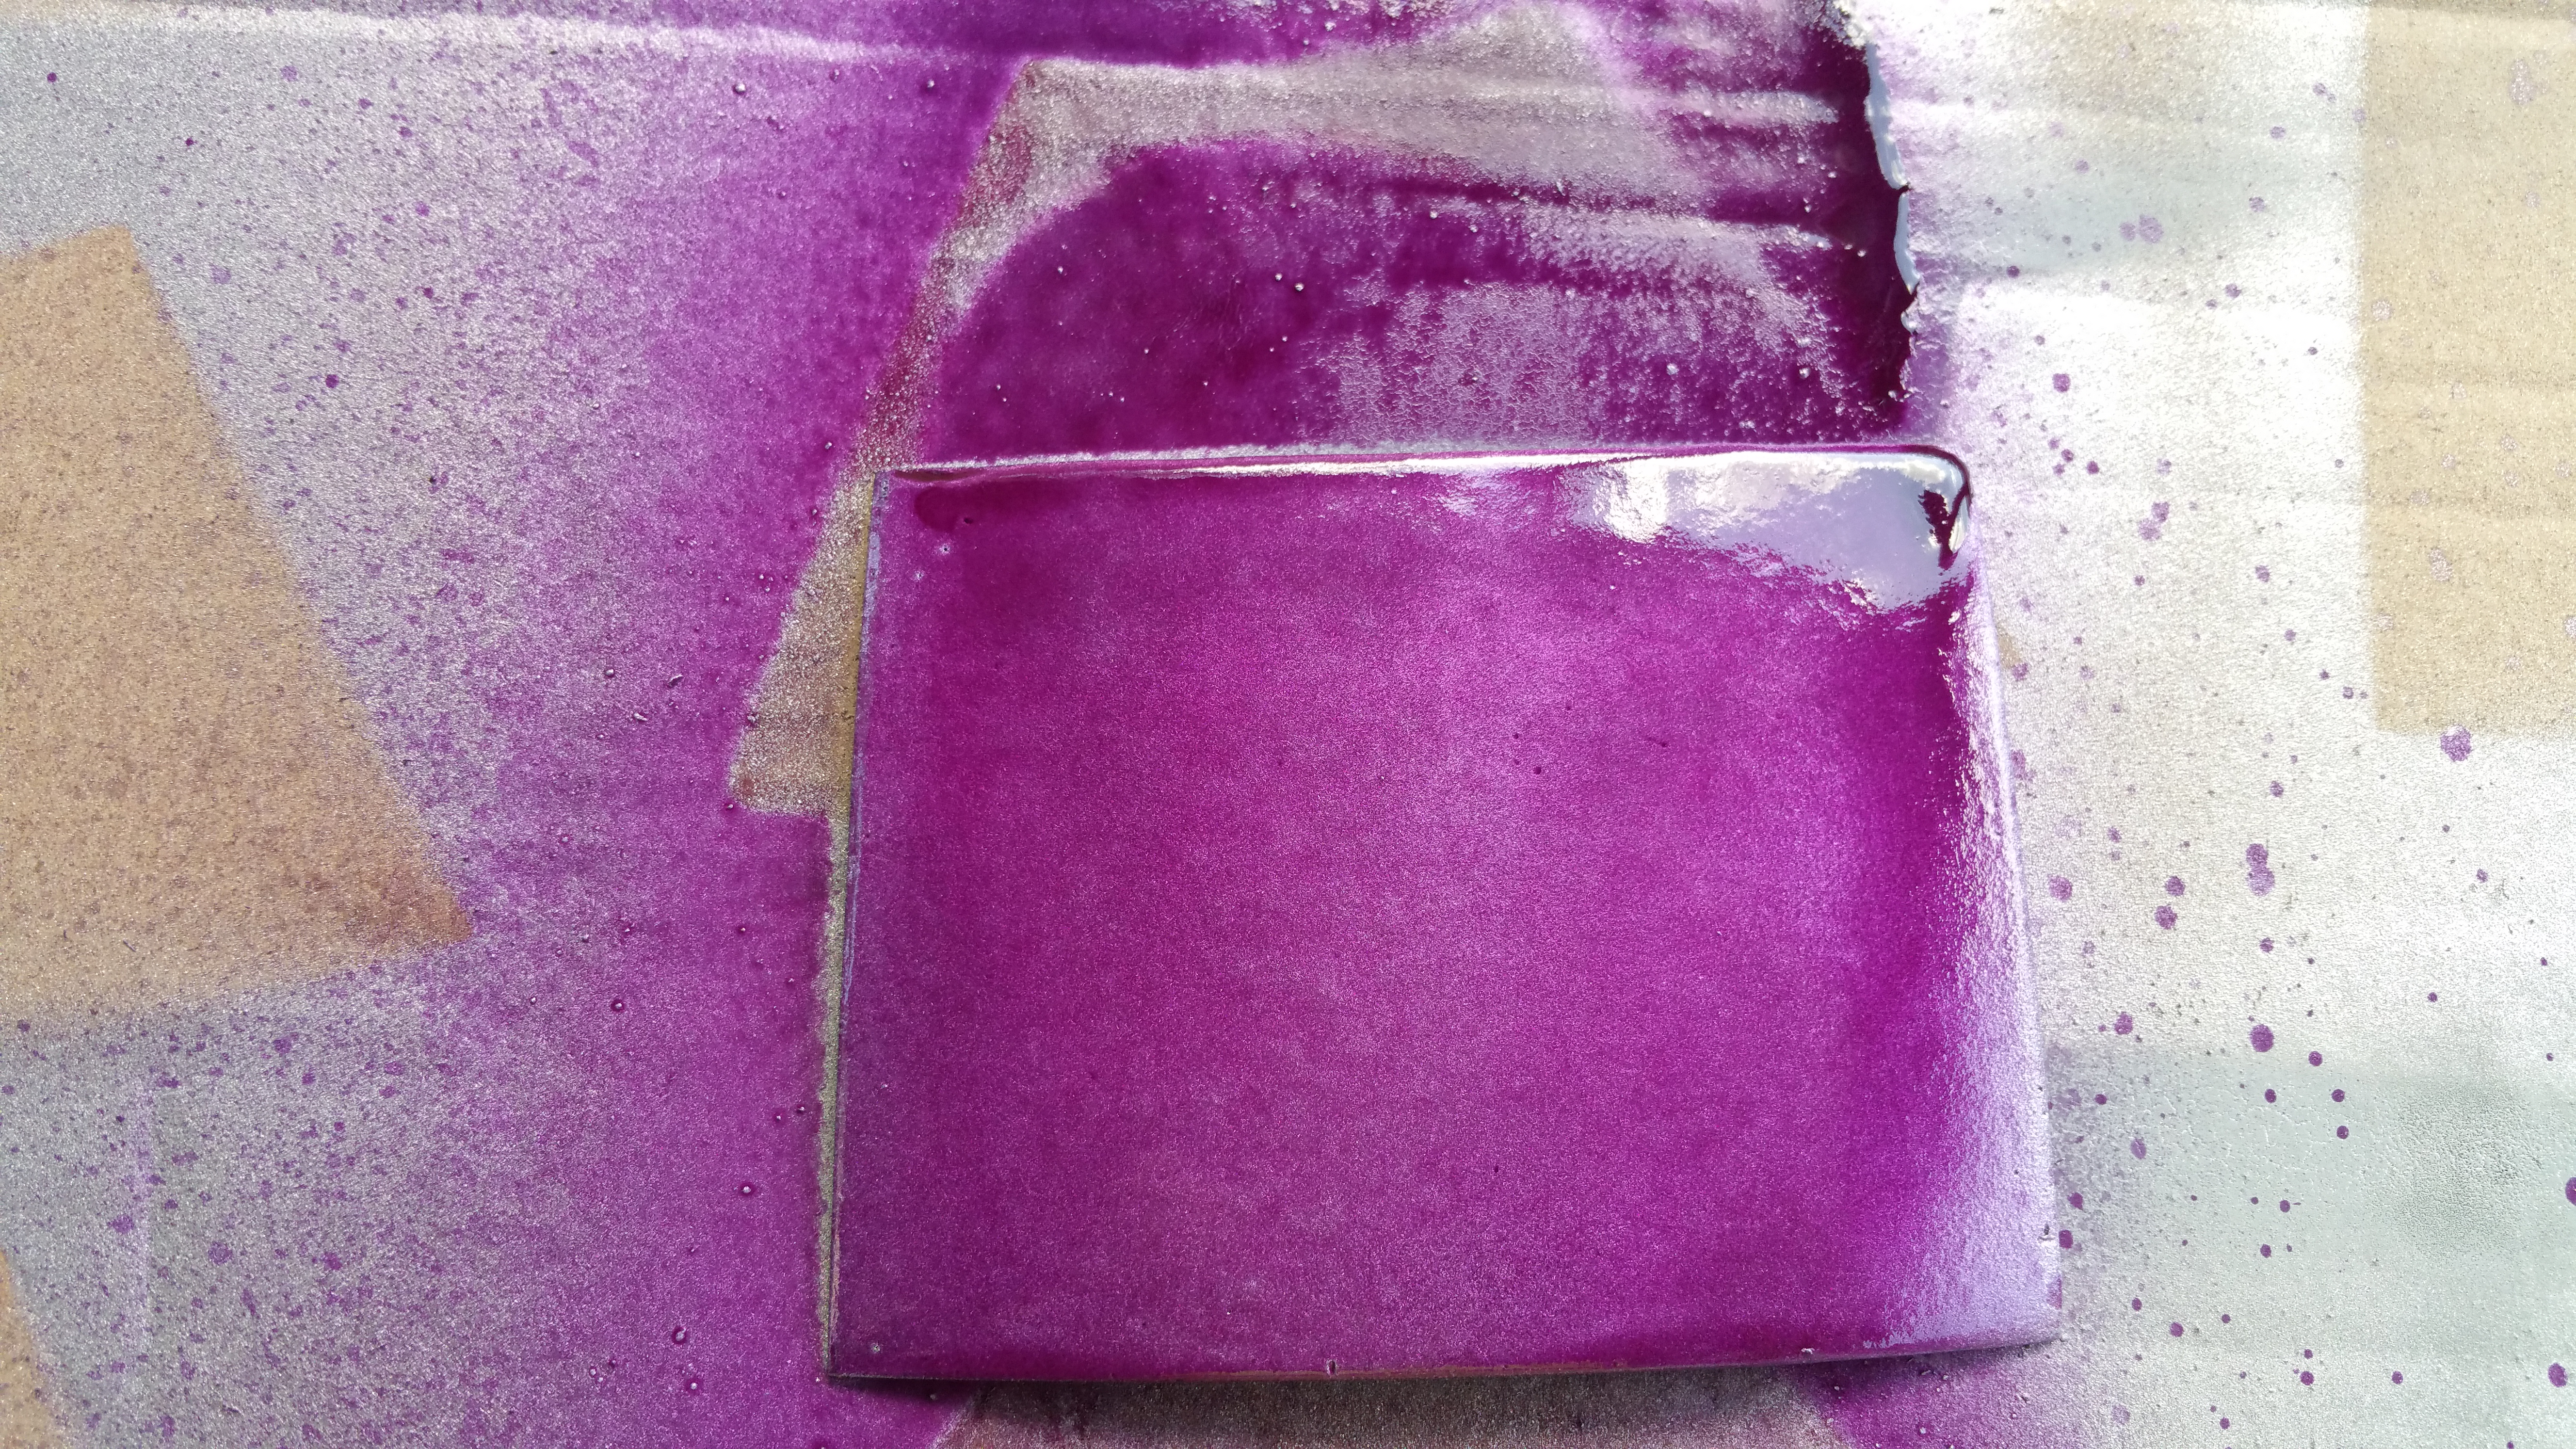
This kind of paint is VERY thin, I was not expecting that at all. It ended up looking really bad.

I had one of these that looked better than the rest so I decided to try to put on the blue coat, to see what it might look like.

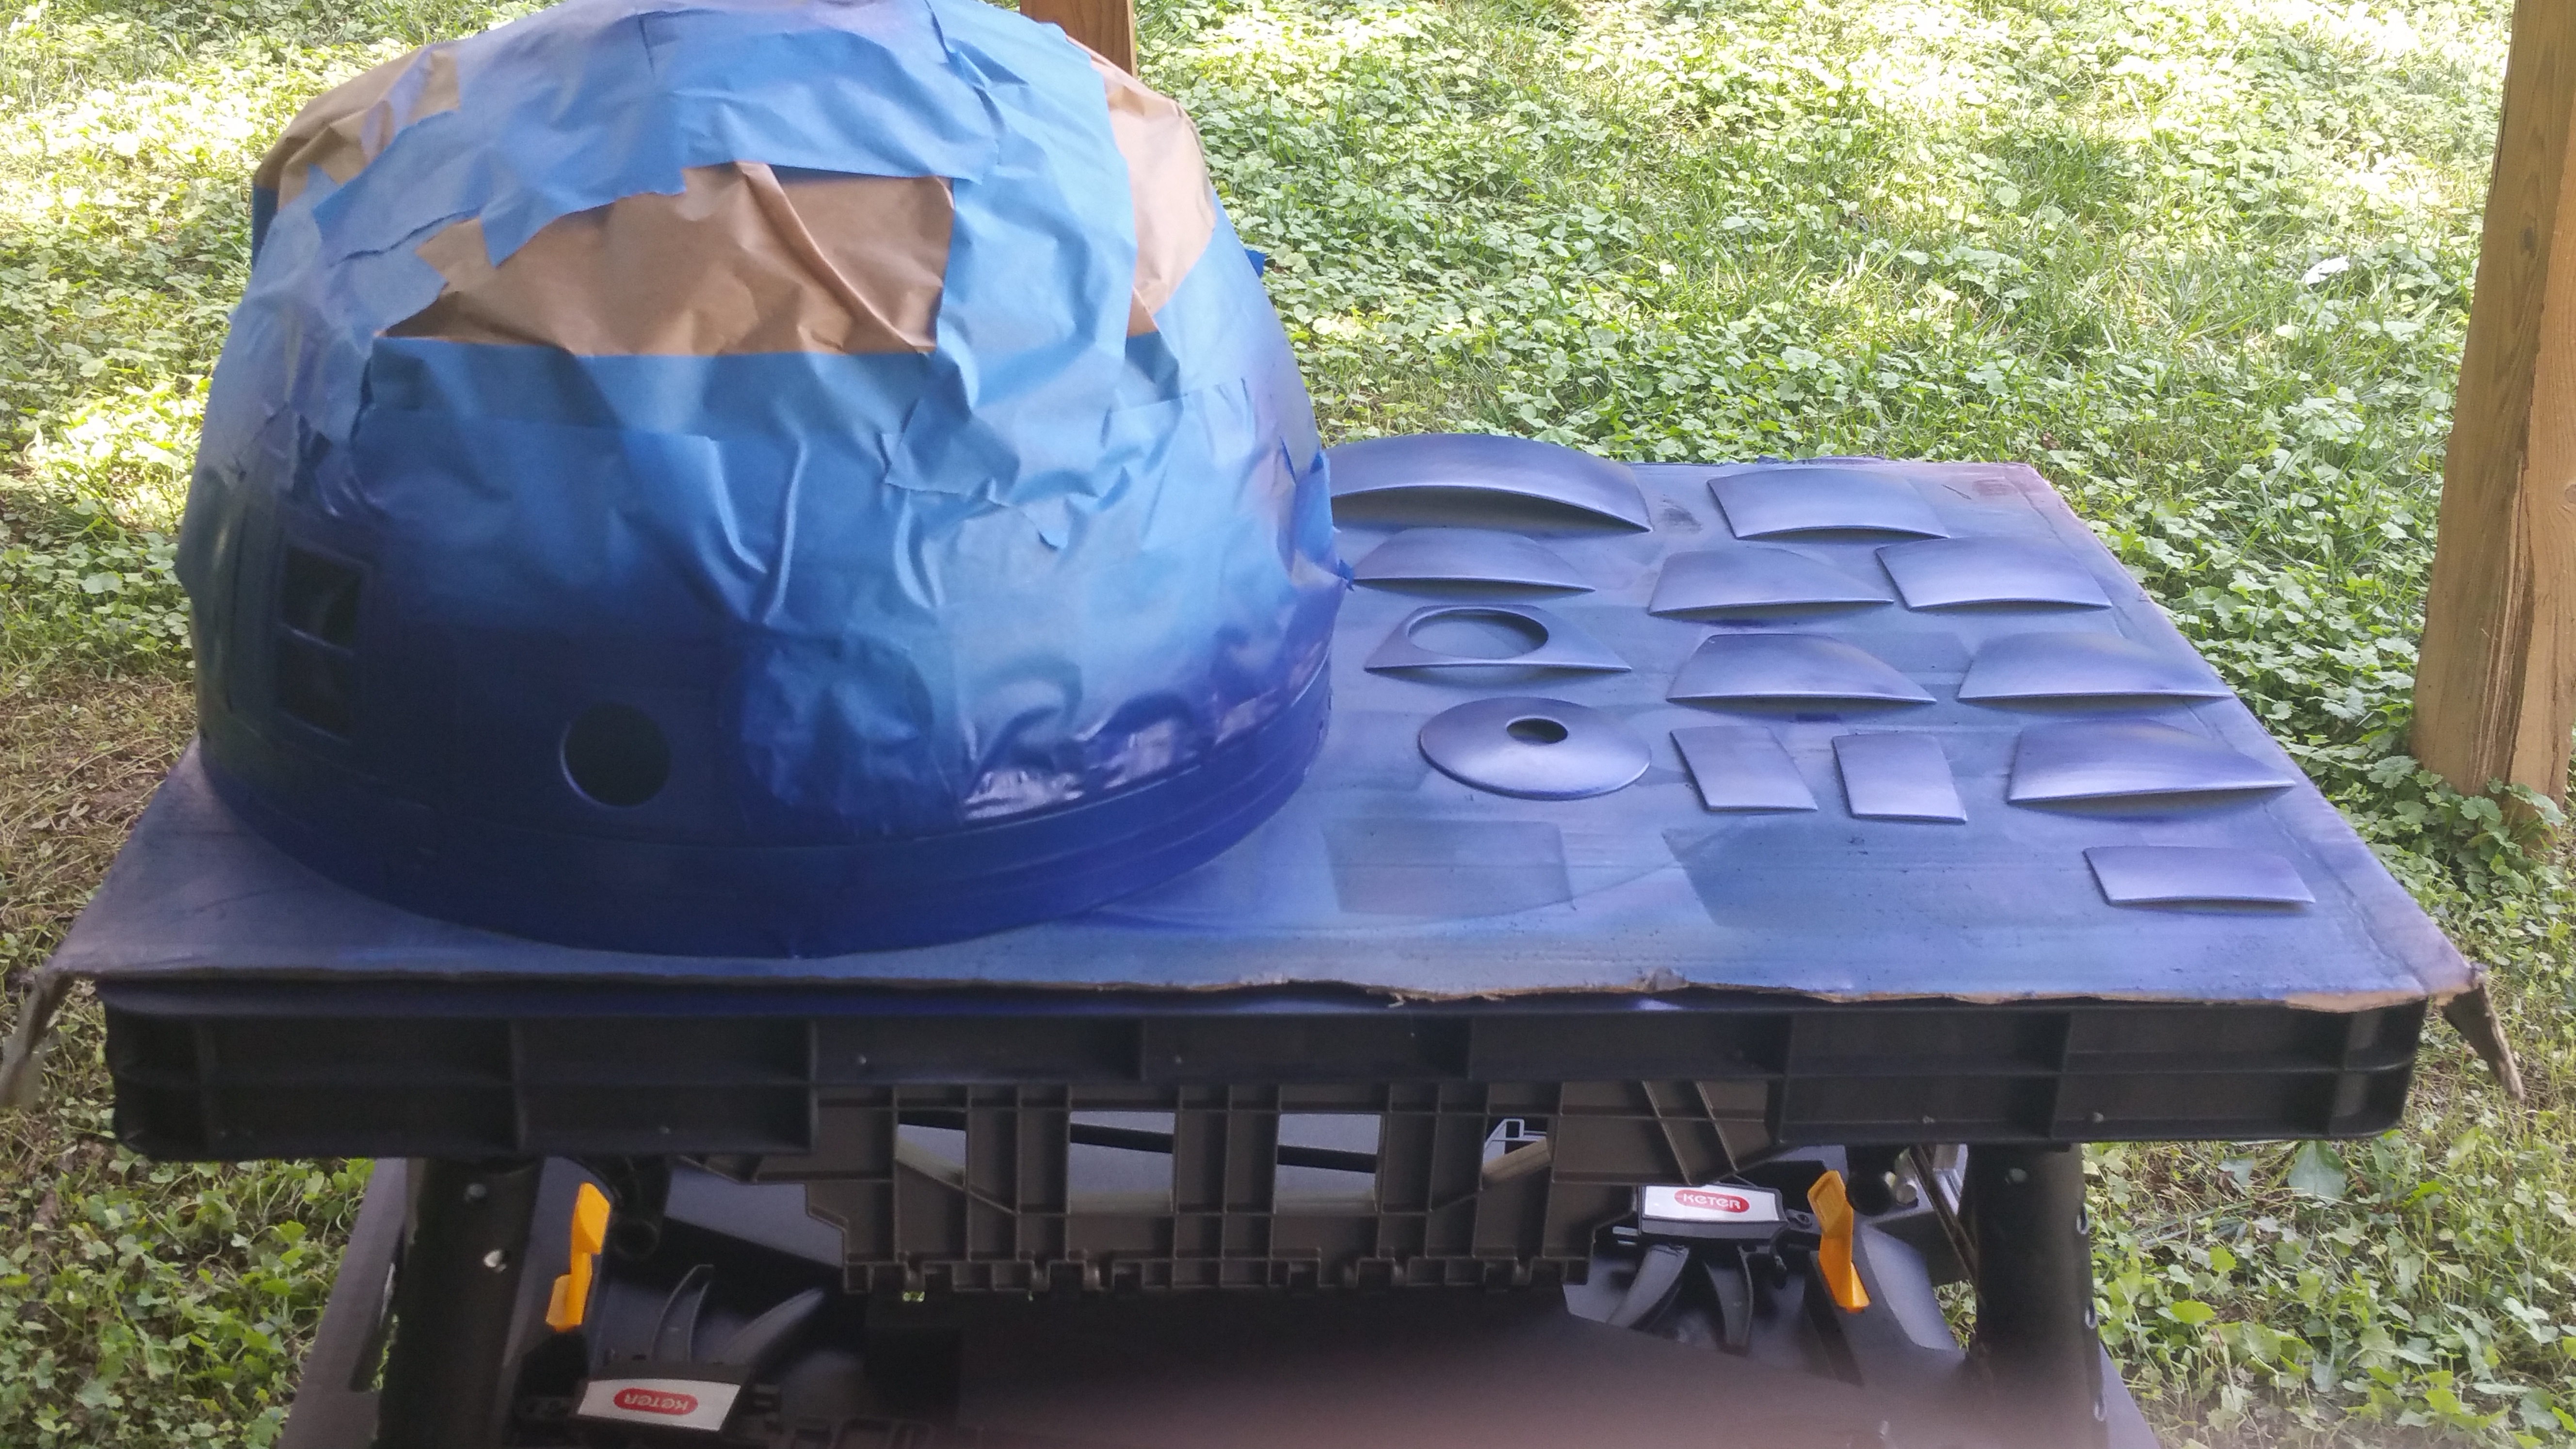
The blue seemed to be even worse than the purple. So I decided to just give up at this point and start over again.

More filler, more sanding.
I decided that i need to get the correct painting technique. Unfortunately I didn’t get any pictures of that process.

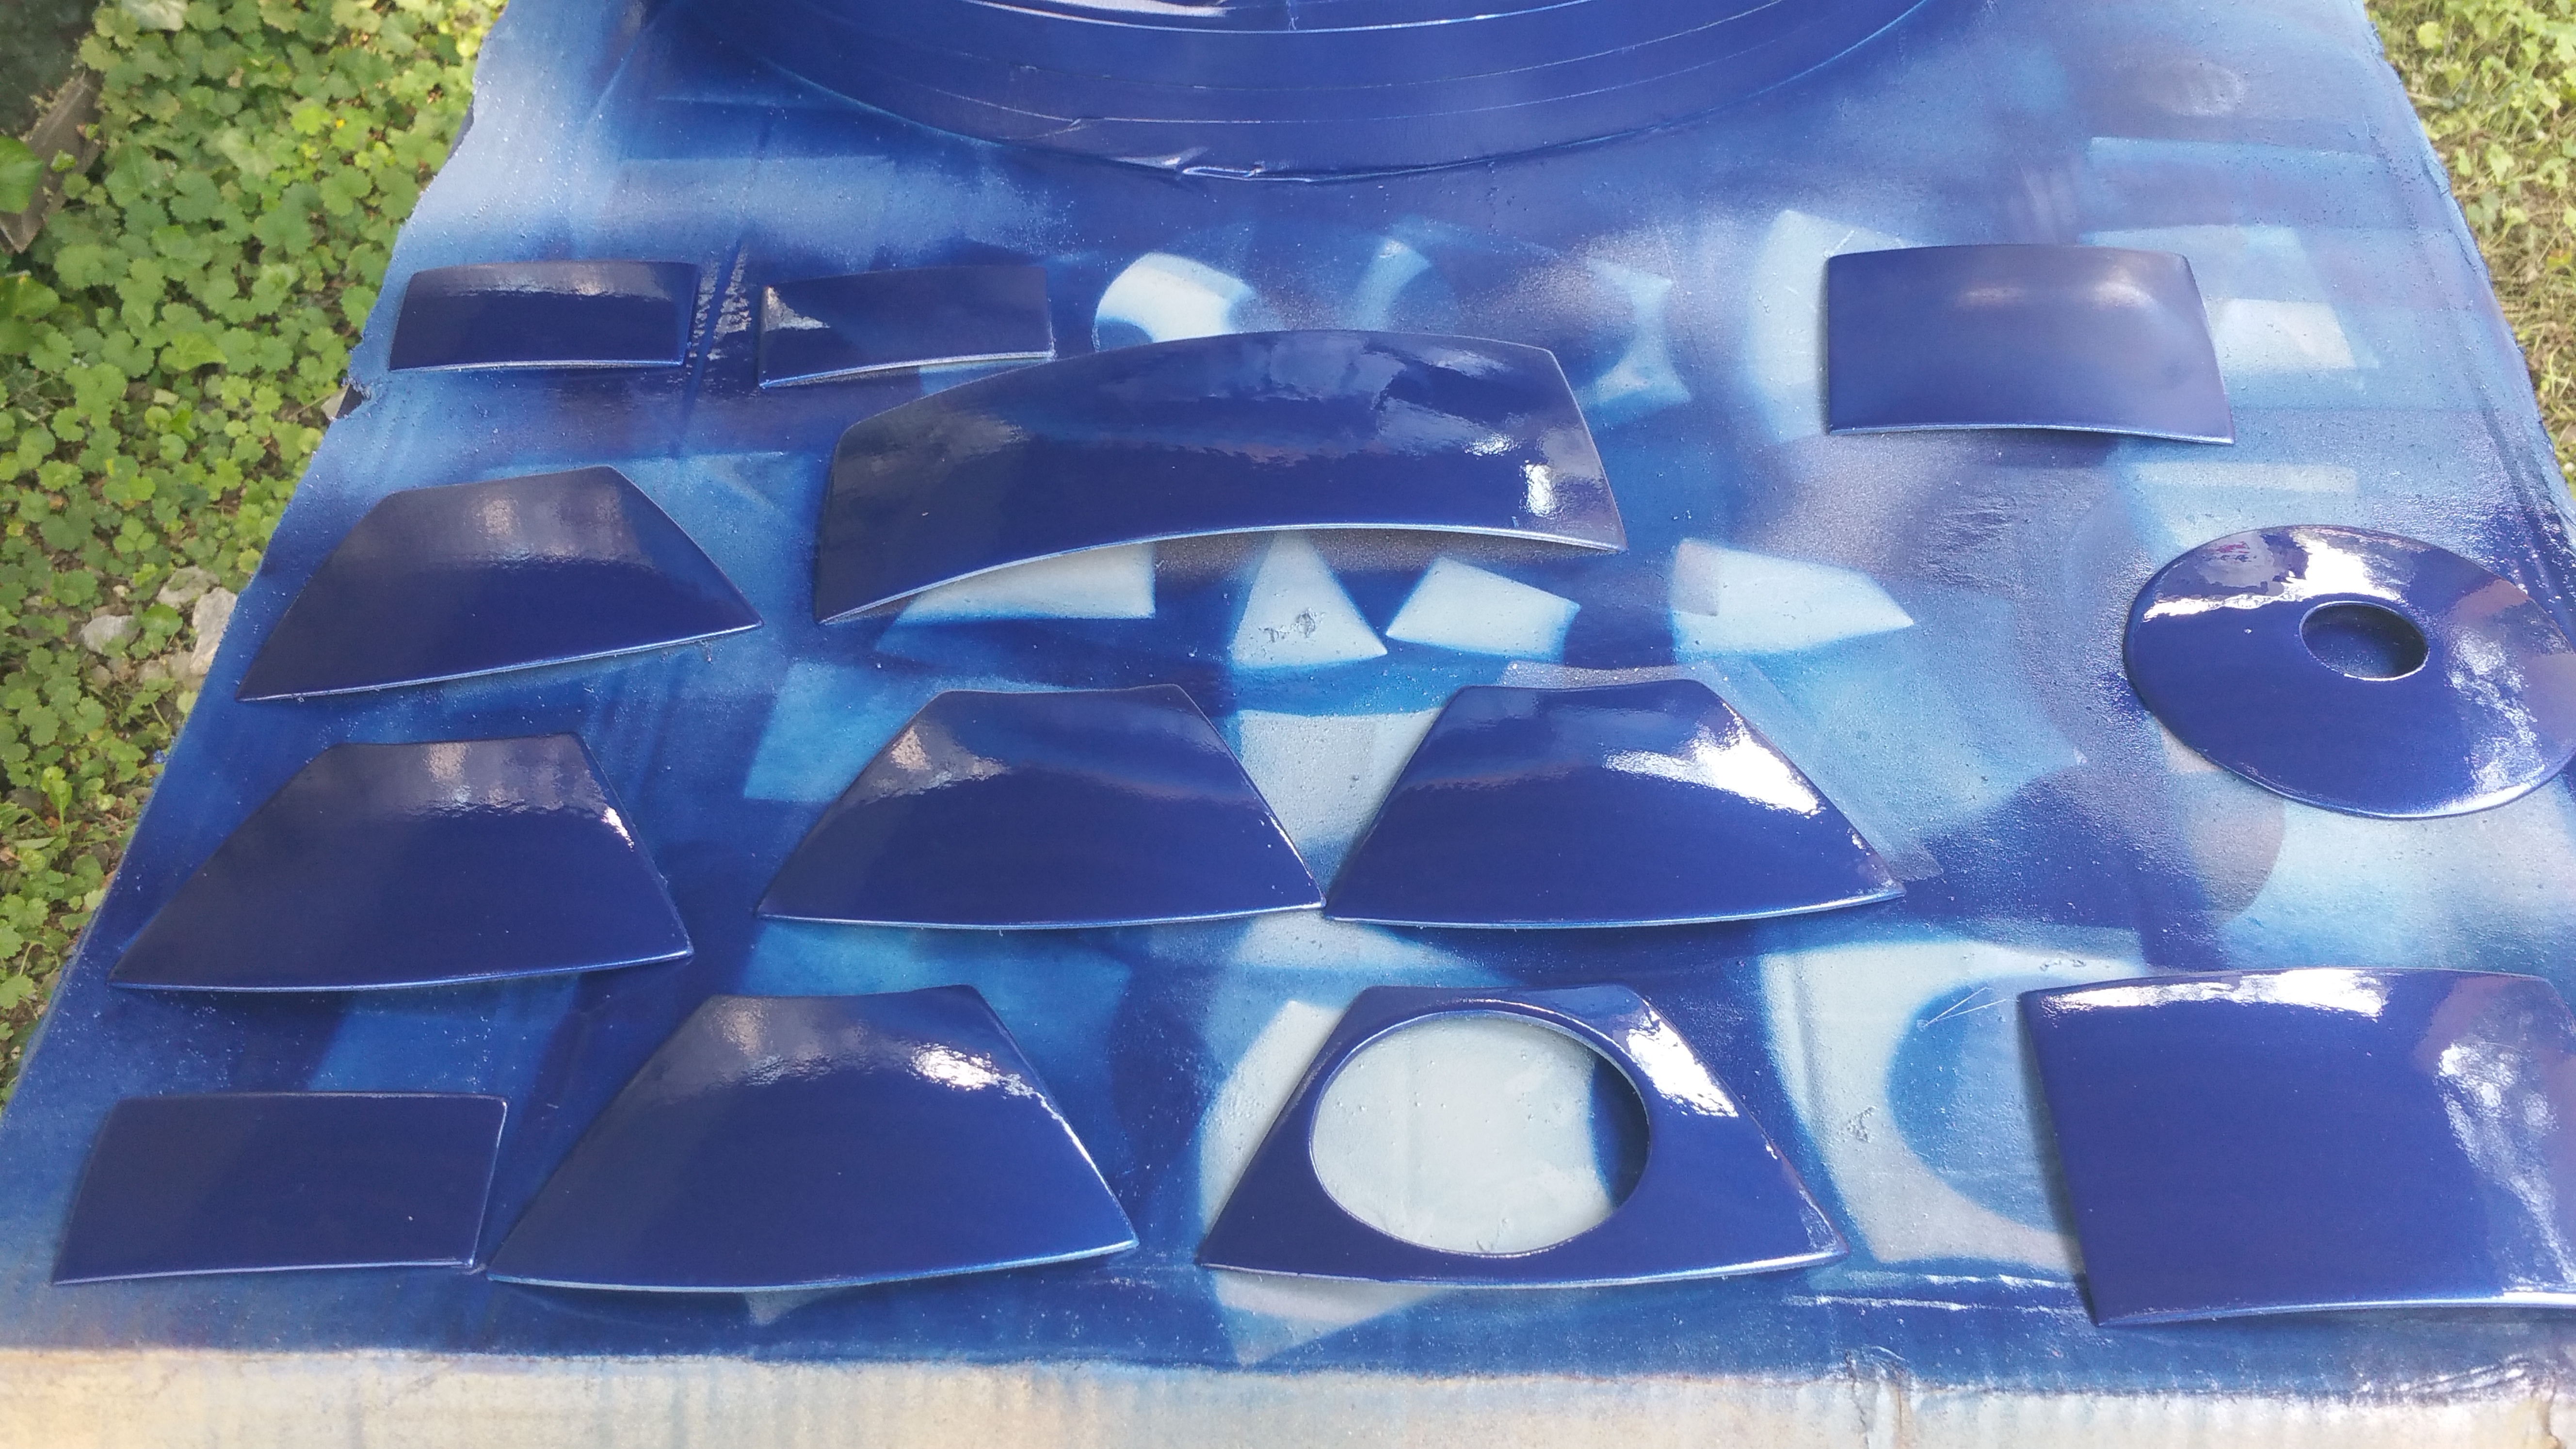
I think i got it pretty close, maybe a little on the dark side( no pun intended). I’ll have to work on that. I also decide to do both the panels and the dome at the same time. This way the final color will match. If i were to do the dome on another day, the colors might be a little bit different depending on temperature and humidity.
Prepping Dome

Changed Primer, no longer clear so I can spot any issues early.

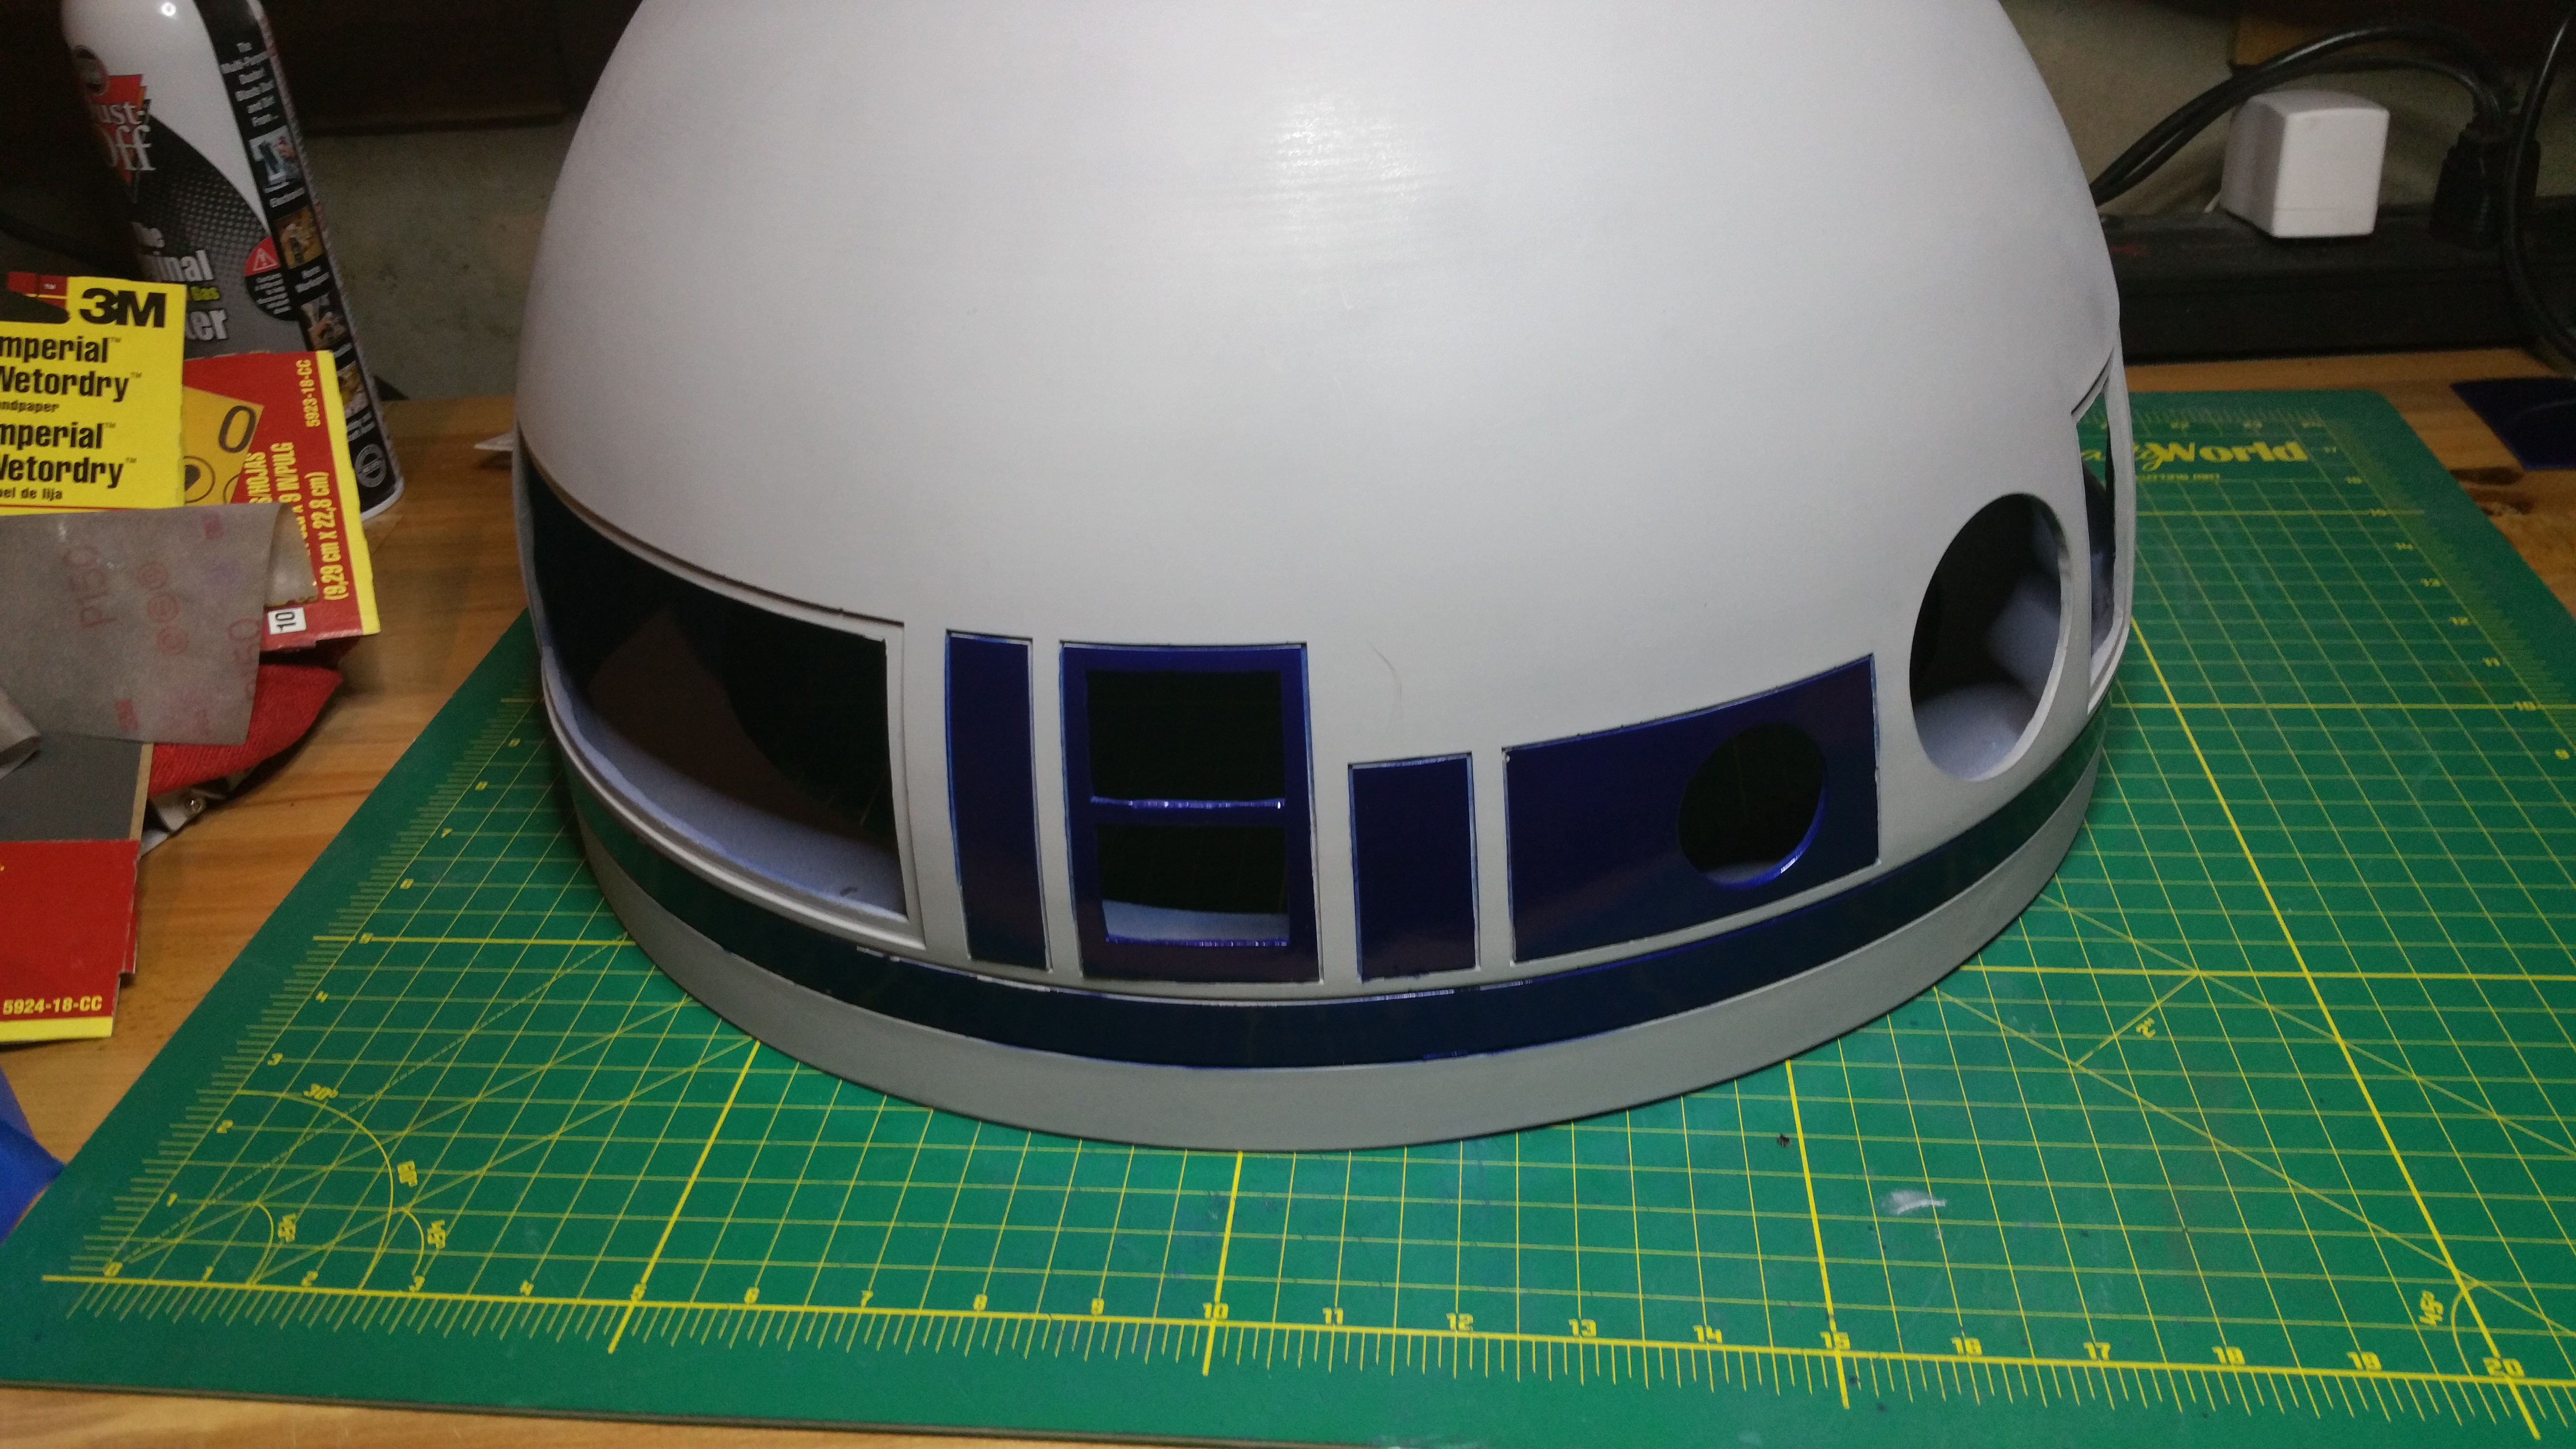
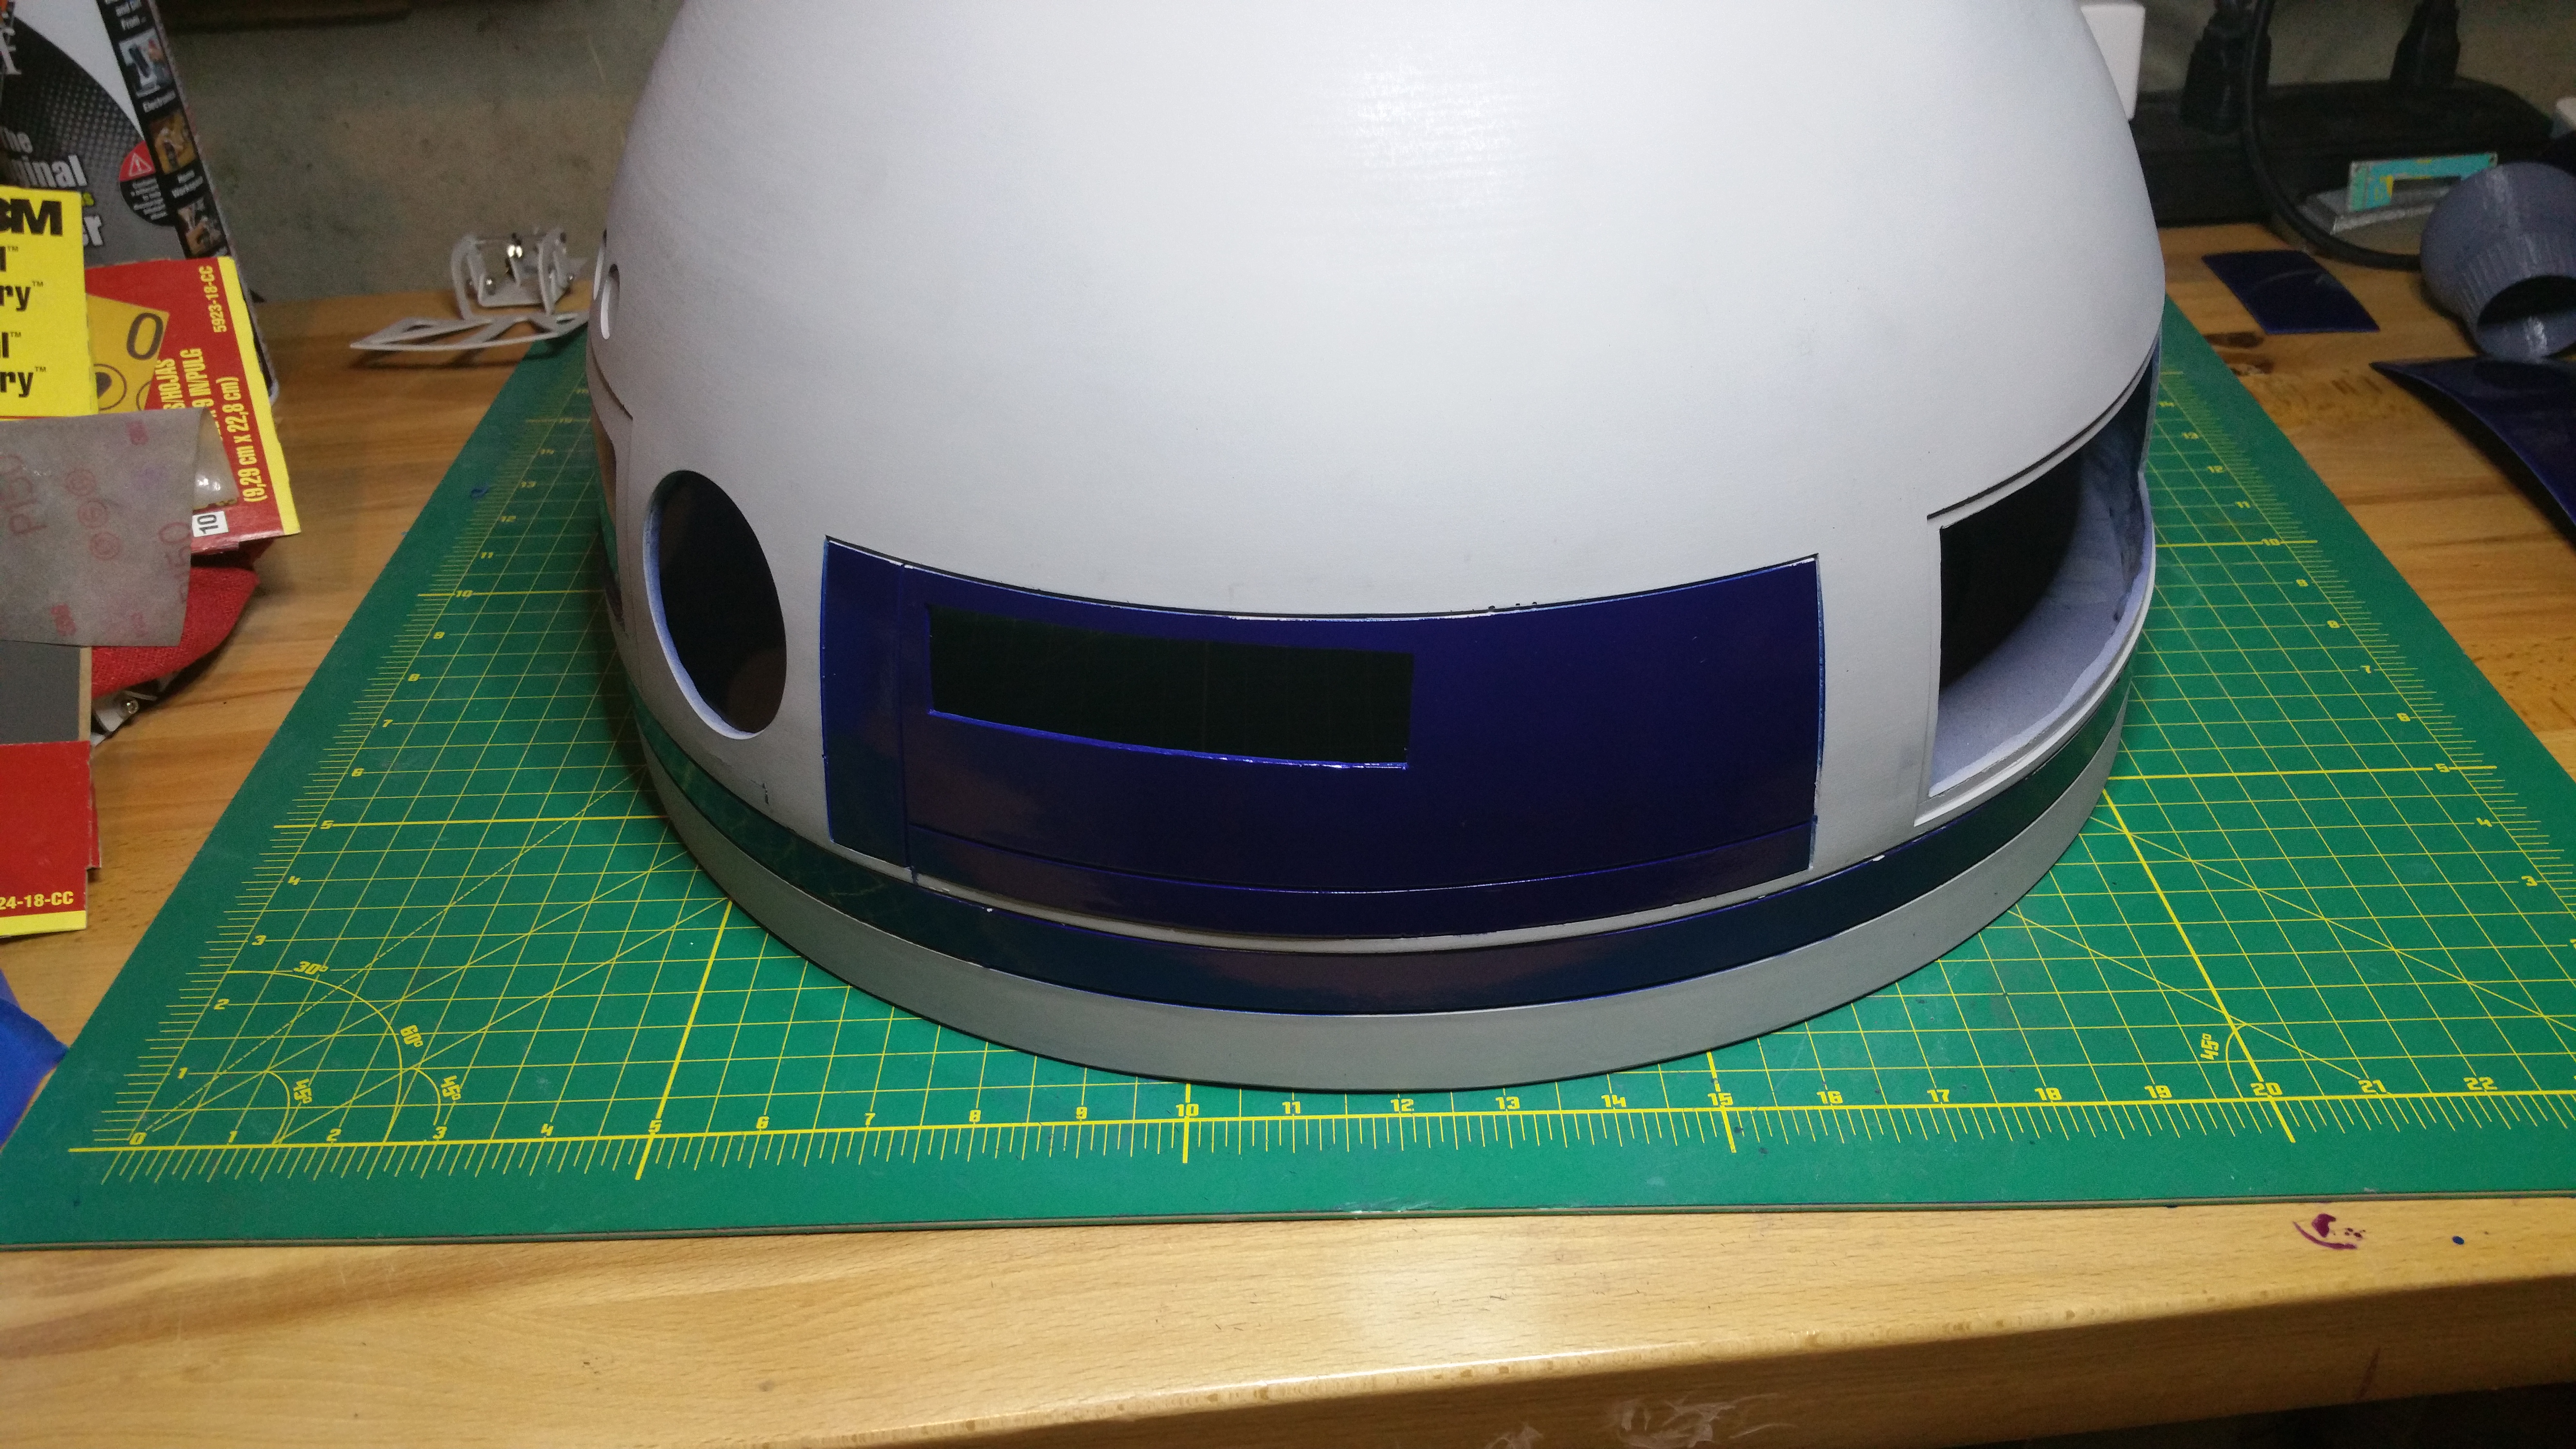
Masking off the parts I don’t want to be blue
Painting blue layer

After adding clear coat
Looking good
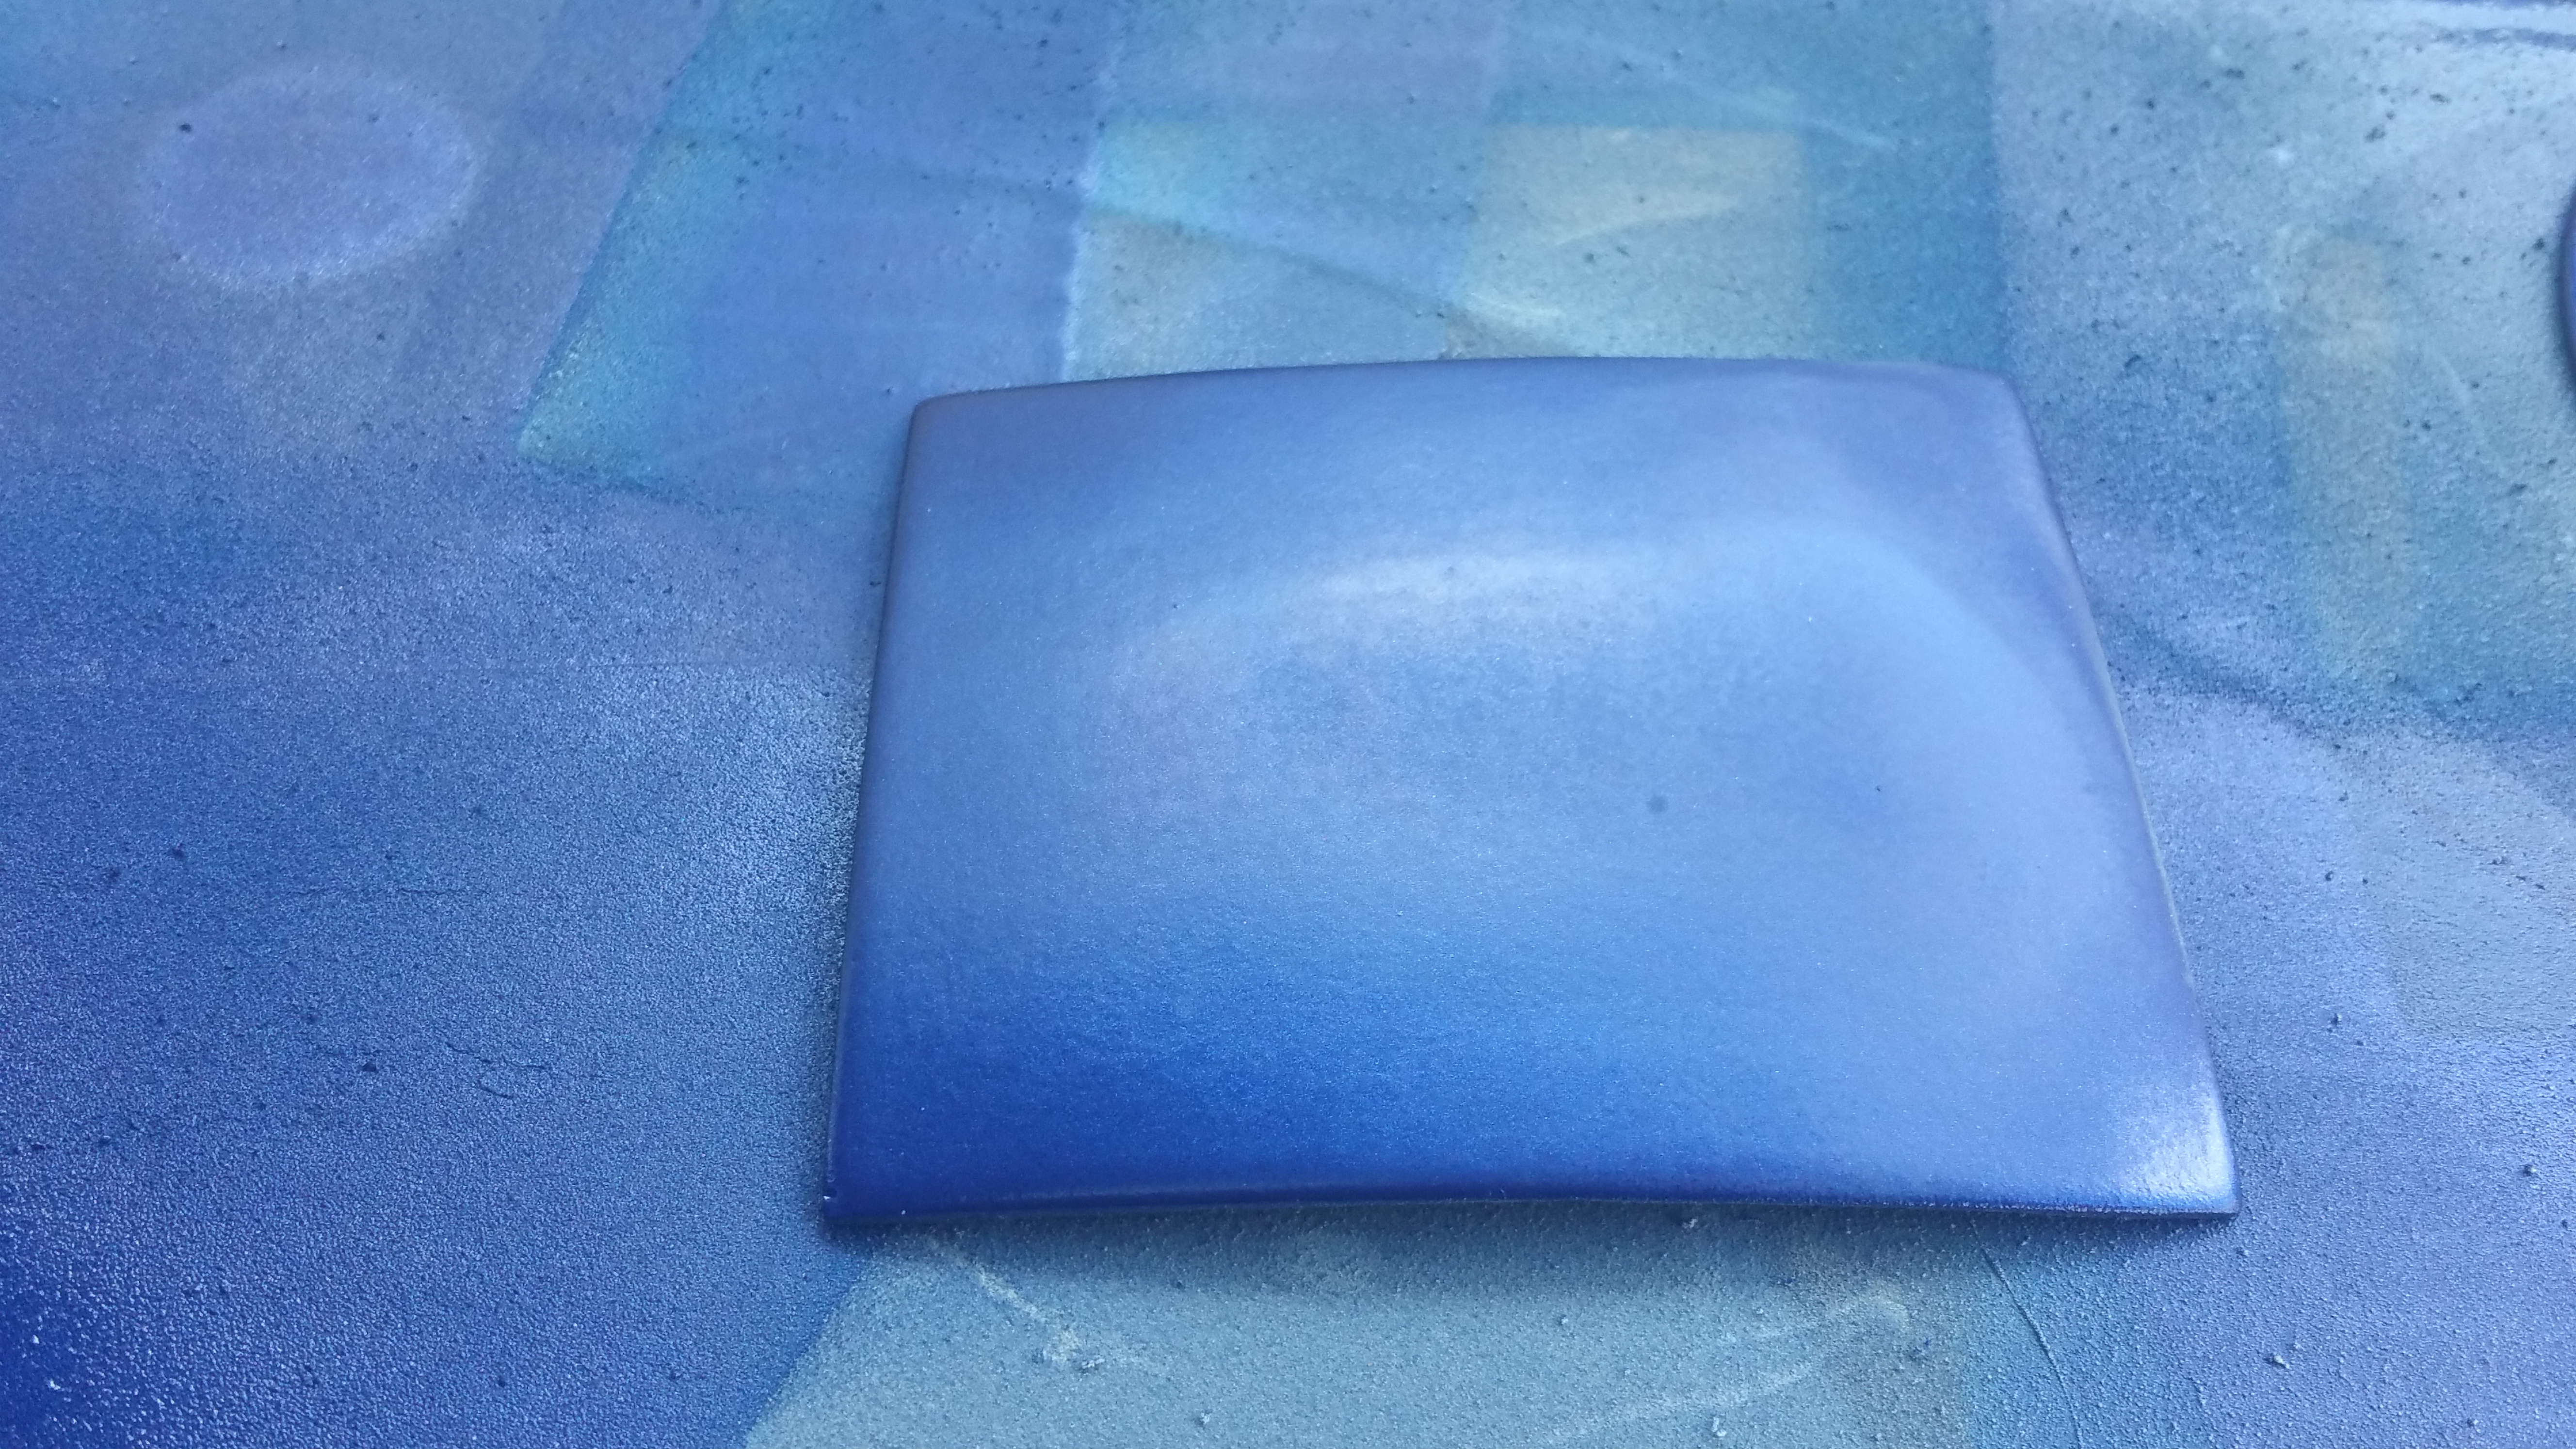
Except this one piece, not sure what is happening here, will have to re-do this one.

Yeah i definitely like it better this color.

Dome turned out pretty good as well. but there are a couple of touch up spots I will have to go back and fix.

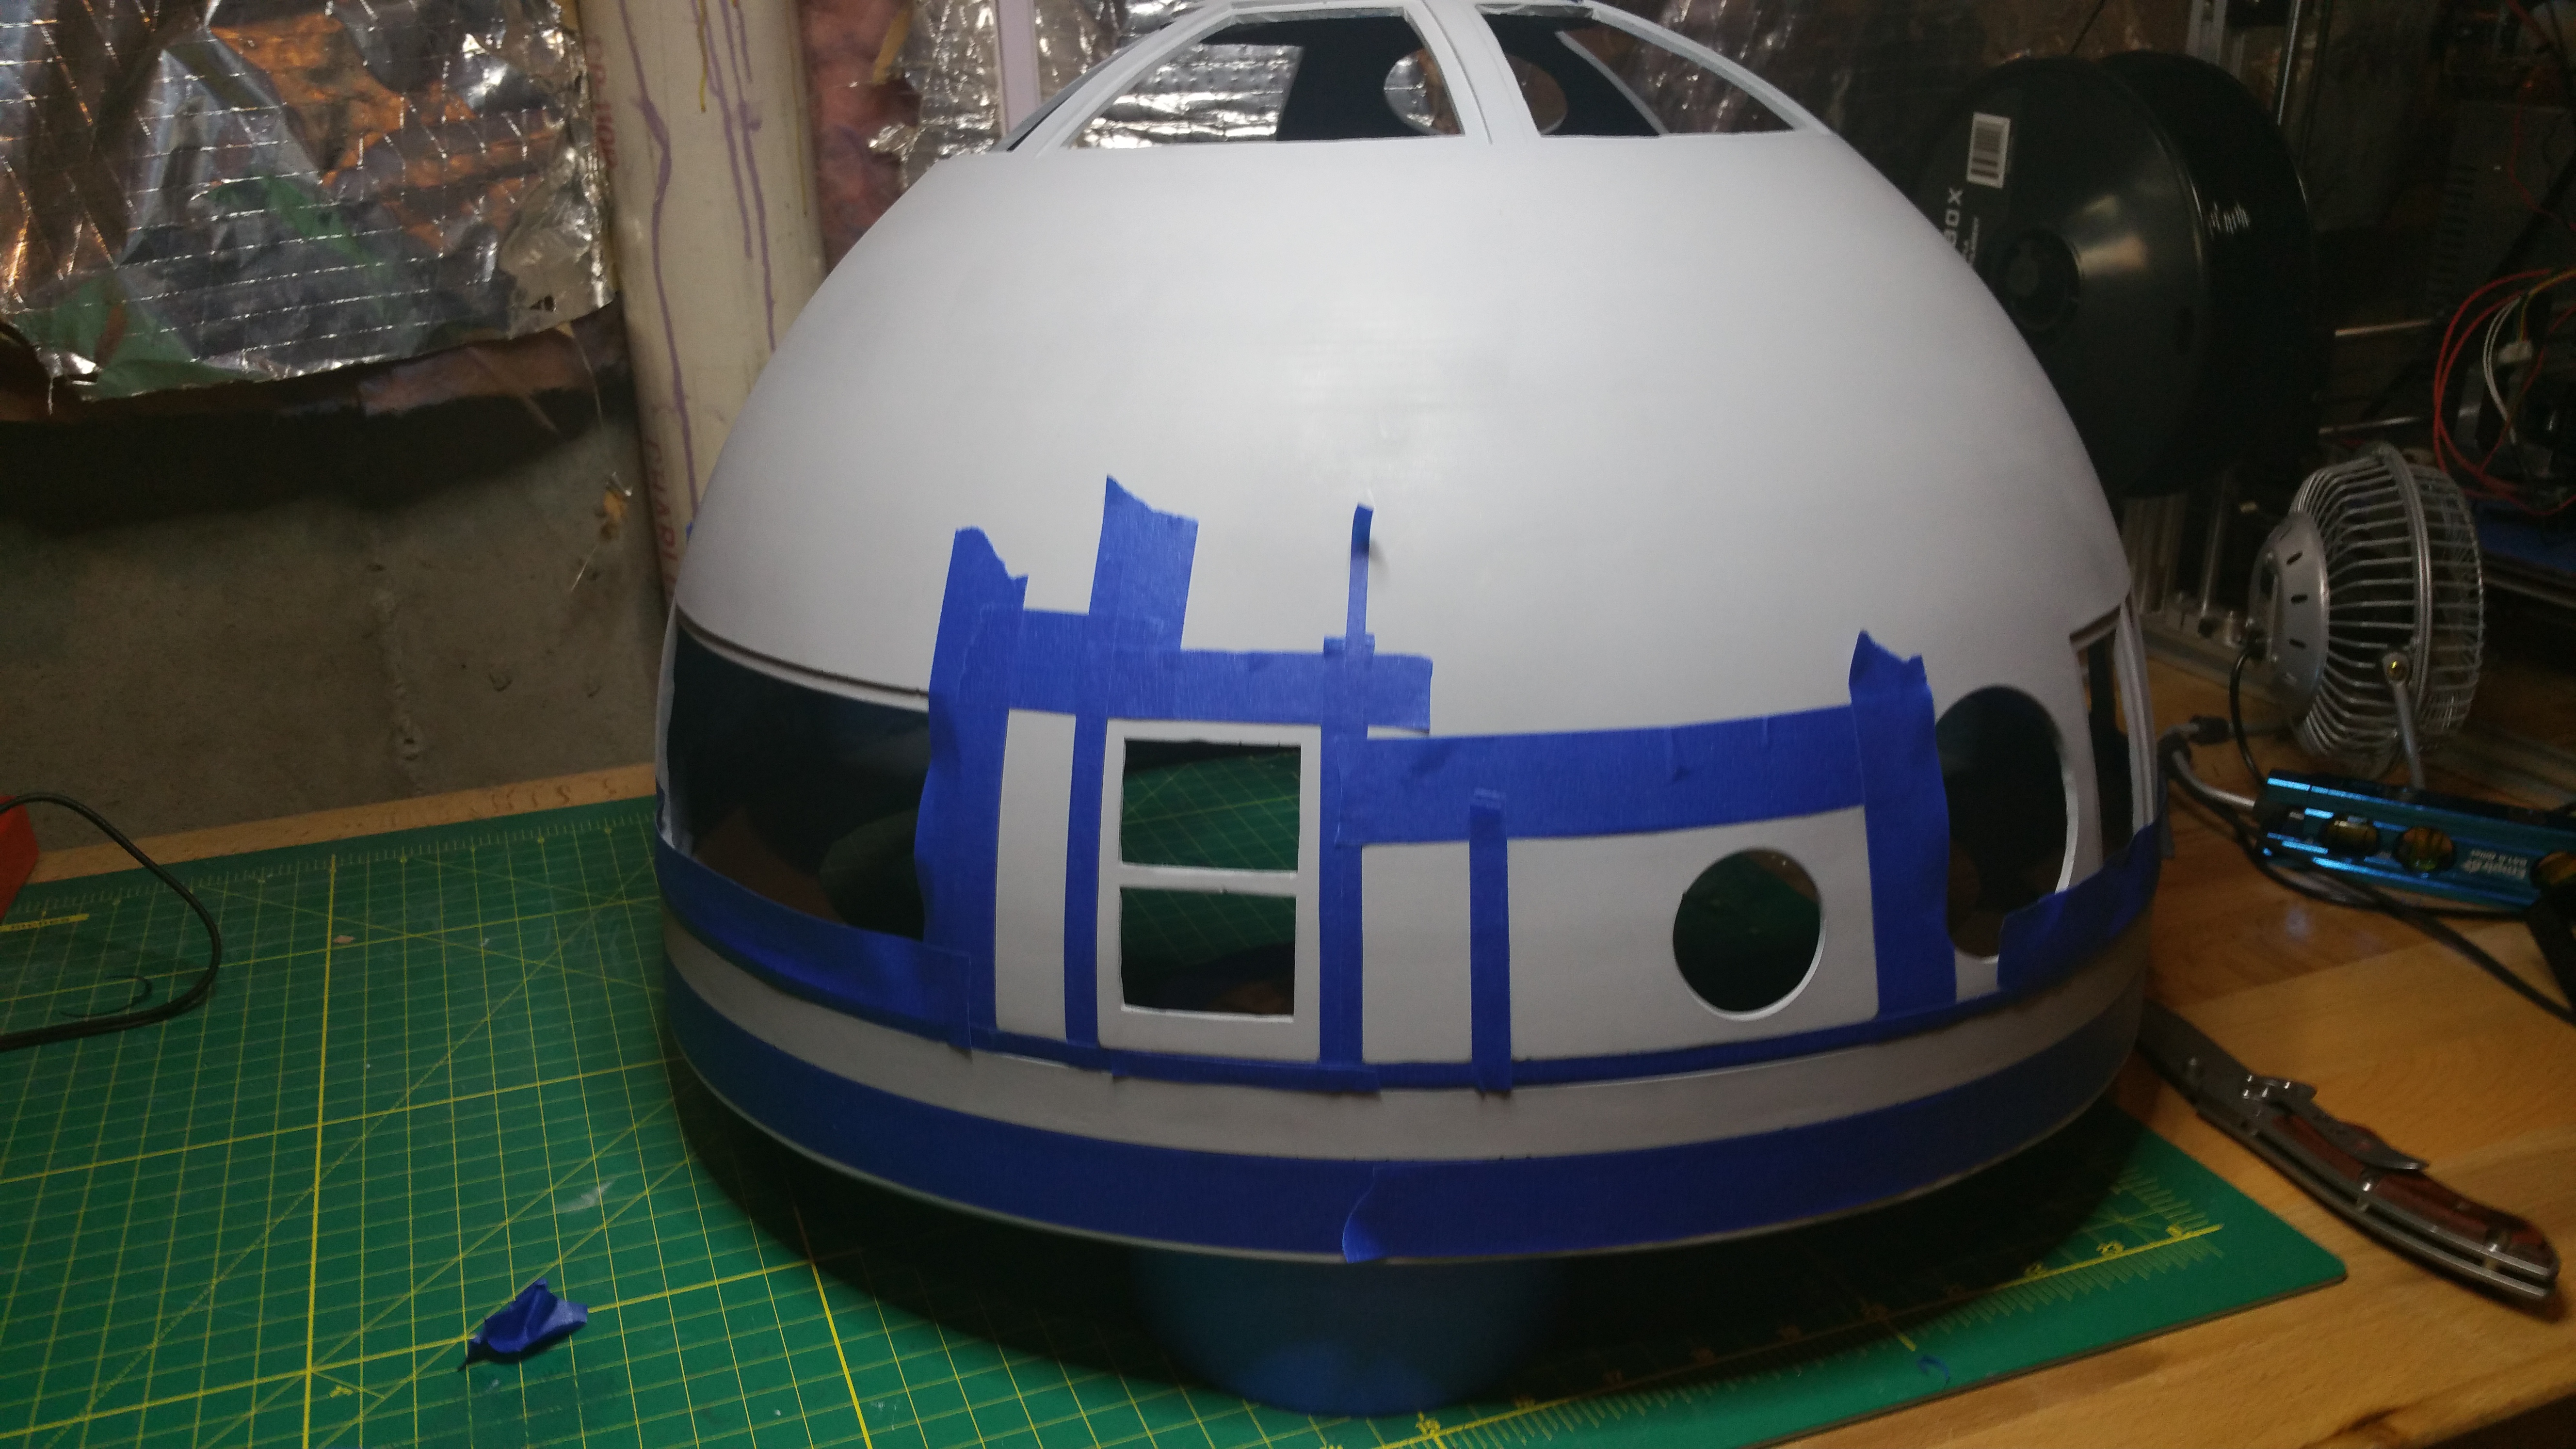
With panels in place. I still need to paint the rest of the dome in a metallic/aluminum color
To-do list for dome
Paint rest of dome
Print out/Paint Holoprojectors
Mount hinges for panels
Install electronics
I have been thinking and I might be able to get the whole thing complete by DEC 17. Its not my goal, I don’t have any set date in mind that i want to be done by. But if I can get it done by then it would be pretty cool.
