Surprise! I know its been less than 2 weeks since my last update, but I am going to try to update more often.
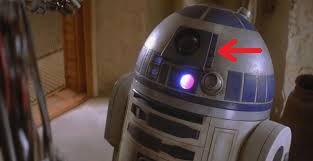
Now that the painting of the dome is complete I can start attaching parts. The first one will be his radar eye.
The first thing I need to do is make the lens. I was able to find a plastic ornament that comes in two halves at the hobby shop. It is the right size in diameter, but a bit too tall.

So I had to cut it down to size
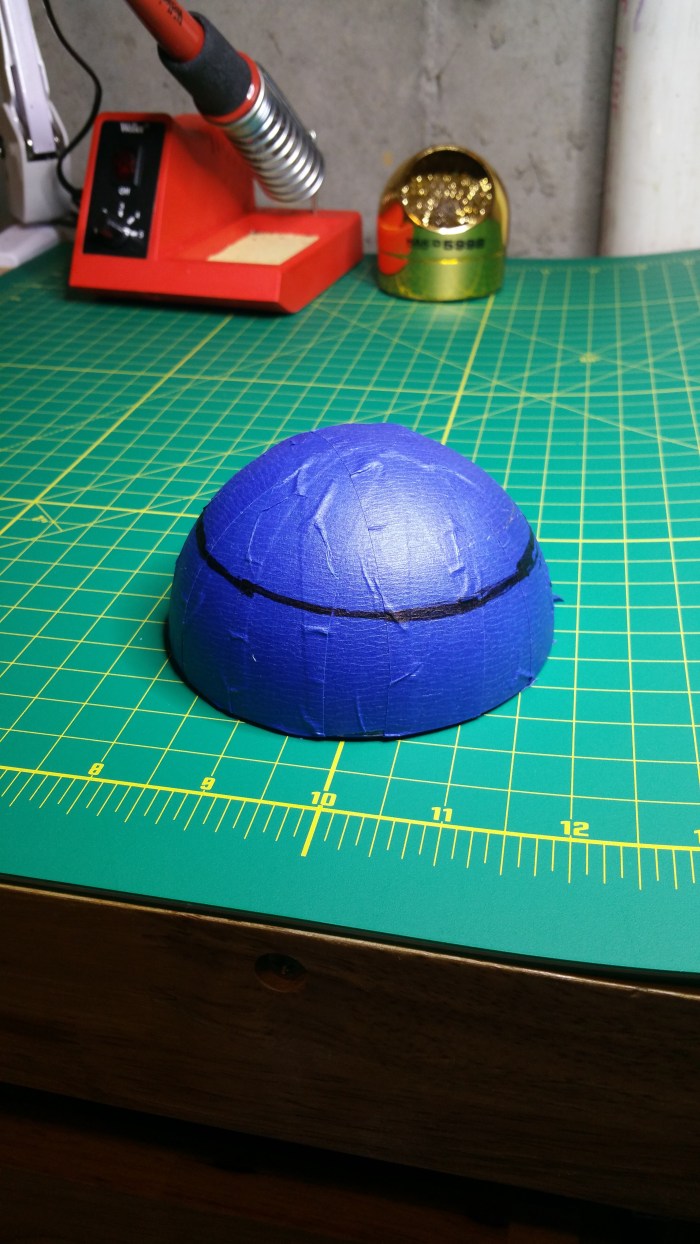 I covered it in tape to avoid splintering of the plastic and to provide a surface that I could easily mark out where I needed to cut.
 Used a dremmel with a cut-off wheel to get it down to size
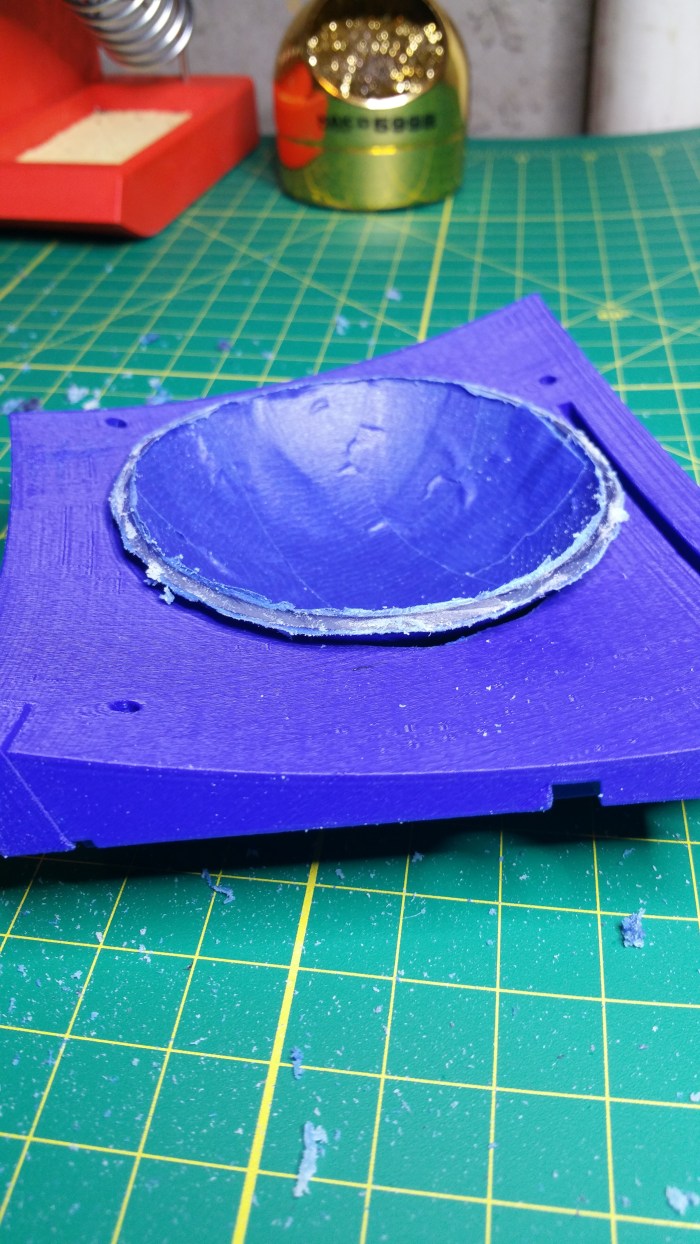 Sill a bit too big. Should be close to flush with the part, so that the whole piece will fit flat to the dome.

I used a table mounted belt sander to get it down the rest of the way
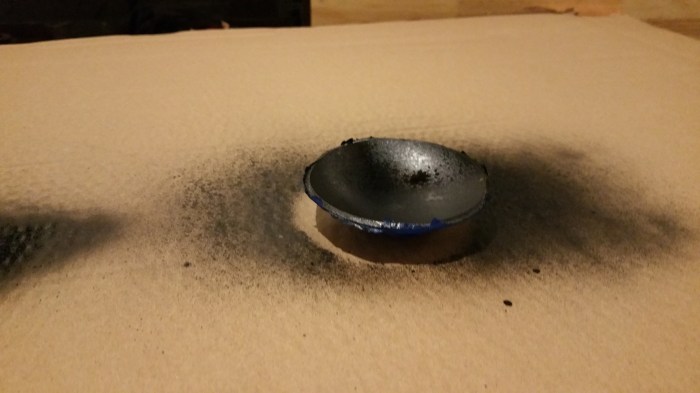
I painted the inside of the “lens” black to give it a mirror like appearance.
 Nice and shiny. Now on to the body of the eye.
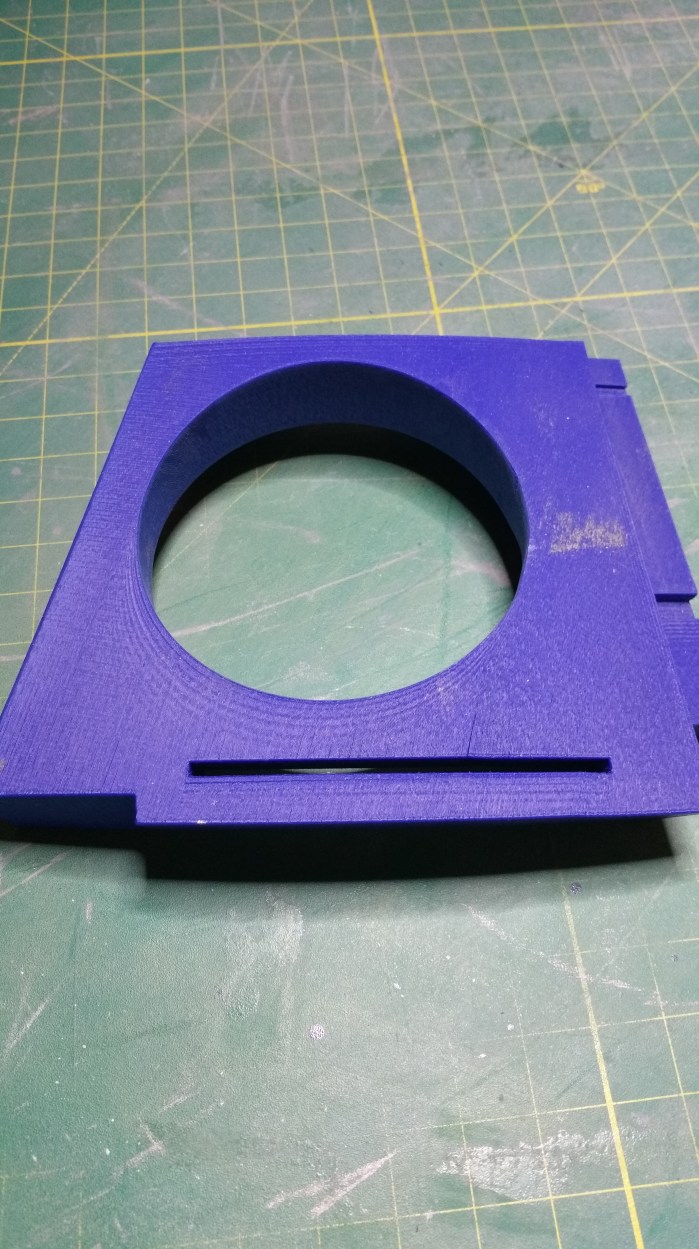
Its a 3-d printed part. but not one that i printed myself. I got this before i decided to get a printer for myself.
One of the obvious issues with 3-d printed parts is because the part is built up layer by layer, you get “print lines”. You can see that this part was printed with the left side of the part sitting on the print table. The print lines all run parallel to that surface. From bottom left to upper right. And while this part is a really good print, the lines are still there. It is not just a visual line these are actual ridges of plastic. Since this particular part is pretty simple in shape, and doesn’t really have that much detail it will be a pretty “easy”. I need to fill in those lines with filler putty. The Fist thing I needed to do though was get a different type of filler.

This is a one-part putty, as compared to the two-part putty I was using on the dome. I’ve got a little bit more time to work with this stuff than with the two part, plus it saves me a step or two mixing up my own filler.

First pass with the putty, you ca really see some of the print lines I was talking about in this picture.
After the fist sanding. Starting to knock down the high spots, getting a lot more smooth.

This is after my first coat of primer. It shows where I needed to re-do some of the work. I hadn’t quite got out all the lines.

After reworking, got it looking pretty good. Actually looks like a “solid” piece of material now.

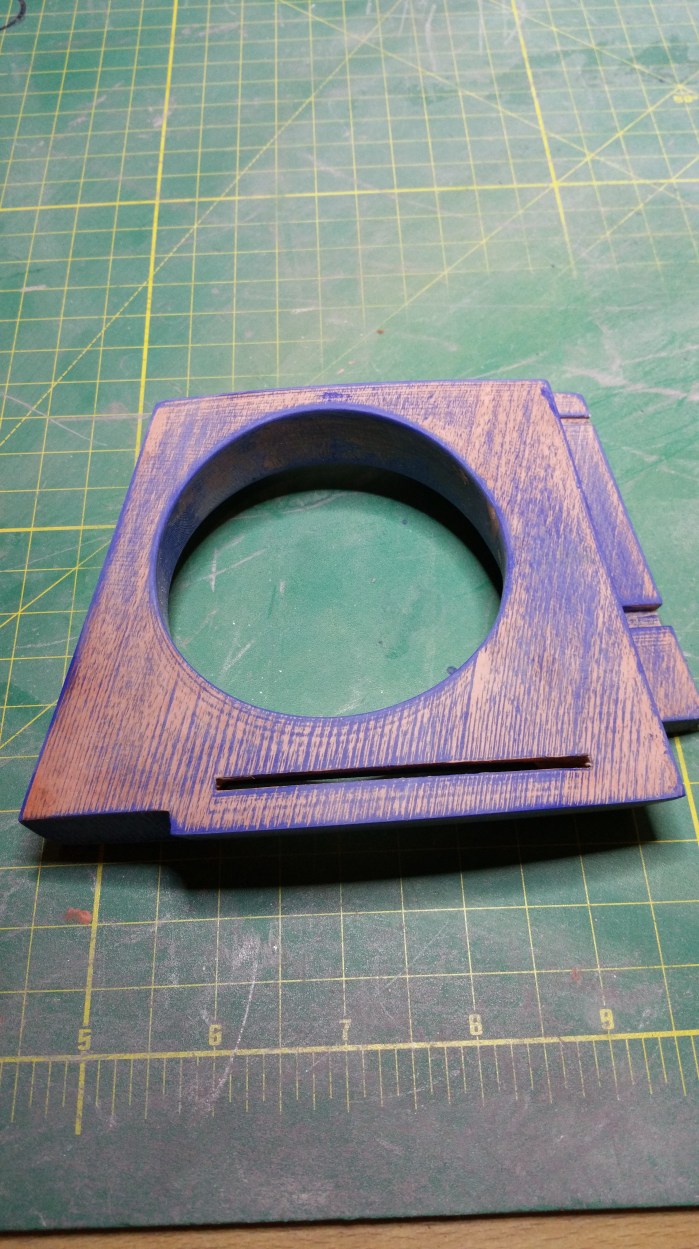
After a few coats of blue. Looking really nice. just need to add a little bit of detail.

There are two grooves that I need to paint silver. This was a little bit of pain because of all of the angles that I had to deal with in this section of the part.
 Finished
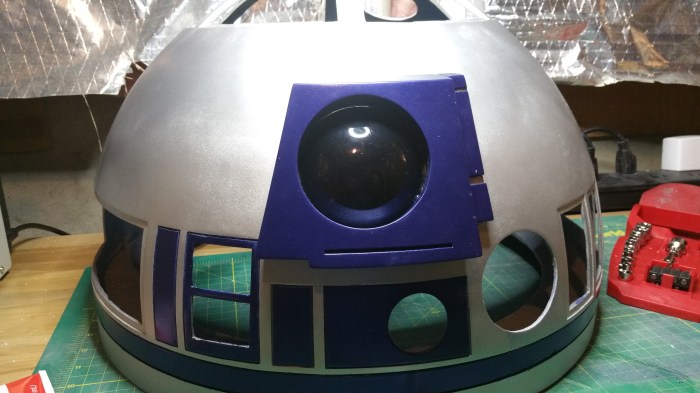
Now I have to attach it to the dome.
 This seems to be pretty good, but trying to find out out the exact position is a little trickier than it first would seem. It turns out, for whatever reason, that in the movies the radar eye is all over the place. Not so much that you would notice it while watching the movie. But when you start looking at it scene by scene, and focus just on his eye, it moves around quite a bit.
I decided to “glue it, and screw it” to actually attach it to the dome.
 Using this type of bolt. It’s called a hanger bolt. The same kind of bolt, but much smaller, obviously, that is used to attach couch legs to the frame. The pointy end I screwed into the back of the eye.

I had to drill through the dome to attach washers and nuts to the other side.
 The right bolt went into the piece a little bit crooked so i had to enlarge that hole just a bit.
This is the glue I used

Industrial strength and it dries clear, I have another type of glue that may be a bit stronger, but it dries white.
 Attached!
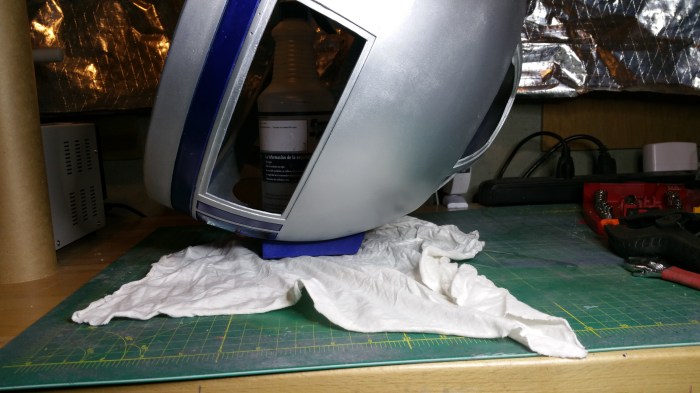 I didn’t have any clamps that were big enough, so this is how he has to sit while the glue sets up.
Next up, I think I am going to tackle the holoprojectors. This may take a bit more time because they are a bit more detailed, and they are going to be the first moving part.
