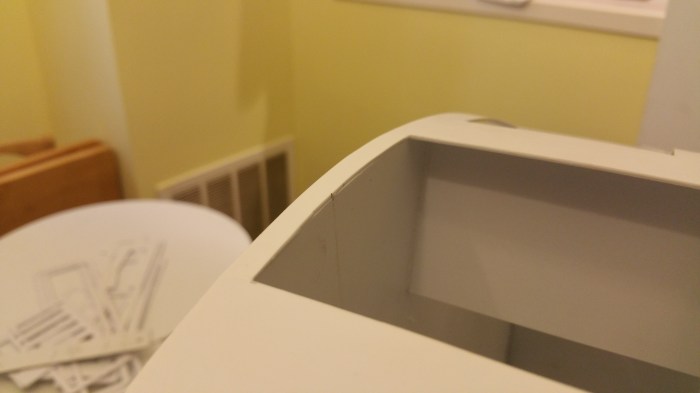
The next logical step is to put a skin around the frame. Unlike the frame there are usually only two materials that are used to make the skin, aluminum or styrene.
Aluminum skins.
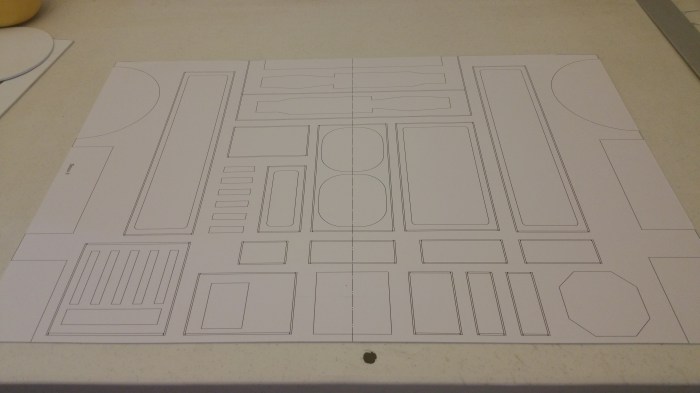
To achieve the appearance of different panels and doors that make up the body of R2, four sets of skins are used. Two inner sets (front and back) and two outer sets (also front and back). In the case of styrene they are cut out of much thinner sheets (1mm) as compared to the frame(3mm). They also require a different technique to cut out. I was able to use the score and snap method only for the cuts along the edge of the skin. With all of the inner cuts I basically had to cut through the entire thickness of the sheet, which is a heck of a lot of easier with 1mm.
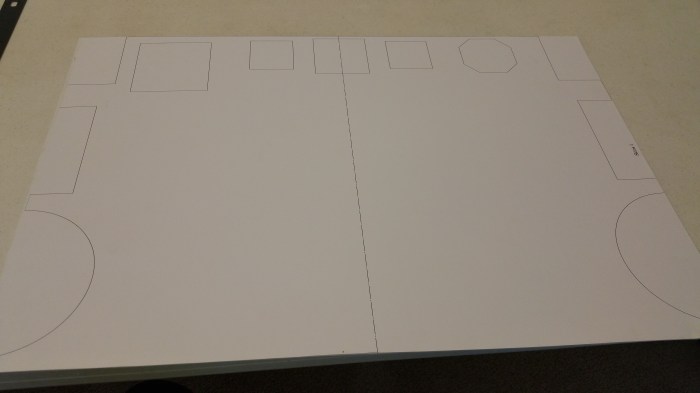
Uncut inner back skin.
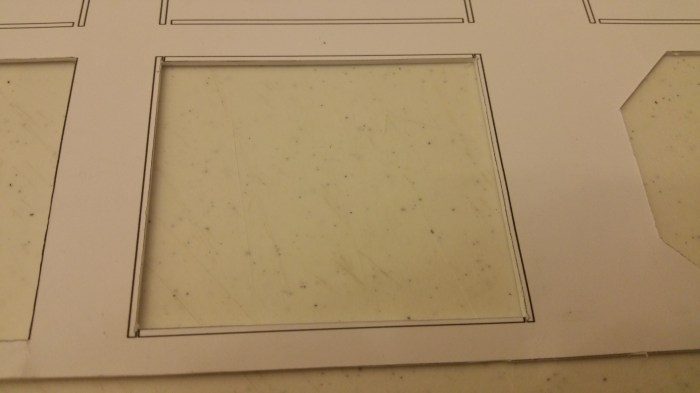
First inner piece cut out. Most of the inner cuts are required to allow parts to be mounted through the skin.

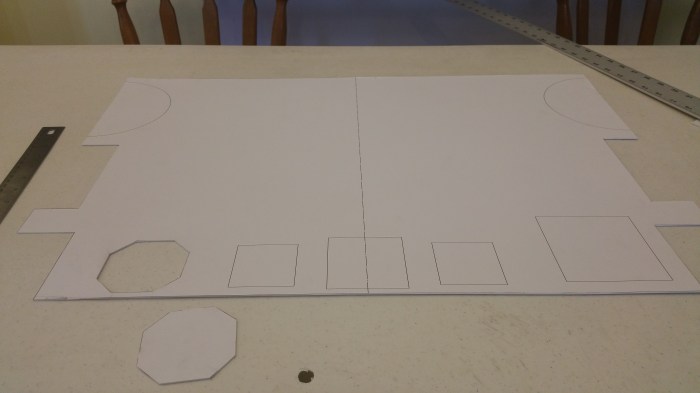
Inner back skin almost completed. At this point I still had not figured out how I was going to free-hand cut out the shoulder circles yet.

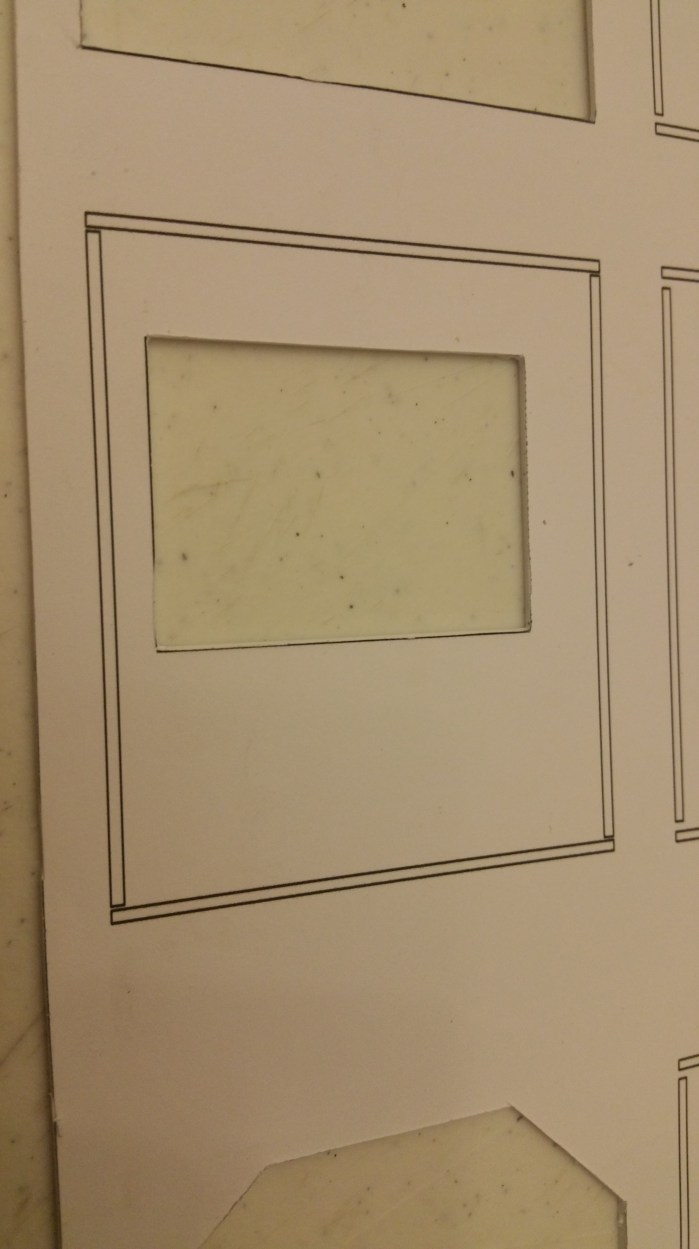
Inner front. A little bit more complicated.

The key to getting nice cuts is to always make sure you have a sharp blade. So sharp that I didn’t even notice that at some point I had nicked one of my fingers. Oh well. Now that R2 has had a taste of human blood, what the worse that can happen?
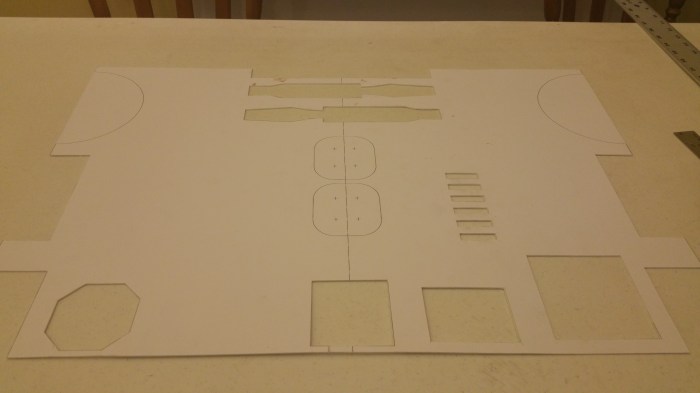
Inner front, I still had not tried to cut any curves yet. Time to figure this out.
TO THE MATHS!

First figure the radius.
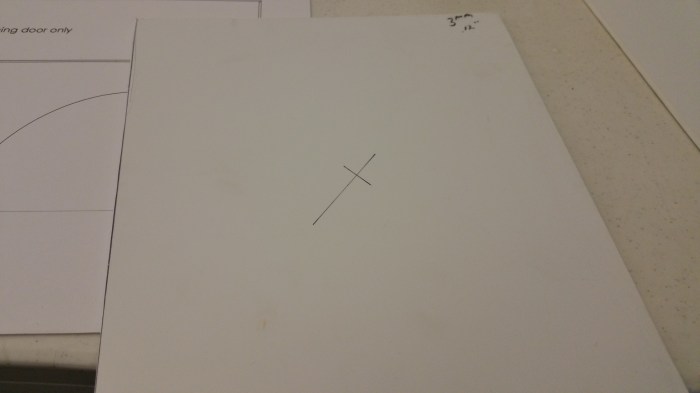
Find the center of a scrap 3mm piece.
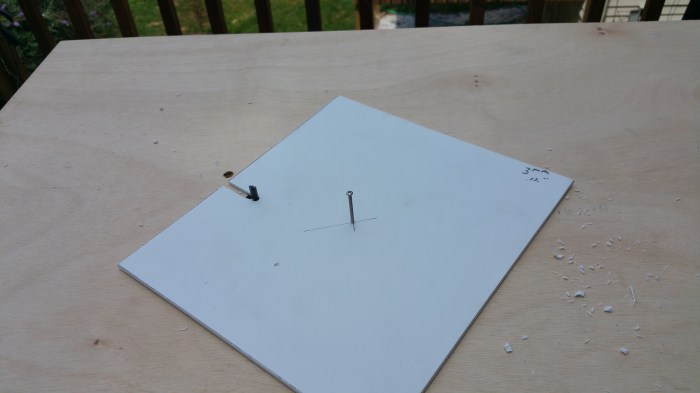
Cut out disk on the router table.

I now had a cutting guide.
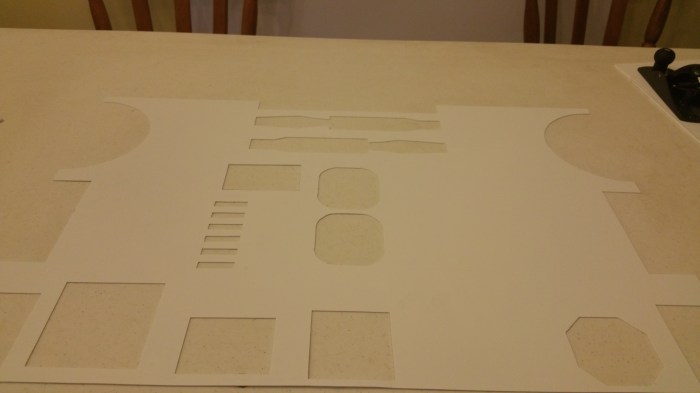
Finished inner front. I was able to actually free-hand cut where the center vents are going to be placed.

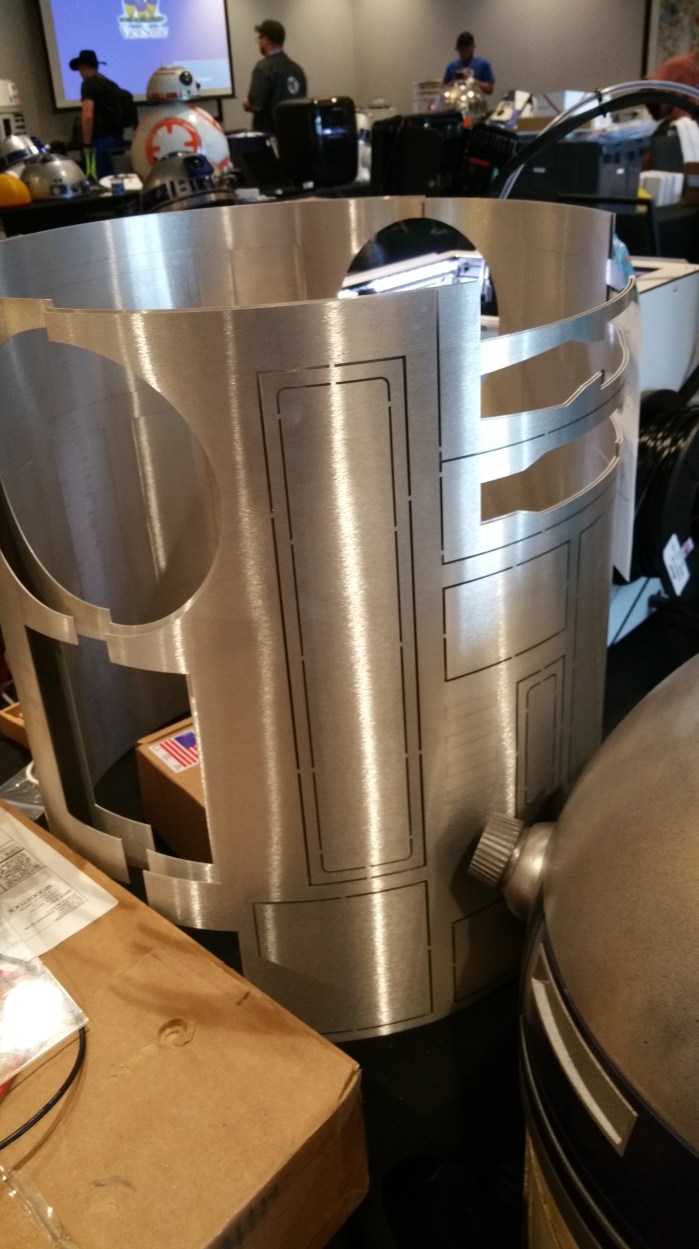
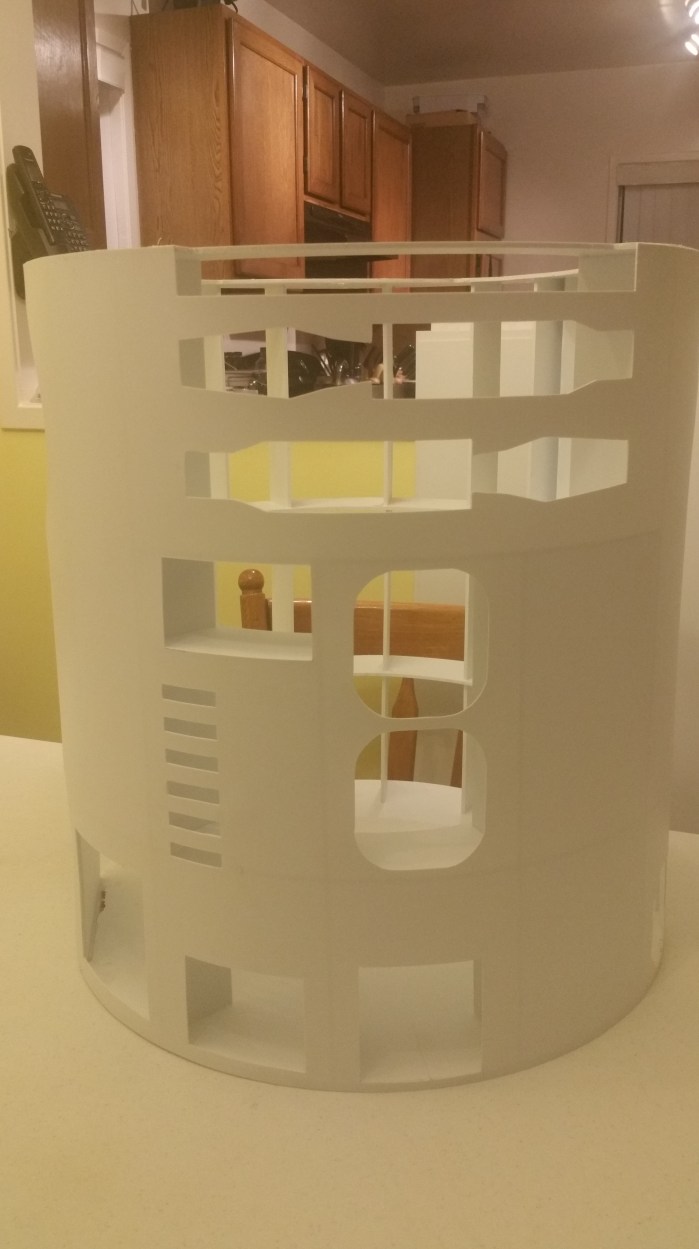
Outer back, Much more complicated than either inner skins.
I had to cut wherever there is a black line. So I start from the center.
Then the next set of lines.

Then finally the outer lines. This method allowed me to give the straight edge as much support as possible so that I could make straight cuts.

After I cut the parts out I labeled them and set them off to the side.

Outer back completed.
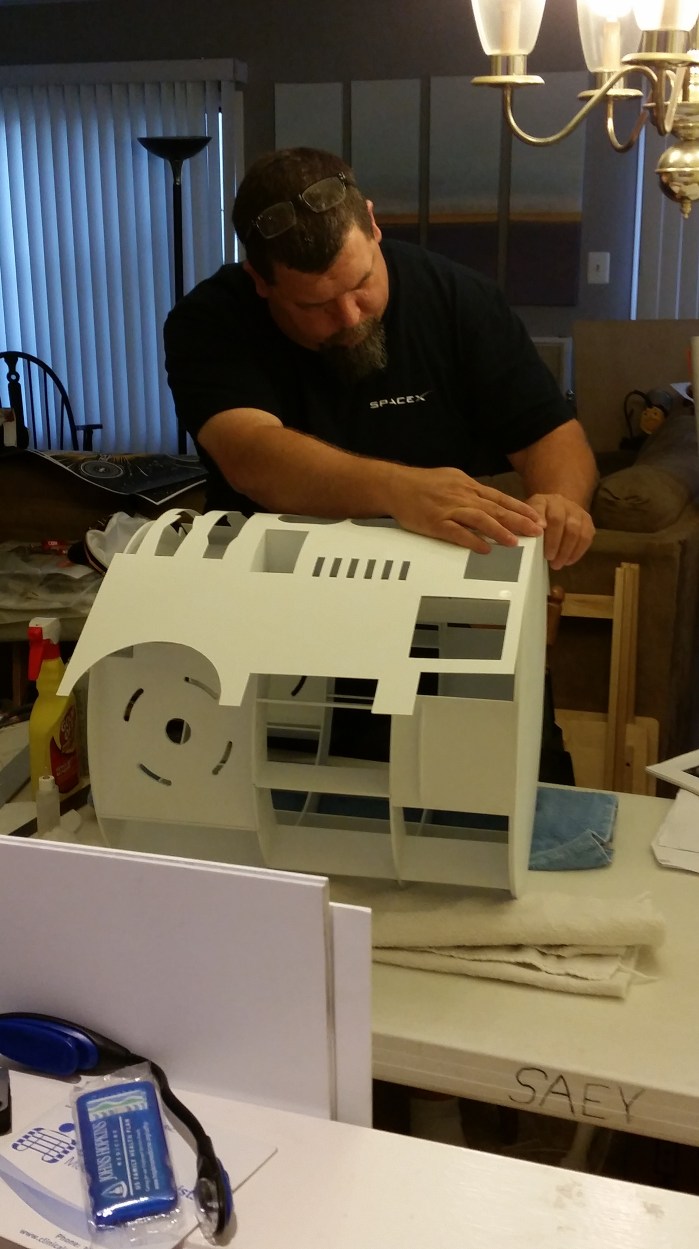
Outer front, intimidating.

Hardly anything left over.

A mockup of how it will look when both front skins are mounted on the frame.

Making sure I am doing it right.
Laying the inner front skin on the frame.
Making sure it is center to the frame.
Waiting for the weld-on to set up. Making sure the skin doesn’t move.

Applying the weld-on to wherever the skin touches the frame.
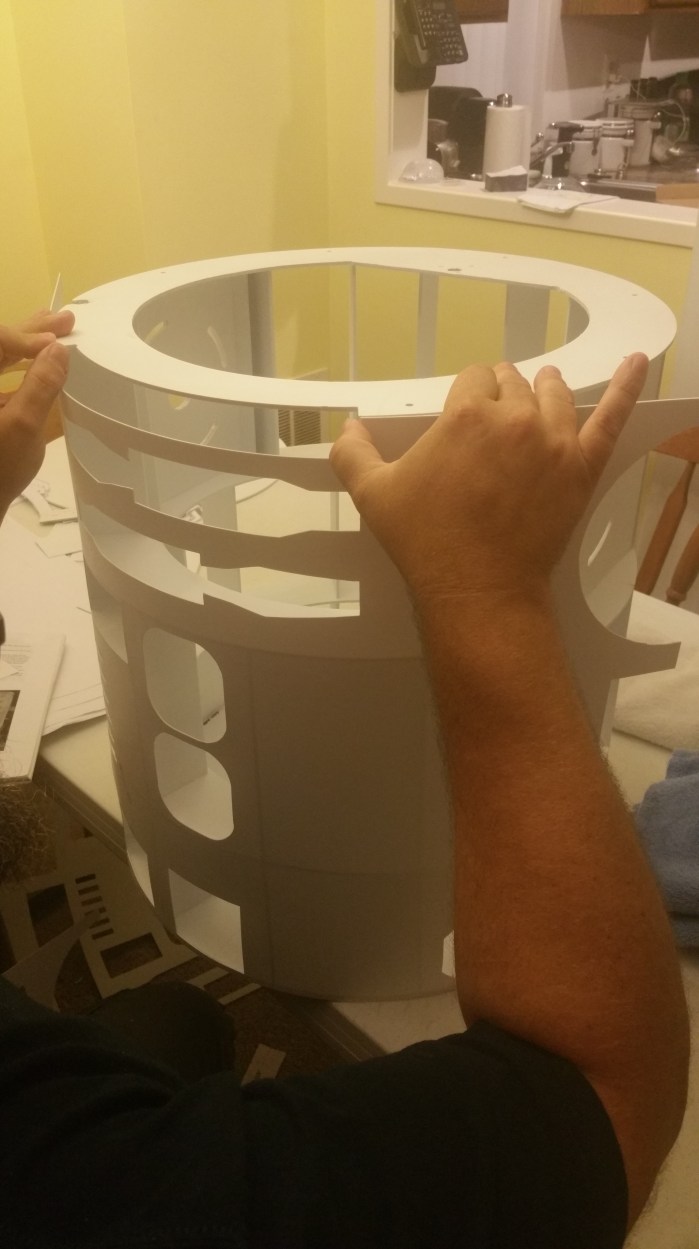
Making sure the top is lined up.
First skin mounted to frame.

The back was basically the same process.

Side view.
Tina was at work when I mounted the outer skins to the inner skins, so not as many pictures. The weld-on sets up pretty quick so not enough time to take as many pictures as I had wanted.
Woking from the center out to the sides.

Front outer mounted to front inner. Starting to get some depth.
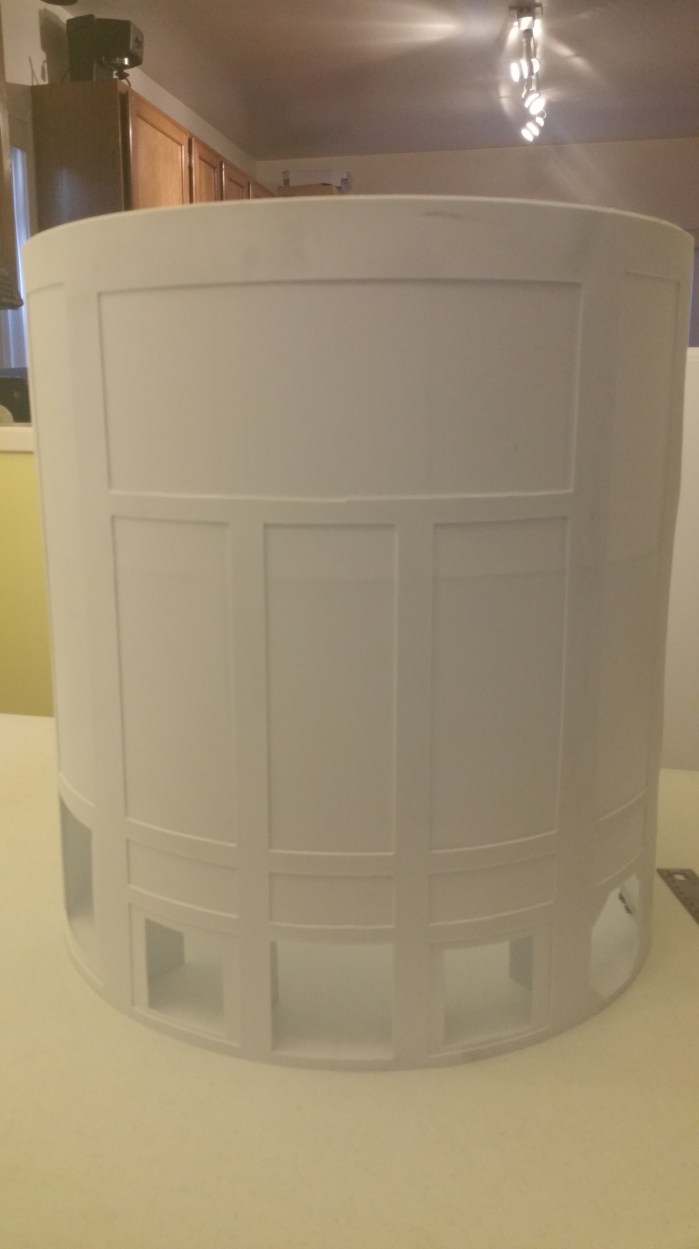
The back.

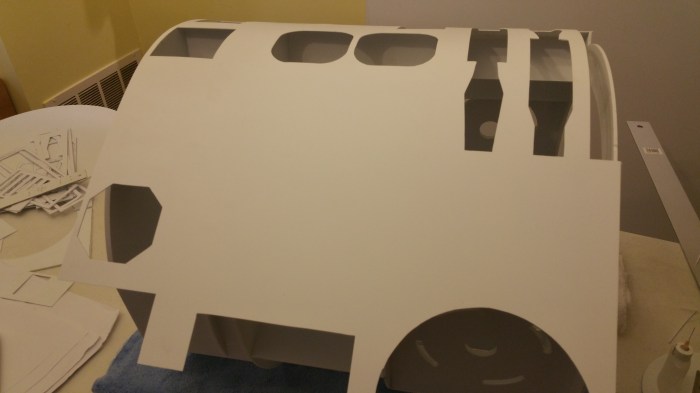
These are most of the detail parts that I had cut out earlier and set aside.
I really wanted to get the mounting of these parts right. These are supposed to be different panels and doors that could open up to reveal all kinds of different tools and gadgets that R2 would need. So I really did the best I could to make sure all the gaps were even and everything lined up.

Started at the bottom of the front.
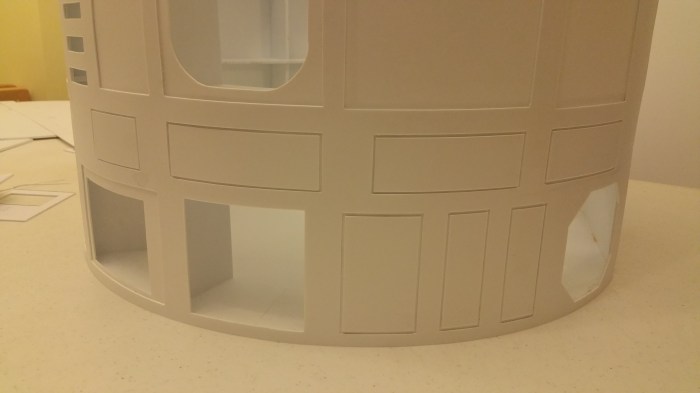
Next tier.

Third tier, also the first “doors”.

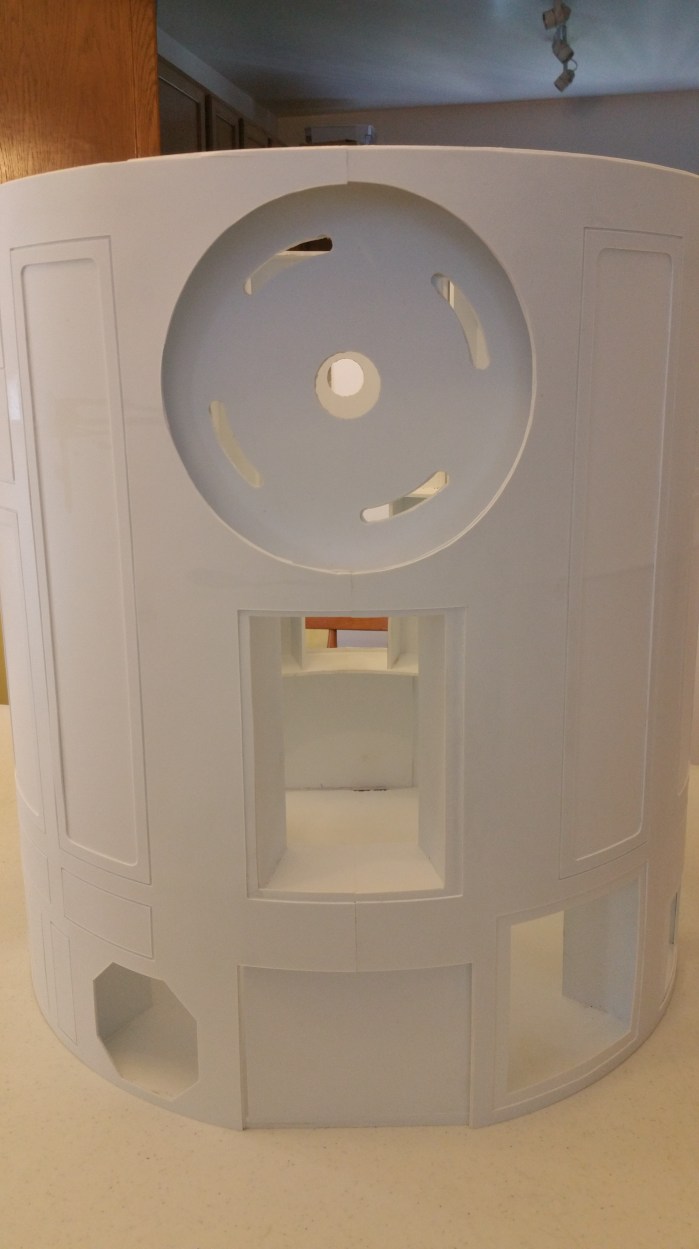
Front almost done. There is one detail piece missing, it goes in the center. It’s blue so it will be easier to paint it first, before attaching it.

The back worked pretty much the same way as the front. worked my way up from the bottom, “minding the gaps”.
From the side you can get a look of the really long doors on both the front and the back.

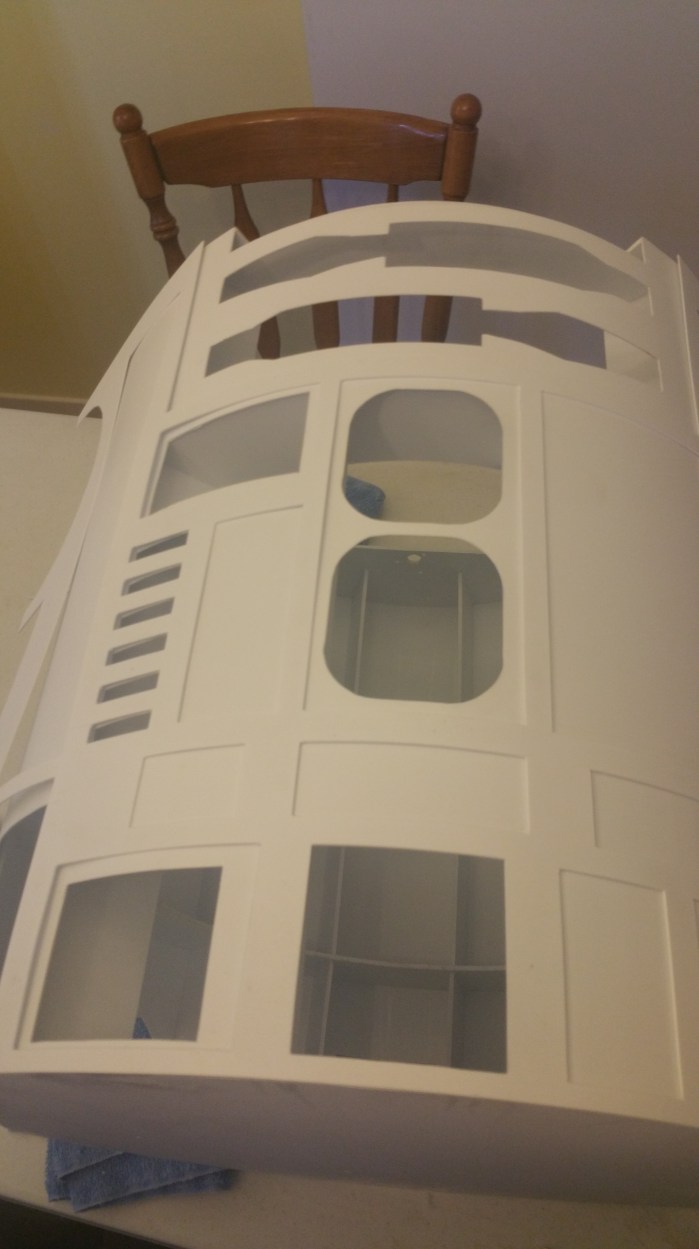
Just for fun, I wanted to see what it would look like with the dome. Not bad.
I have some options of where I can go from here. I can start building the legs, or, move on to the skirt, which sits right under the body, both of which I will continue to make out of styrene. Or I could continue with the body, but since most of the remaining parts are 3d printed I would have to change gears a bit in construction techniques. I’m on a pretty good roll right now with the styrene, but I also may want to switch it up a bit to avoid burnout. Not sure which way I want to go, yet.
