Almost seven months to the day to be exact, since my last post. And for that I apologize. Real life got in the way, as it sometimes does. I had a grueling work schedule for about 6 month straight and just did not have time to work on R2. My schedule is now back to normal so I can get back to building.
This is going to be a pretty short post. I actually did this shortly after I finished with the skins. I think at the time I had decided to not to start 3d printing parts and just keep going with making styrene parts, because like I said I was “in the groove” with that process. This part was me “finishing” off the body before going on to the the legs or skirt.

Here is where I left off. The skins look great, except for one thing. It looks “flat” and like it’s made of plastic. Probably because it IS made of plastic. It’s not really the look I want to go for. Which can only mean one thing.
MORE PAINTING!

I could have just painted it white and have it look pretty good, but I read on the Astromech.com forums about some people put a coat of silver underneath the white. The reason for this is that during the lifetime of the droid it’s going to get bumped around a lot. From loading and unloading into vehicles to interaction with the general public to operator error, paint is going to get scratched and chipped. It will look more realistic and and to the natural weathering if there is “metal” underneath.
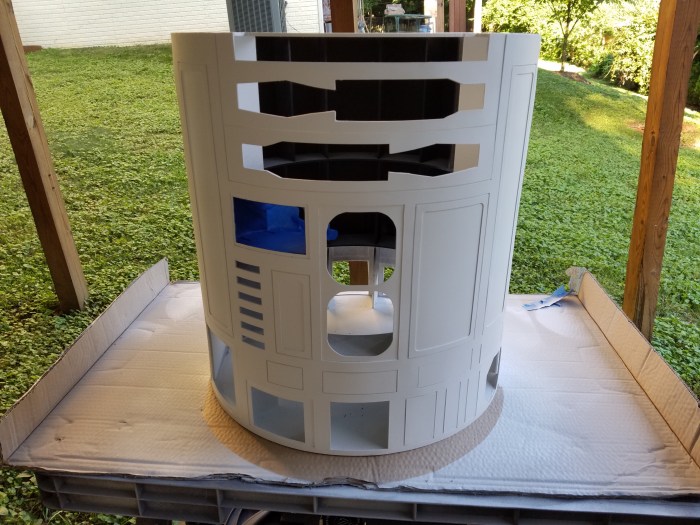
What I started with.

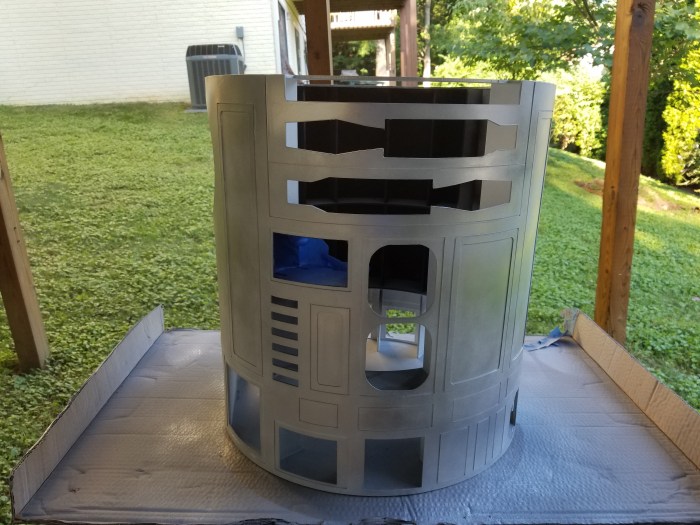
I really wanted to build up the paint a little bit to add more depth. So instead a just a few “heavier” coats I put on quite a few very light coats.
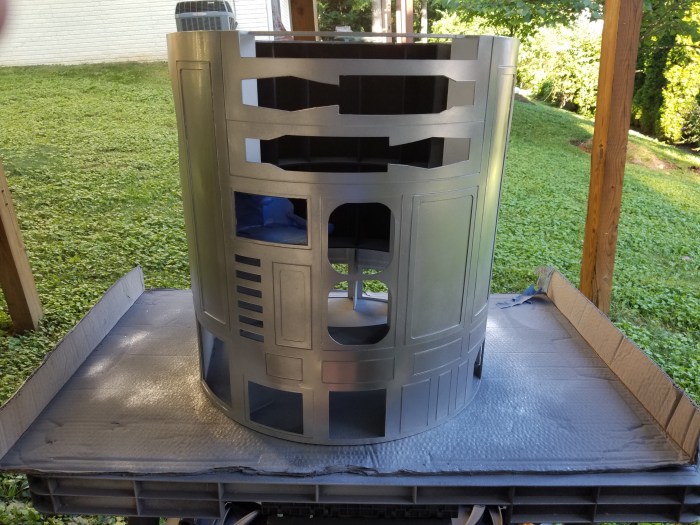

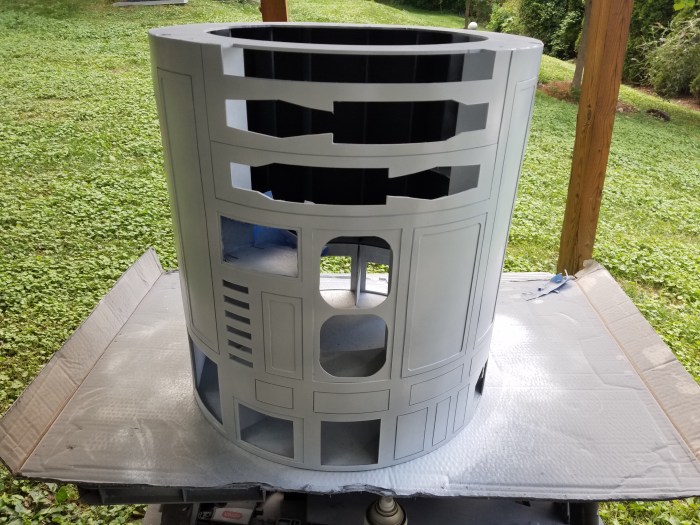
This is coat six or seven. Really looking (I think) like the aluminum skins from the beginning of my last post.
Now to turn it white again.
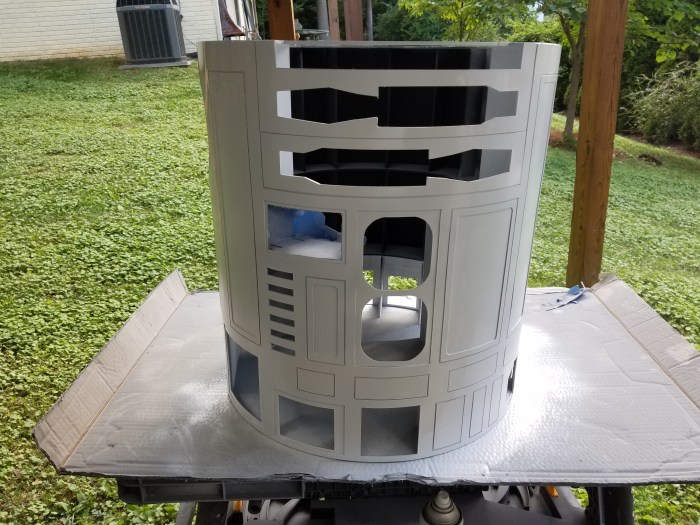
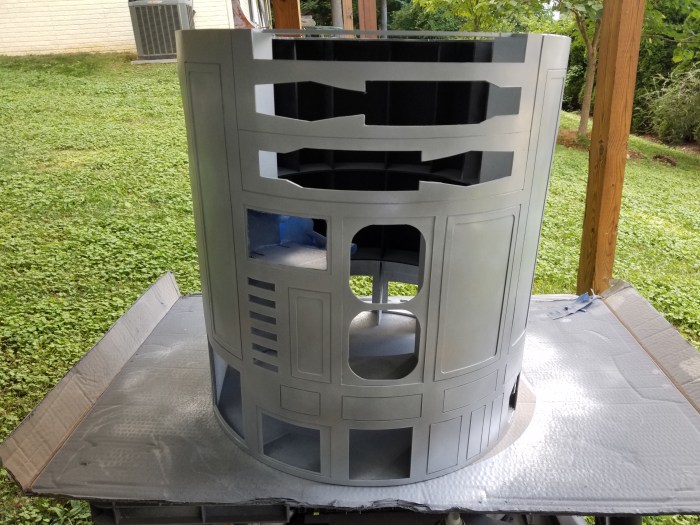
Again building the paint up this after five or six coats. The doors and panels are really starting to “pop”.

I had a couple of runs. (went a little too heavy on my last coat) but I figured the process of fixing it should demonstrate really well how silver paint underneath will work.
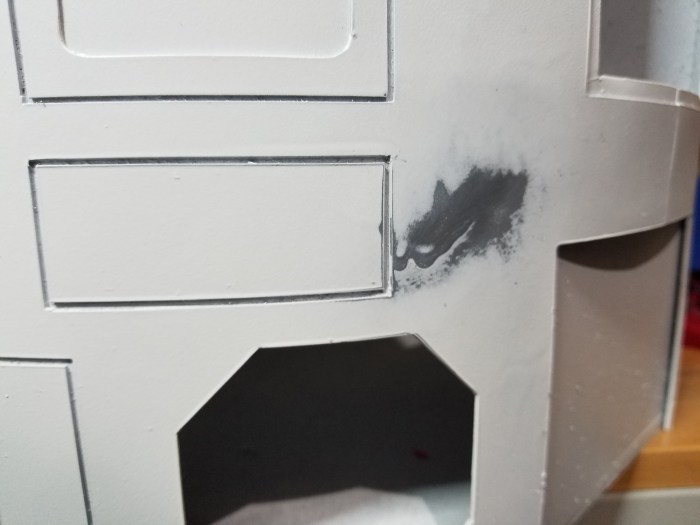
This is exactly the type of effect that I was looking for. It really does look like there is metal under the white paint. When I start to weather the paint job, this should really help to give a great look.

Finished paint job.


Side by side comparison. I really like how it turned out.
So now that I can get back to work on R2 I decided that I would start 3D printing some of the parts that I need. I am going to try and get most, if not all, of the body done before I start moving onto the legs or skirt. I have actually started printing out parts a couple of days ago, so I hope to have another update really soon.
