Well, here is my blog. It will mostly be about My R2-D2 project and everything that surrounds it. I already know it will have portions about our adventures in 3D printing as well.
I have known about the R2-D2 Builders club since I attended Celebration 2, in 2002 (Star Wars only convention), in Indianapolis. Saw them again in 2005 at Celebration 3, and at almost every other convention I’ve attended since. I really didn’t give it much thought except for “man, that would be pretty cool to do”. I didn’t even really stop at their table or talk to any one about it. Until last year at Awesome Con. I picked up a brochure, and talked a little bit about it with the person that was manning the table. I learned a little bit about the club and I actually joined up on the website after the con, but i didn’t do much other than that. At this years Awesome Con I learned that a run of domes was currently being put up for sale and it was a “new” type of dome that cut “processing” time down dramatically. To tell the truth i didn’t really have much of a clue as to what he was talking about but it really sparked me into getting off my but and actually start building an R2-D2. That night in the hotel room, using my phone, I was able to “get in Line” to order a dome. I was number 9 out of 10.

This is what I have learned in the past month or so. The R2-D2 Builders club is a group of people who love Star Wars, love building things, and love R2-D2. Not necessarily in that order. It was started in 1999 and according to Wookiepedia has 7100 members world wide. But Astromech.net, the clubs’ official website, currently has 19503 members with 3533 of them being “active”. The website along with a yahoo users group is pretty much the central depository for all things R2-D2 and how to build one. Members share ideas, Tips, Tricks, and encouragement. It is also the central place for obtaining blueprints and parts.
You very quickly learn that it is a “builders” club not an “assembly” club. You can not buy a kit, at least not through the club, that has all the needed parts in one easy to assemble package. However, unless you have access to a lot of very expensive tools/machines you will need to buy some parts. Usually, you buy them from other members. When you buy a part from another member it is usually a part of a “run” of that particular part. Take for example the dome. The dome is a pretty unique and some what difficult piece to get right. So a member would contact a machine shop and ask how much to make an aluminum dome with x and y dimensions. The machine shop would probably come back with an answer of (just as an example) 500.00 dollars for just one, but if you order 20 domes we will sell them to you for 400.00 dollars each.That member can then contact the Builders Council to get approval to sell a “run” of 19 domes. That way everyone gets access to that discounted price. The Builders Council are the moderators of the website and they also make sure that, say, two aluminum domes don’t go on sale through the website at the same time. This is to prevent one member from undercutting another member on price.
The thing is, not all pieces are on sale at all times. For example, There are three holoprojectors , (the thing that the Princess Leia hologram comes out of, in Star Wars) on the dome. If i need those parts, and I can’t make them myself, or if someone is known to make really good holoprojectors that I want to buy, I will have to wait for that someone to have a run. Now that may be next week or it there may not be a run for six months. I’ve heard of some parts only go on sale once a year. That may be an “urban legend” but I suppose it is entirely plausible.
OK, So here is what I have done in the past month or so that I have been Working on it. Since I am staring on the dome, I decided to work on the lights that are on it. There are two circles of light, one on the front, one on the back. These are called Process State Indicators (PSI) There are also two small stacked rectangles, Front Logic Displays (FLD) and one long rectangle on the back. Rear Logic Display (RLD)

They don’t actually do anything or indicate anything in the real world, in the movie they did, obviously, but right now I can’t find their “in universe” function. At the time no one was offering a set of these for sale so I decided to build them myself. After much research I order all the parts I needed. 280 LEDs, 7 ICs 5 circuit boards, various resistors capacitors and voltage regulators, and one Arduino micro computer.

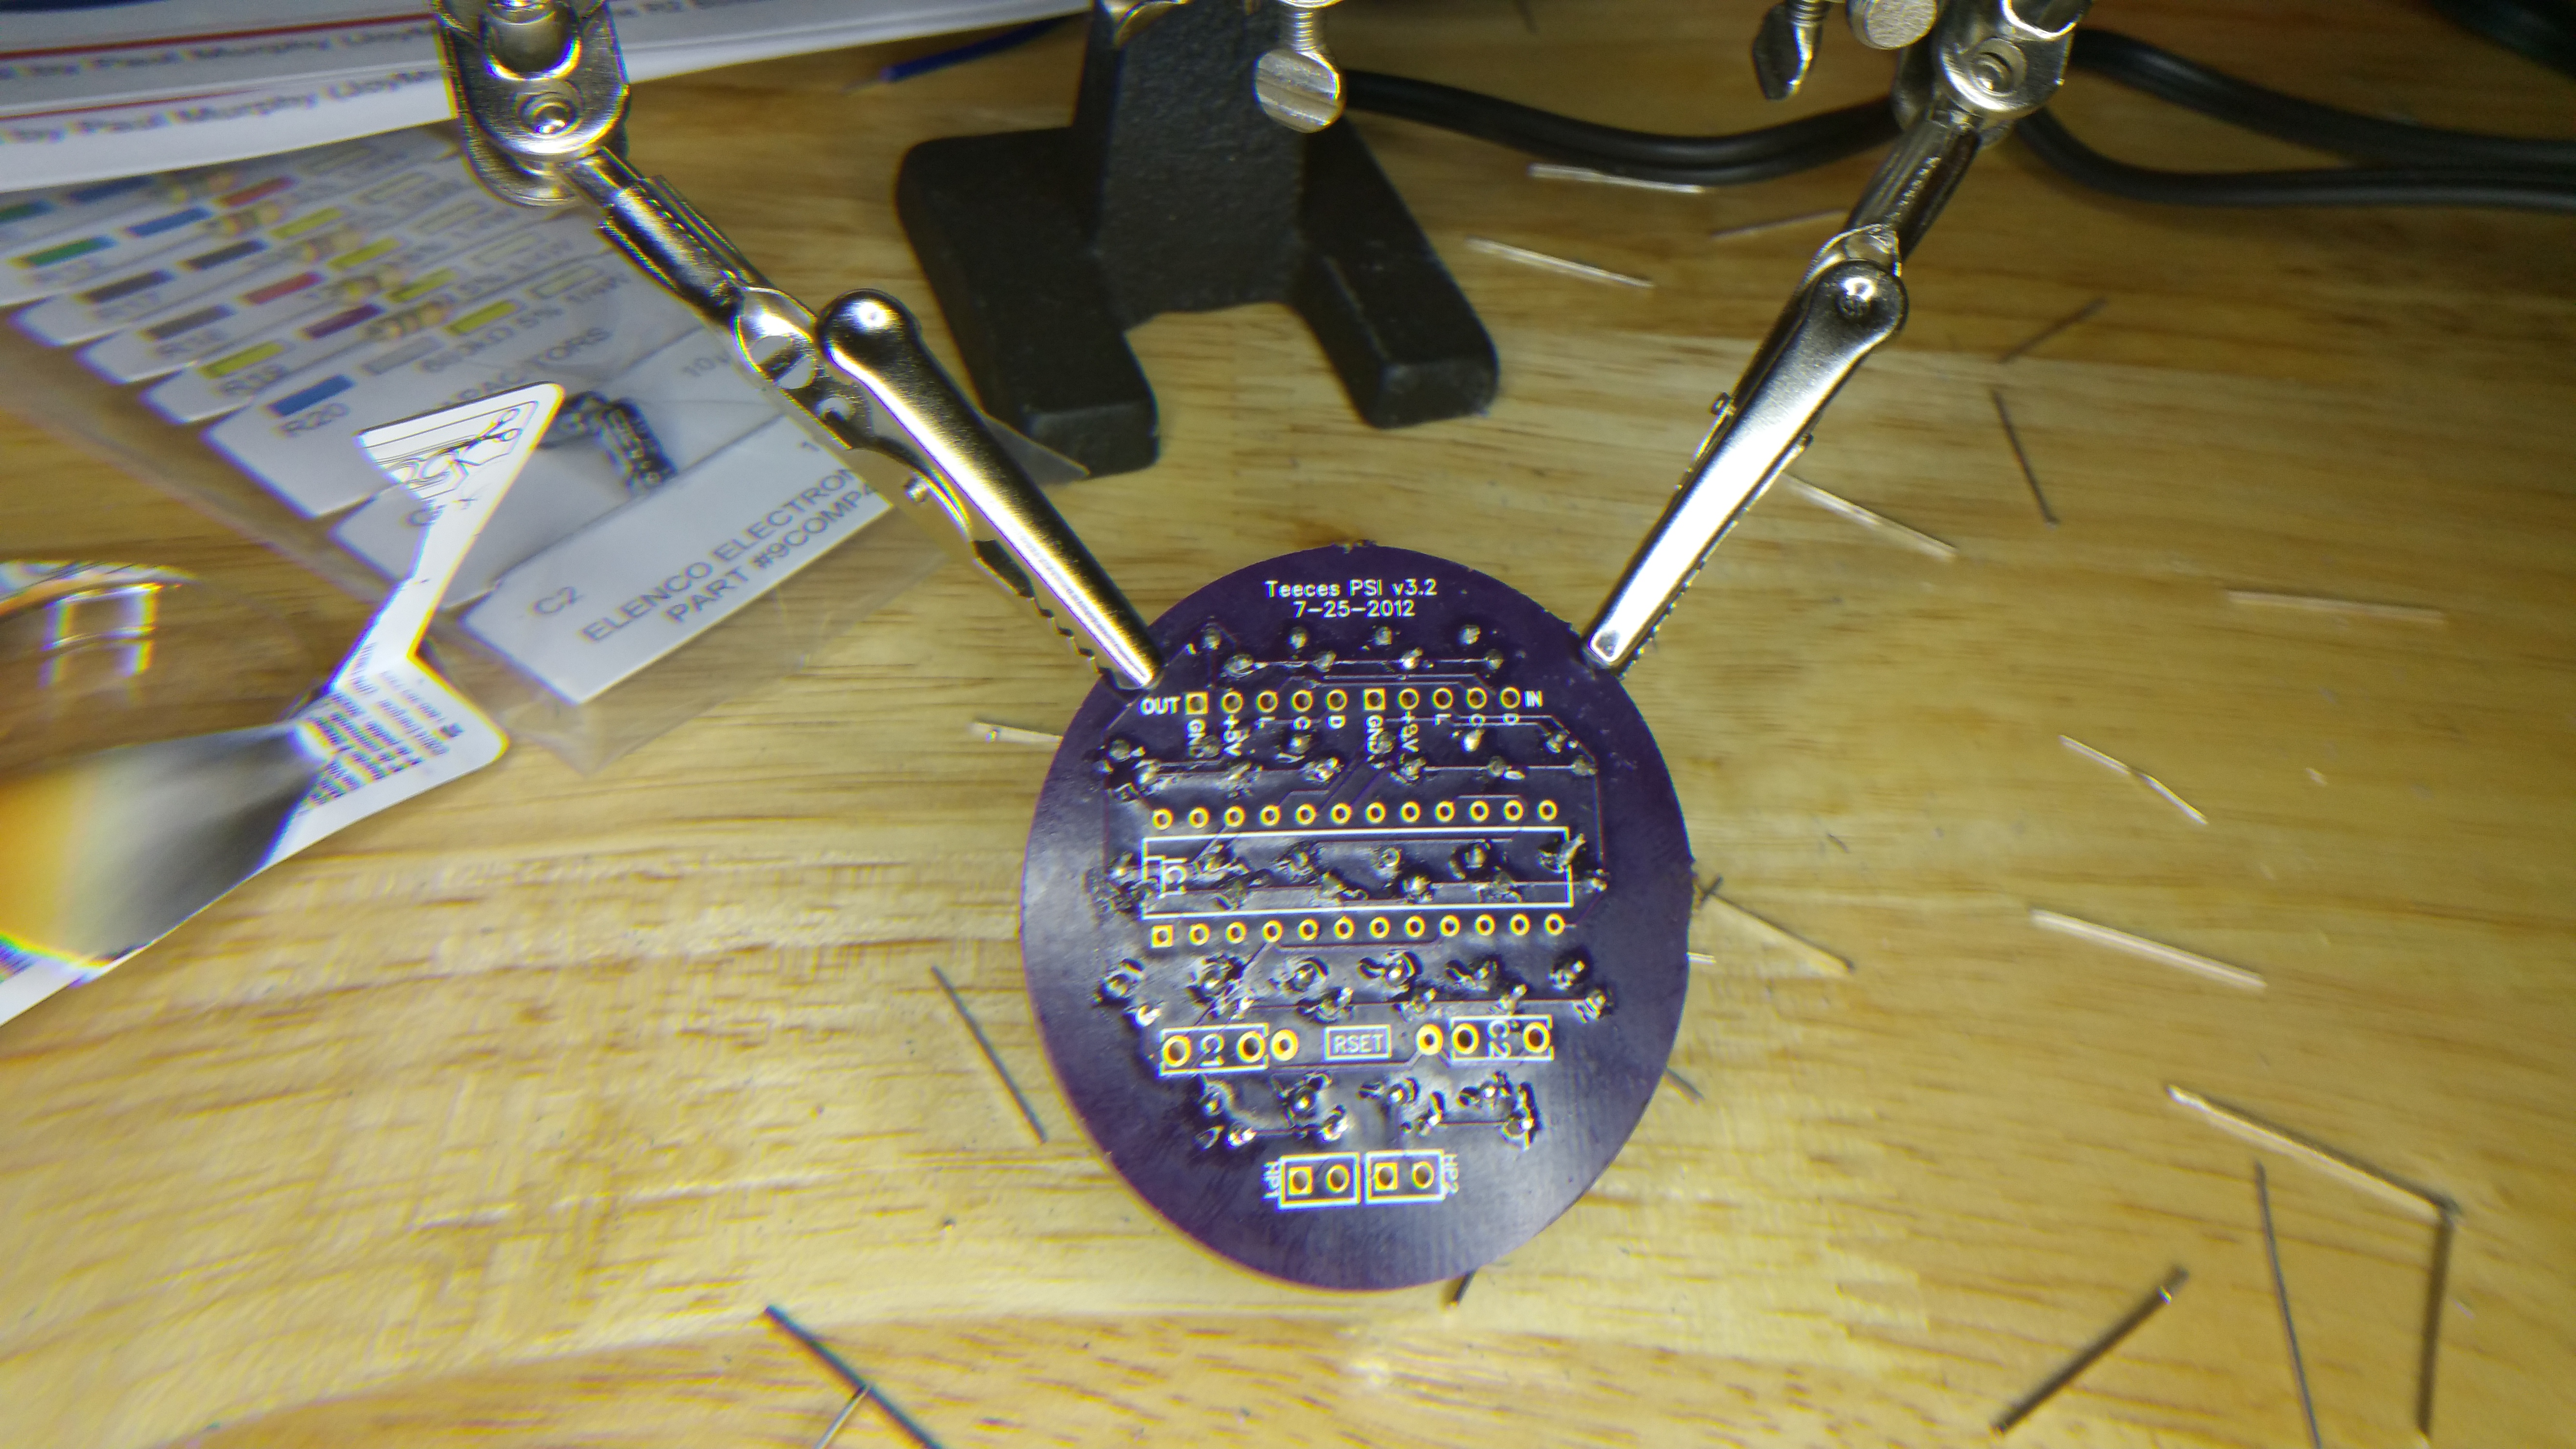
Here I have started to solder in the LEDs for the front PSI.
After all the LEDs are done
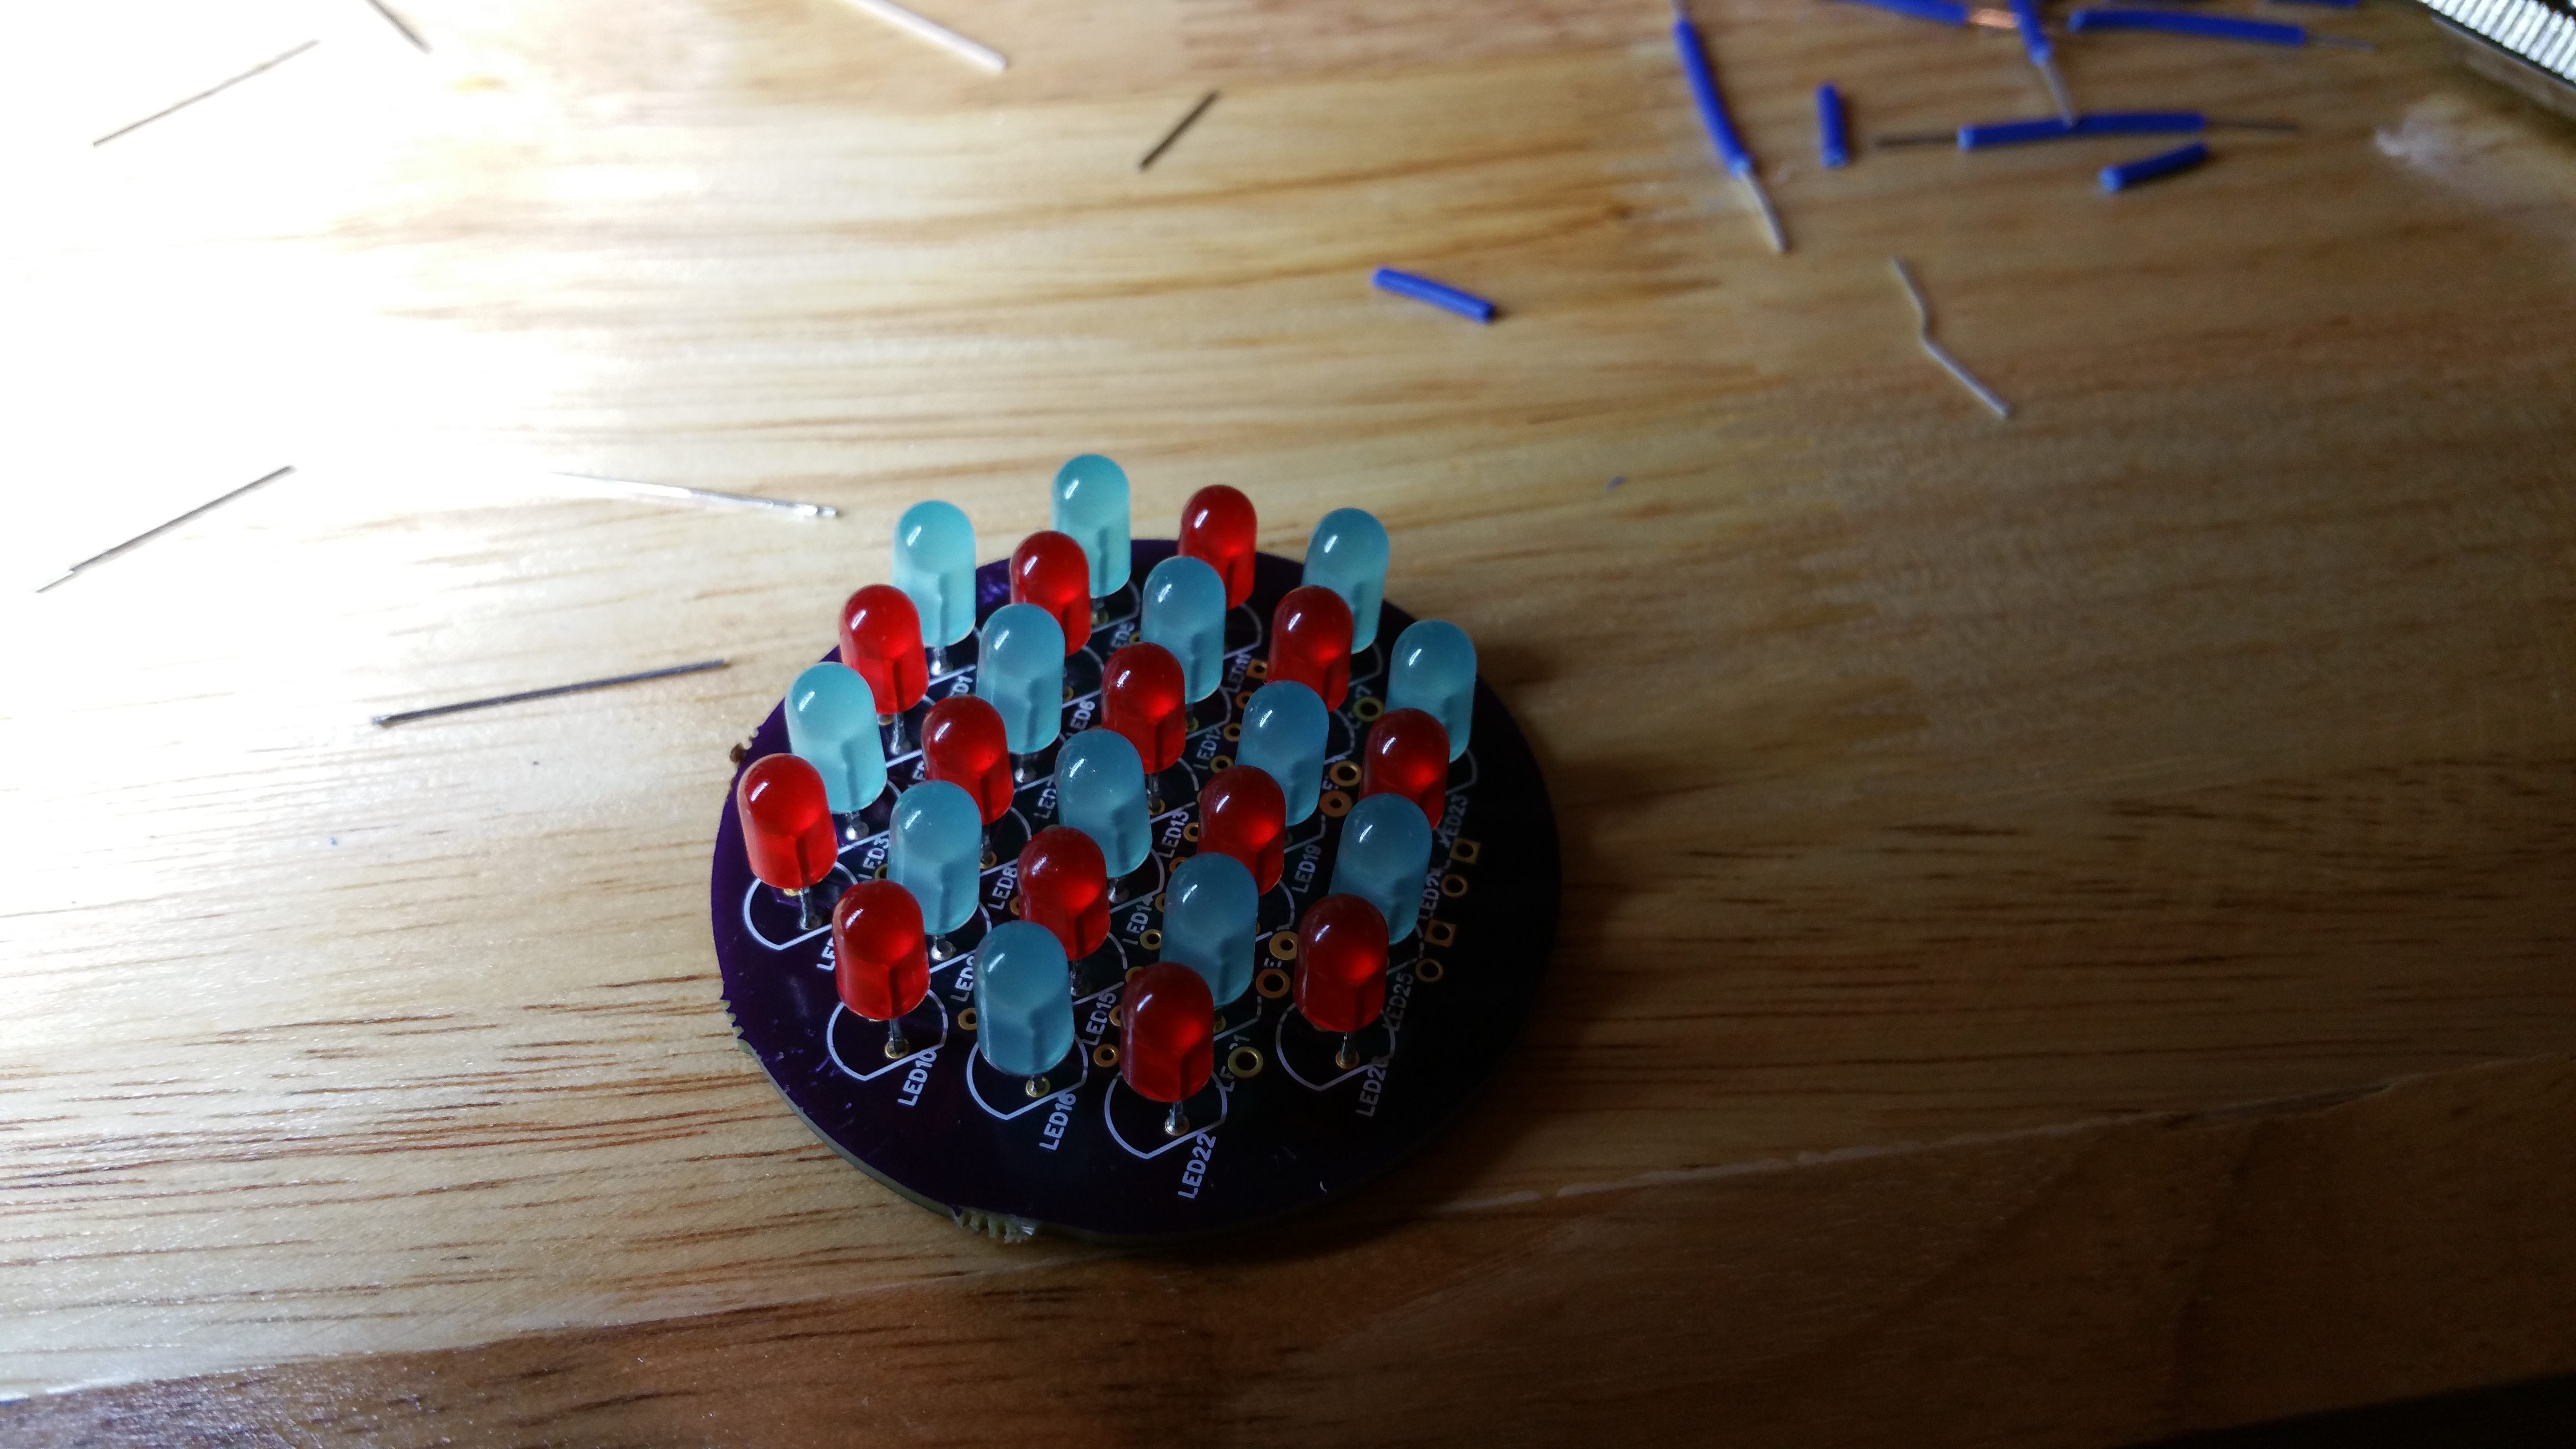
Other side
I unfortunately didn’t take any more pictures of me soldering the rest, I will try to take more pictures as I go from now on.
One of the hardest things I had to do was to make the bezels that are on the front and rear logic displays. The PSI don’t need bezels because they will be hidden behind a opaque diffuser. To “hide” the LEDs for the logic displays you have to put a bezel on them. That means there has to be a hole made in a black piece of plastic for each and every LED. And because there is such a high density of LEDs the clearance between each hole is VERY, VERY small. About .3mm of material between each 3mm hole. I was able to find a template on line and print it to actual size. The tricky part, for me, was finding the exact center of the hole. I tried several methods but in the end i just did it by eye. I got pretty close on most of them. Only a few were obviously off center.

After finding the center I started drilling each hole with a . 5mm bit and worked my way up to a 2.5mm bit. I used a hand drill so that I could have more control.
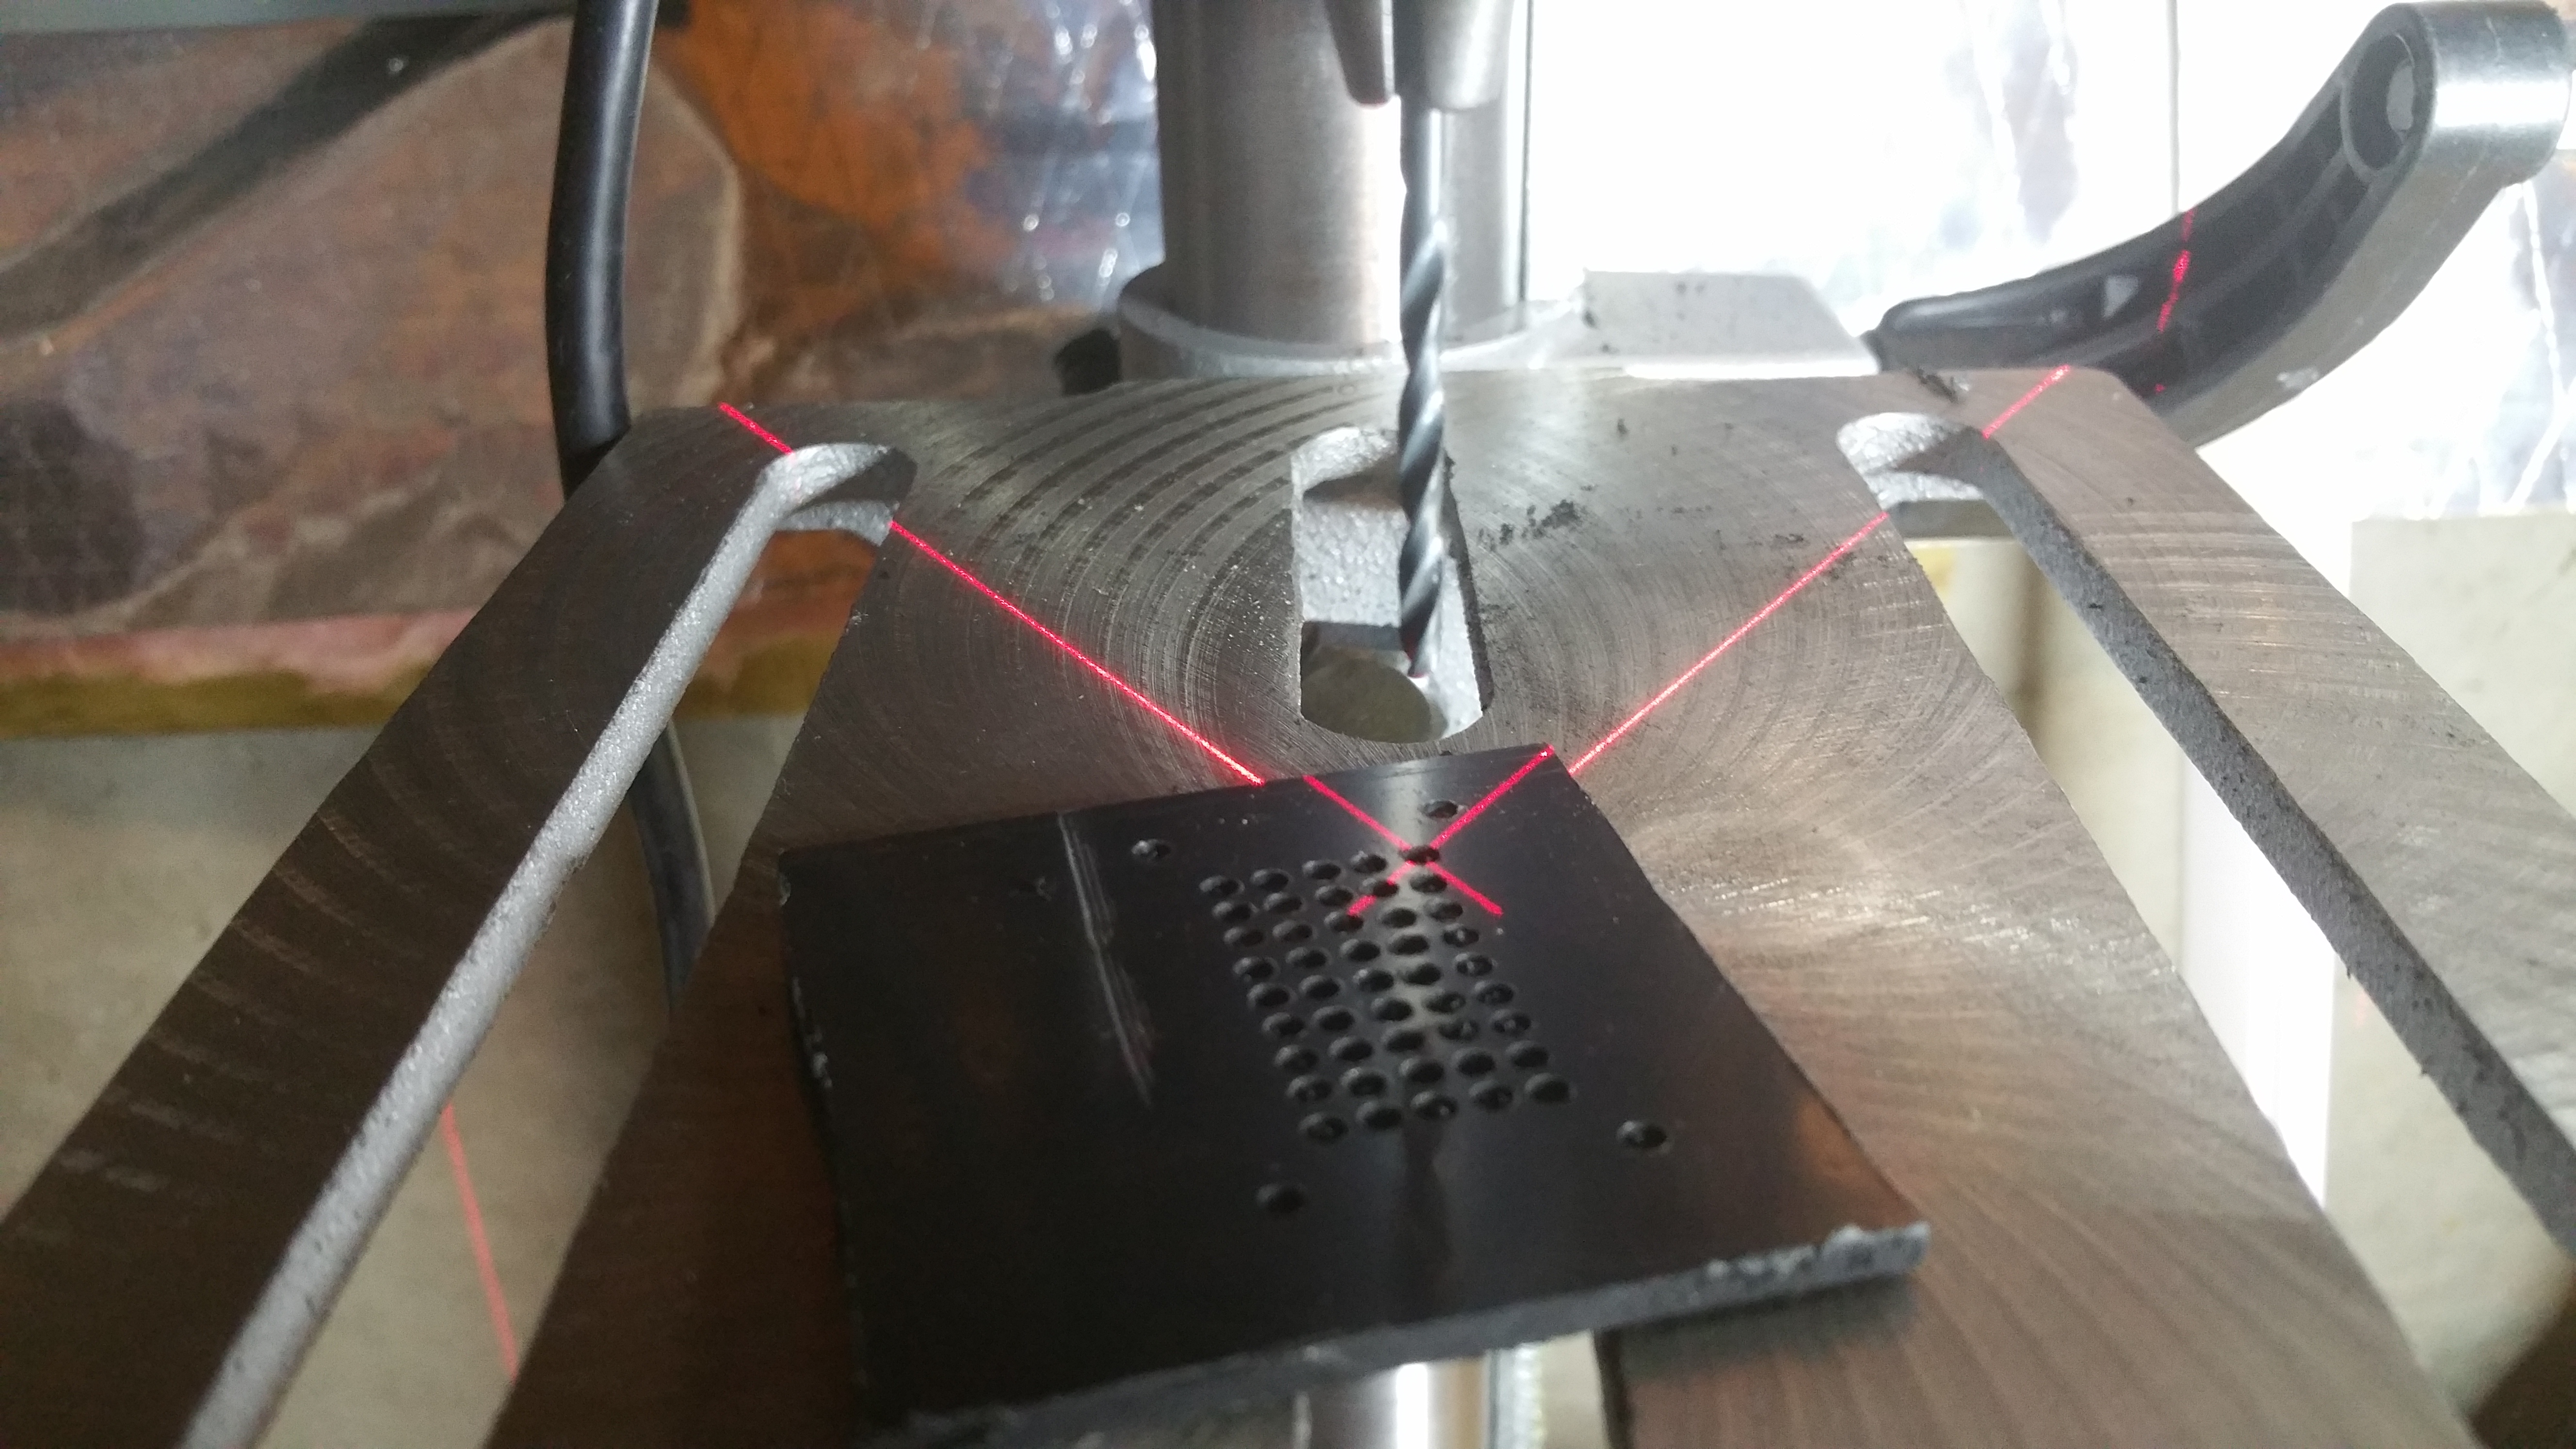
To get to the final diameter, 3mm, I used a drill press to make sure the holes were straight and perpendicular to the face of the bezel.

Done with the holes still need to cut too the correct size.

Testing to make sure all the LEDs would fit. You can tell were i got some of the spacing wrong, put i’m pretty happy with the results especially for my first attempt. These are not the correct color of LEDs, and it still needs to be cut down to the correct size.

Taping the template onto a piece of plastic for the rear logic display. The front “only” had 45 holes to drill. This one has 135.

Finding the center of the holes.

Back of finished boards. The red part is the Arduino micro computer. It will control the sequence of the lights.

Front. I screwed up on the clear covering on the Rear Logic display. I had to re-do it.
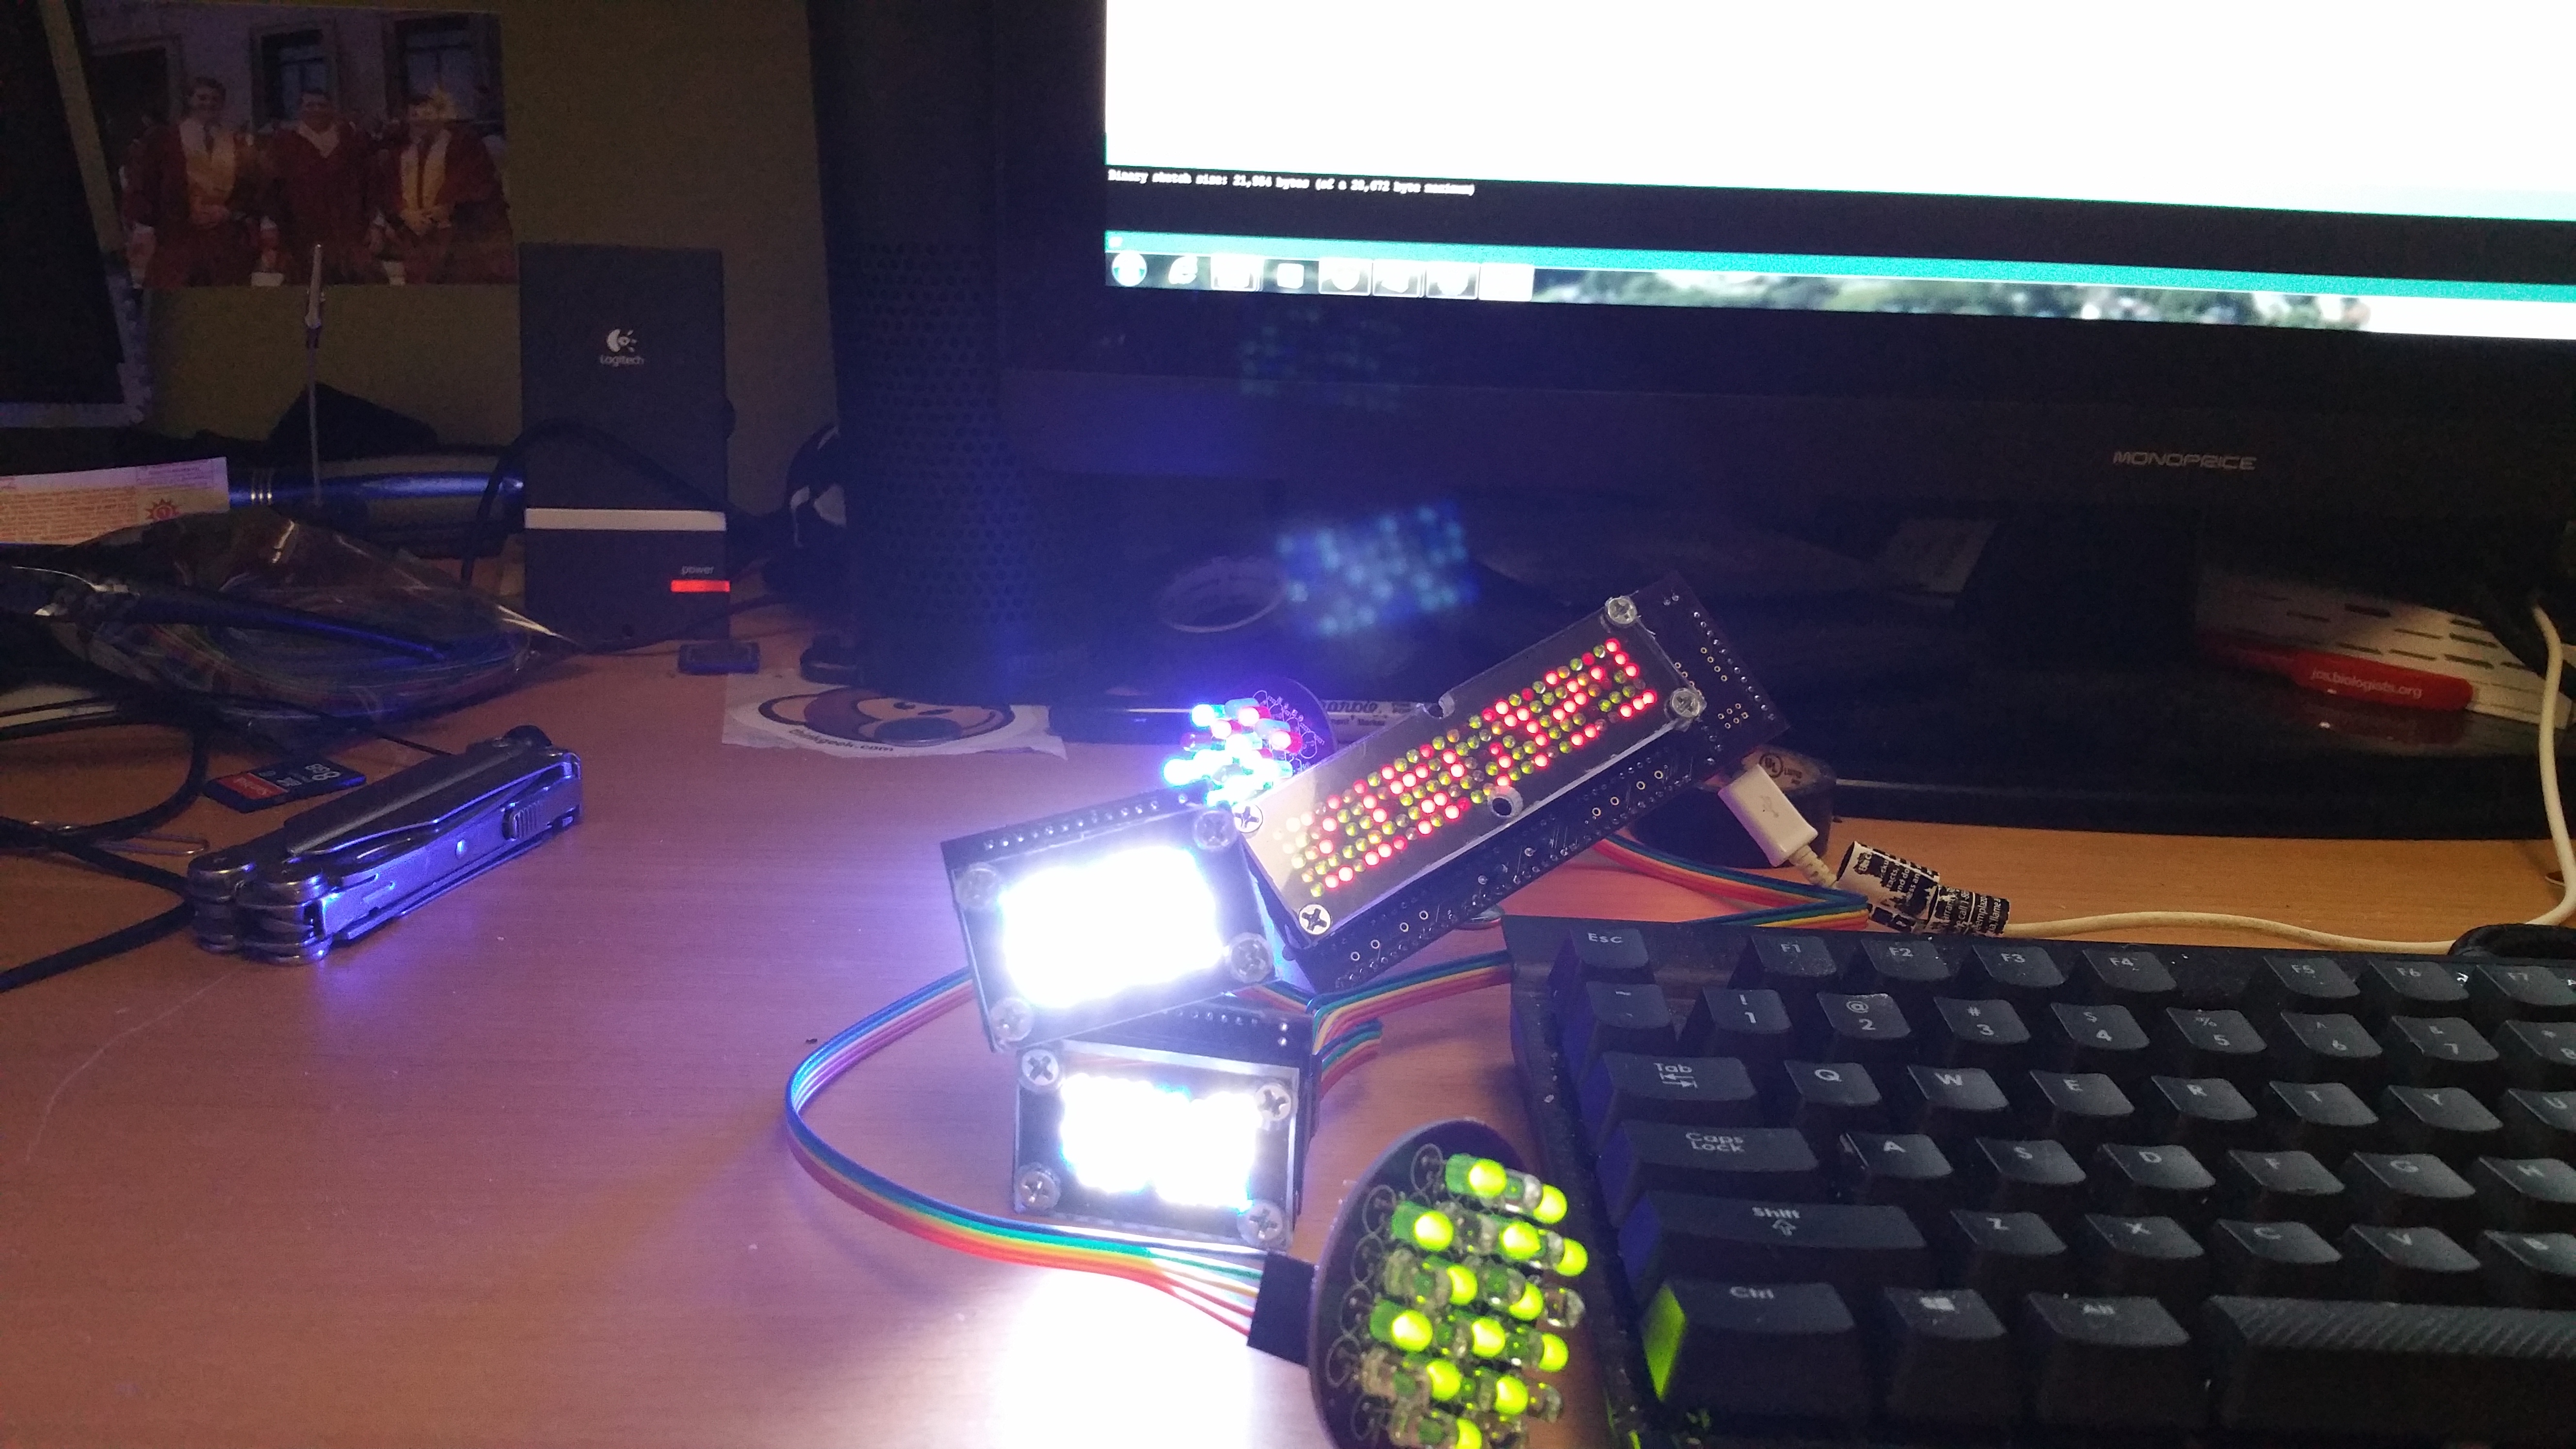
All lit up.
That pretty much catches up to where I am now. I am still waiting on the dome. Hopefully it will be hear by the start of next week.
